

This weekend I opened up my closet, and came to the realization that I have nothing to wear. While I have a ton of clothes in my closet, the majority of the clothing in my closet is “unwearable”. The clothes don’t fit me. I don’t like the style anymore. There are stains or rips that I haven’t fixed. Actually taking time to get my clothing organized is daunting–but I know it must be done!
Take it from me, it’s incredibly freeing to only keep clothing that I enjoy wearing, and I encourage you to do the same! Lucky for you I have outlined six easy steps to help you clean out your closet and feel free!
Step 1: Collect All Clothing
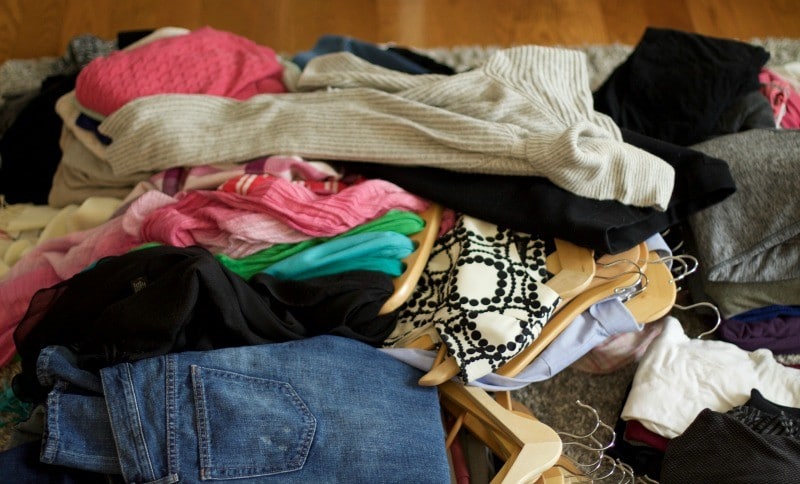
Collect every single piece of clothing you own. Like everything! That shirt hiding in the trunk of your car? Grab it and add it to the pile. Have laundry in the dryer? Grab it and add it to the pile. Have clothing stored under your bed/attic/storage closet? Collect it all!
I make my clients get every last piece of clothing so they can visually see what they have. Shirts, tops, pants, jammies, work-out clothes, socks, undies, etc. When you actually see your pile of clothing sitting in front of you, you have nothing left to do but confront them. Any item that is not in this pile will end up directly in the donate/sell pile when I’m involved. End of story. So make sure you grab everything!
Pro Tip: The best approach is to complete all the laundry prior to sorting. The clothing doesn’t have to be folded, or even put away. Leave them in the laundry basket. Starting off with clean clothing just makes the whole process easier–and smell better!
Step 2: Start the Sorting Process
Now that you have your (most-likely) giant pile of clothing, it’s time to get your sorting process started. Getting your clothing organized takes a little up front planning, but once you do it, the process is much easier.
Get bags and make labels.
Create a bag for donations.
Make a bag for selling.
Designate space for the clothing you want to keep.
Pro Tip: I suggest thinking about where you’d like to donate and/or sell your clothing prior to sorting. This allows you to visualize others enjoying your clothing which makes it easier to part ways with items.

Step 3: Sort Your Clothing
Your giant pile of clothing is sitting in front of you and your bags for sorting are set. You know where you will be donating and/or selling your clothing. Now comes the fun part: getting all that clothing organized! Start with off-season clothing, as you are not likely as attached to these clothes as you are to the clothing you are currently wearing. Then move onto current season clothing.
Inspect each item of clothing. Is there a rip or stain that you can’t fix? Are you totally over that style? Have you worn that item in the past year? Why are you still holding onto this piece of clothing?
Remember that the memories you have are not tied to any particular piece of clothing. Most clients feel a connection with items that remind them of their life before children or of a happy event. While it is nice to remember those days, letting go of an item that you don’t wear anymore is a great feeling.
Pro Tip: If you’re attached to a sentimental piece of clothing you no longer wear, consider taking a photo before discarding it. Sounds weird but it works!
Step 4: Try On Clothing If Undecided
If you are still undecided about what to do with an article of clothing, try it on. Look in the mirror. How does that piece of clothing make you feel? That is a huge indicator whether you should keep a piece of clothing, or if you can remove it from your wardrobe.
Be really honest with yourself. There is nothing worse than wearing clothes that you don’t feel good in. So why keep something that you don’t love?

Step 5: Remove Unwanted Clothing
Once every piece of clothing is sorted into your organized piles, remove the donate and sell piles from your space. Put them in your car. Get them out of your sight. I suggest doing this so that you have a clear space to organize the clothing that you are going to keep. And so you’re not tempted to pull something out of those bags!
Step 6: Organize Remaining Clothes By Category
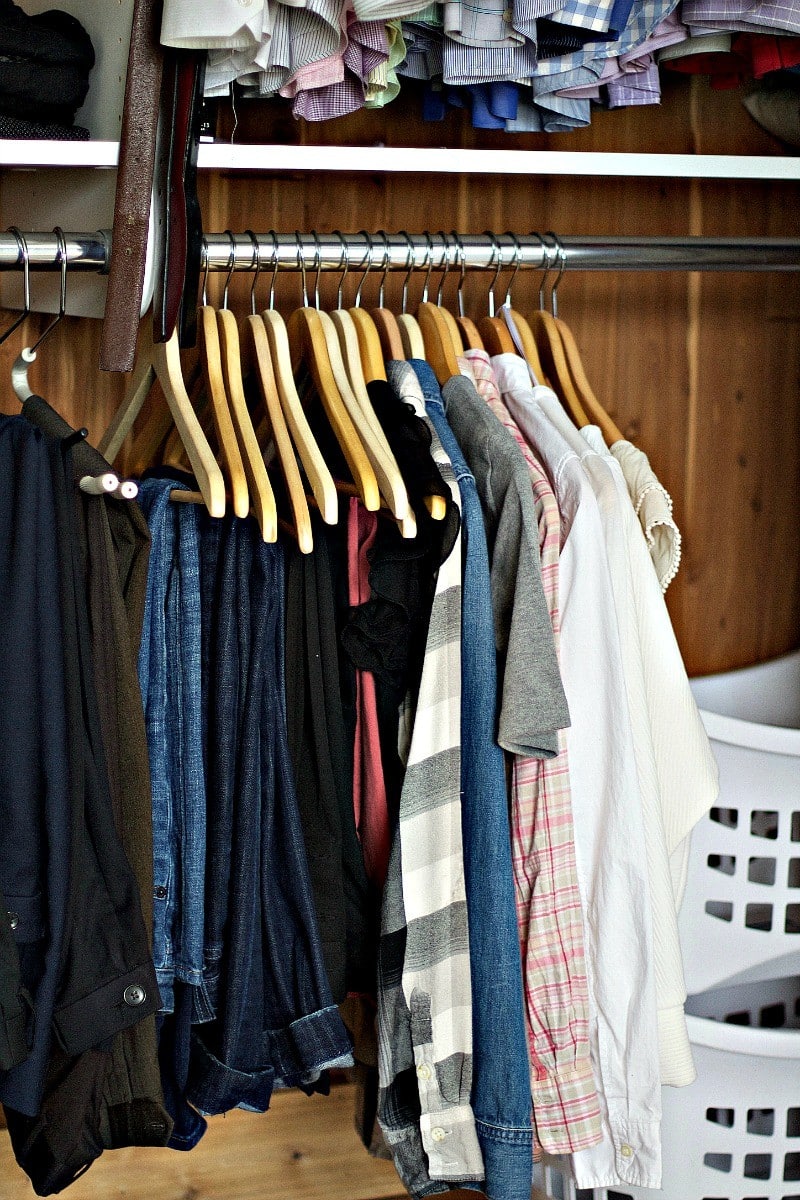
You made it this far! Now it’s time to look at what you’ve kept and put those clothes away. This is where my clients typically get stuck. But if you break it down, it’s not too overwhelming. I like to take care of the the hanging items first:
Start with pants. Specifically jeans. Hang the jeans together. Then the remaining pants together.
Dresses and skirts are next. Make sure you have the right space to hang long dresses.
Jackets, hanging sweaters, blouses, and tops are last. Hang them according to category.
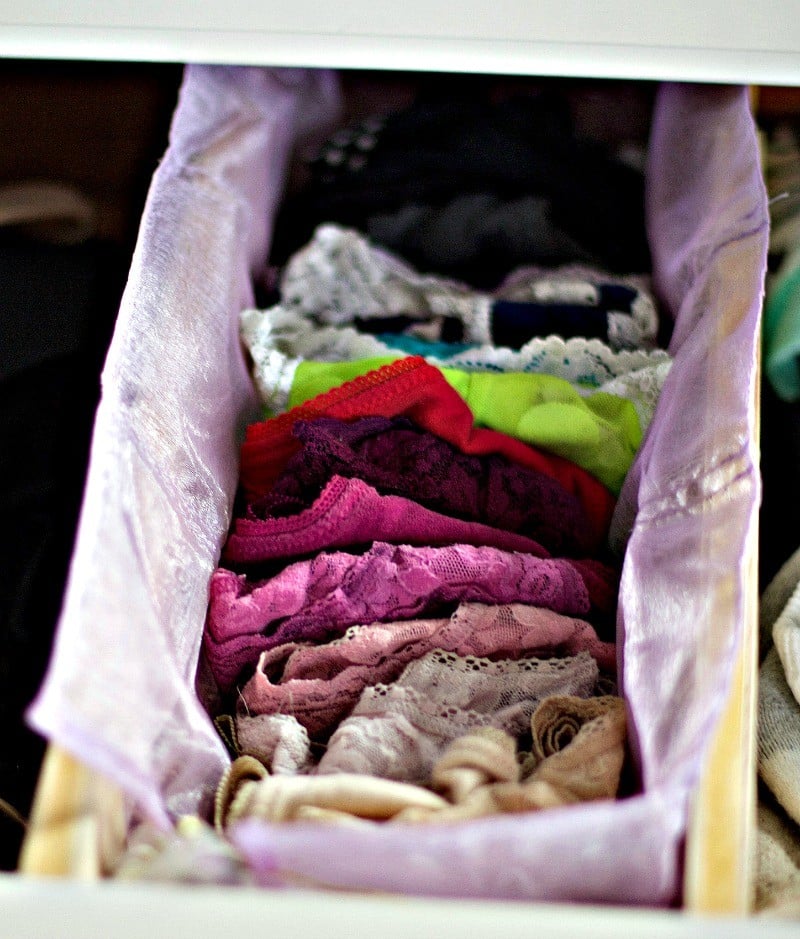
The remaining clothing items should go into drawers. Start with tank tops, t-shirts, and long-sleeved tops. Sweaters should be organized next. Then work-out clothing, followed by jammies. Socks, underwear, and undergarments can be organized last.
There are two ways to store items in drawers. One is to fold each item on top of each other, in a color-coded manner by category. For example, tank tops go on the top, from white to red, all the way down to black. Then repeat for t-shirts, and long-sleeved shirts.
Another way is by stacking all the items up, so you can see everything that is in the drawer. This is called the “KonMarie” way to organize. (The book The Life-Changing Magic Of Tidying Up shares how to specifically fold and organize as the author suggests based on the Japanese art of decluttering.)
Pro Tip: I recommend color-coding everything. It just looks pretty, and it’s totally functional for when you need to find a specific colored item.

By following these six easy steps, I hope you feel good about getting your clothing organized, and keeping it organized!

")


This is such a timely article and words of advise because I am going to “tackle” this job over the next few days!!! I am trying to scale down open clothes and everything!!!!
I like your suggestions and will definitely use them!
I will try to take before and after pictures!!!
Good luck Deb! Make sure to pull all your clothing off hangers and make a giant pile. Then start to sort!
Thank you for the tips about how to have clothing organized. My sister has been thinking about moving to a smaller space. I bet she could fiend a place to store the clothes that won’t fit there.
Thank you!!