
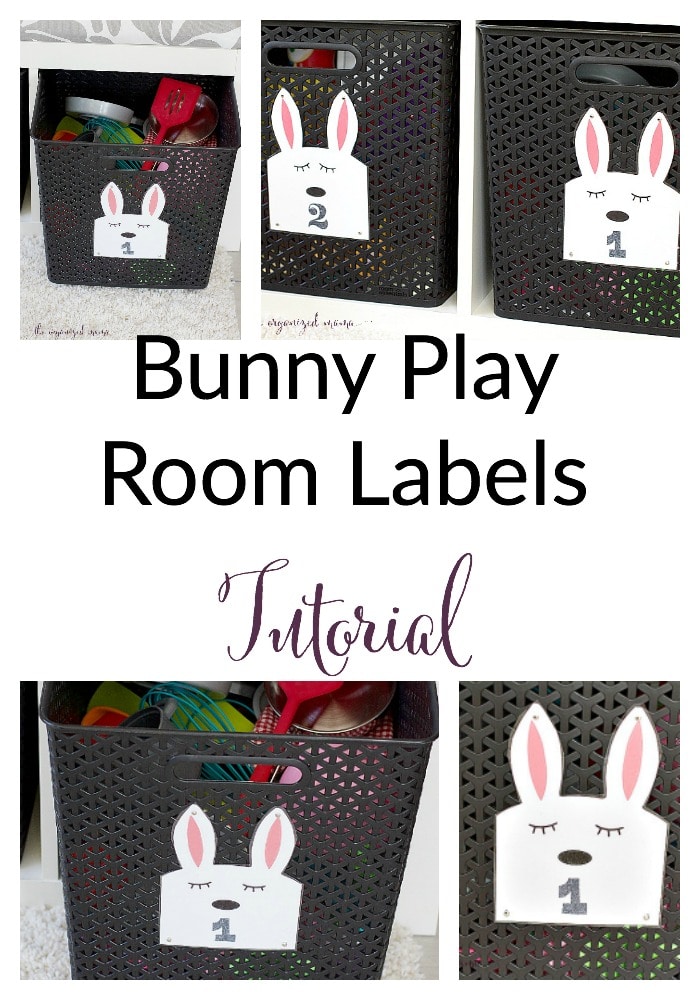
When it comes to toys, they tend to take over the house! So why not get things organized with adorable bunny play room labels?? Because you all know how much I love labels, I couldn’t resist creating some adorable additions for our play room!
As part of the Xyron Design Team, we partnered with Paper Smooches for some fun projects this week!
Some links may contain affiliates.
Bunny Play Room Label Tutorial
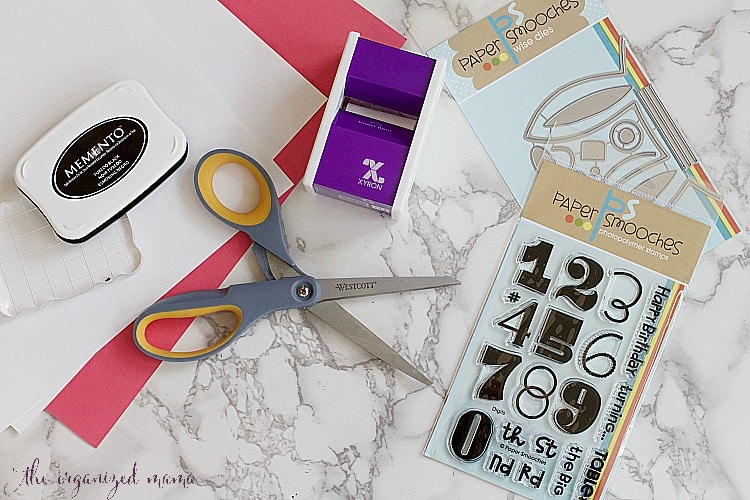
Materials:
- Xyron 1″ Sticker Maker
- Xyron Creative Station Lite with Laminate Refill
- Paper Smooches Bunny Die Cut
- Paper Smooches Digits Photopolymer Stamps
- Die Cutter Machine
- Memento Tuxedo Black Ink Pad
- Stamp Block
- Scissors
- Paper Cutter
- Card Stock in Pink, Black, and White
- Hole Punch
- Brads
Tutorial:
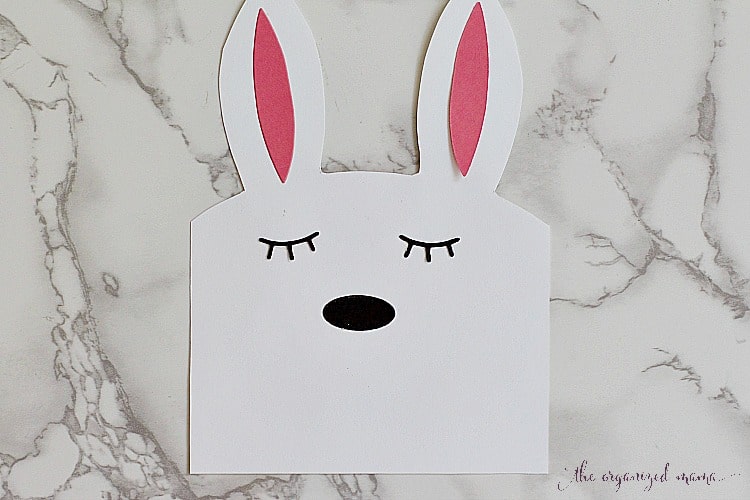
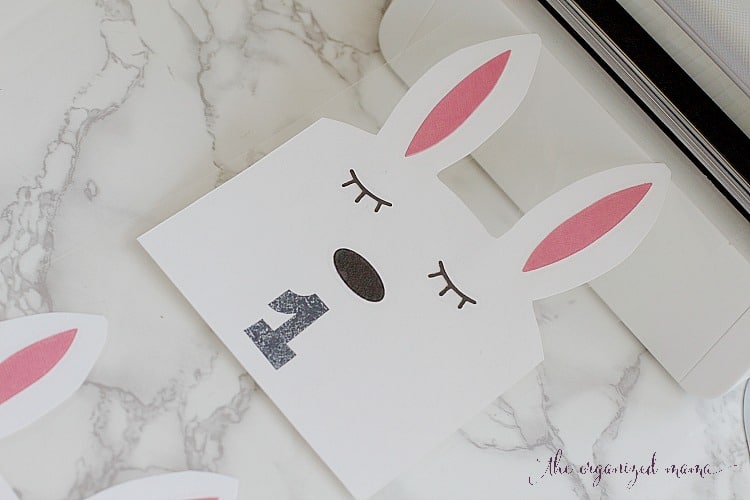
Step 1: Using your die cutting machine, cut out the bunny ears on white paper. I used the edge of the die cut to create the width of the label. That’s about 4.5″. Then I made the label about 4″ long from the top of the head to the bottom.
Step 2: Cut out the inside of the ears, eyes, and nose using the die cutting machine. I used the black paper for the nose and eyes, and the pink for the ears.
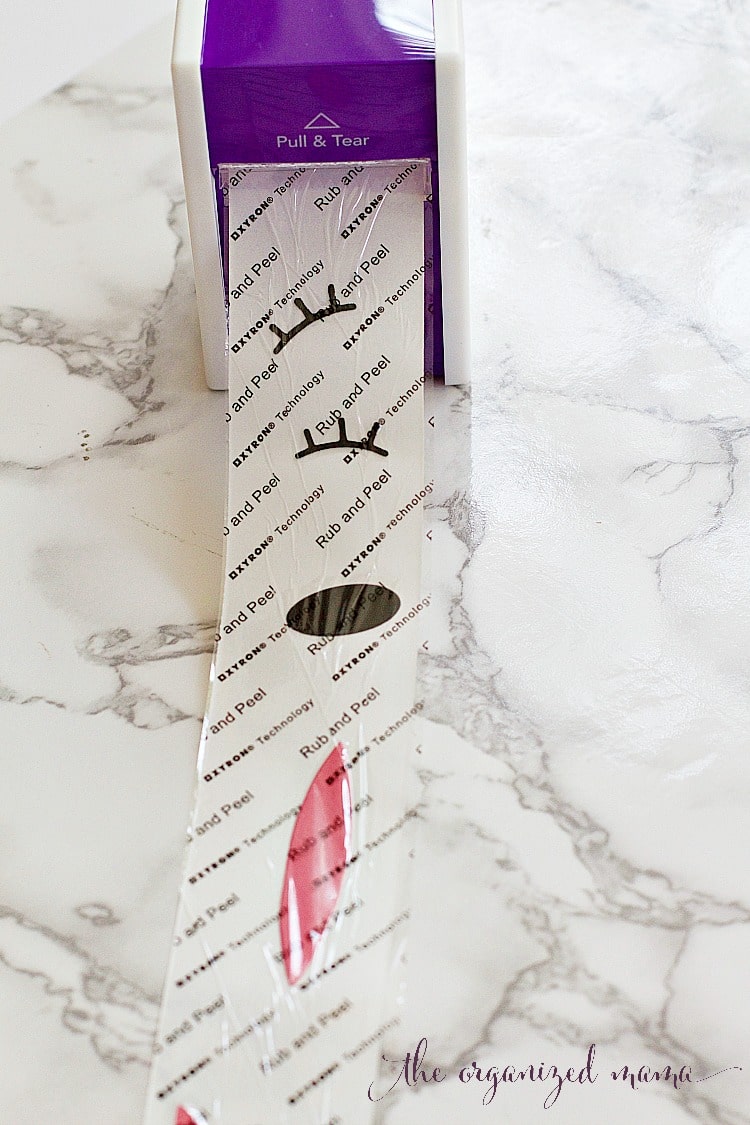
Step 3: Run the ears, eyes, and nose through the Xyron sticker maker.
Step 4: Adhere the ears, eyes, and nose to the bunny label.
Step 5: Stamp a number from the Paper Smooches digits stamps on the bunny label using your ink pad.
Step 6: Run the label through the Xyron Creative Station Lite with laminate refill.
Step 7: Cut out the label.
Step 8: Hole punch the bunny play room label and attach to the basket using the brads.
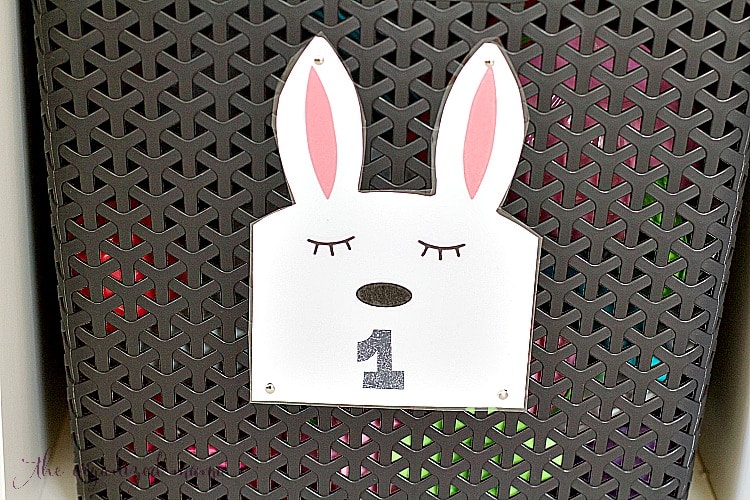
Step 9: Repeat for as many bins as you need!
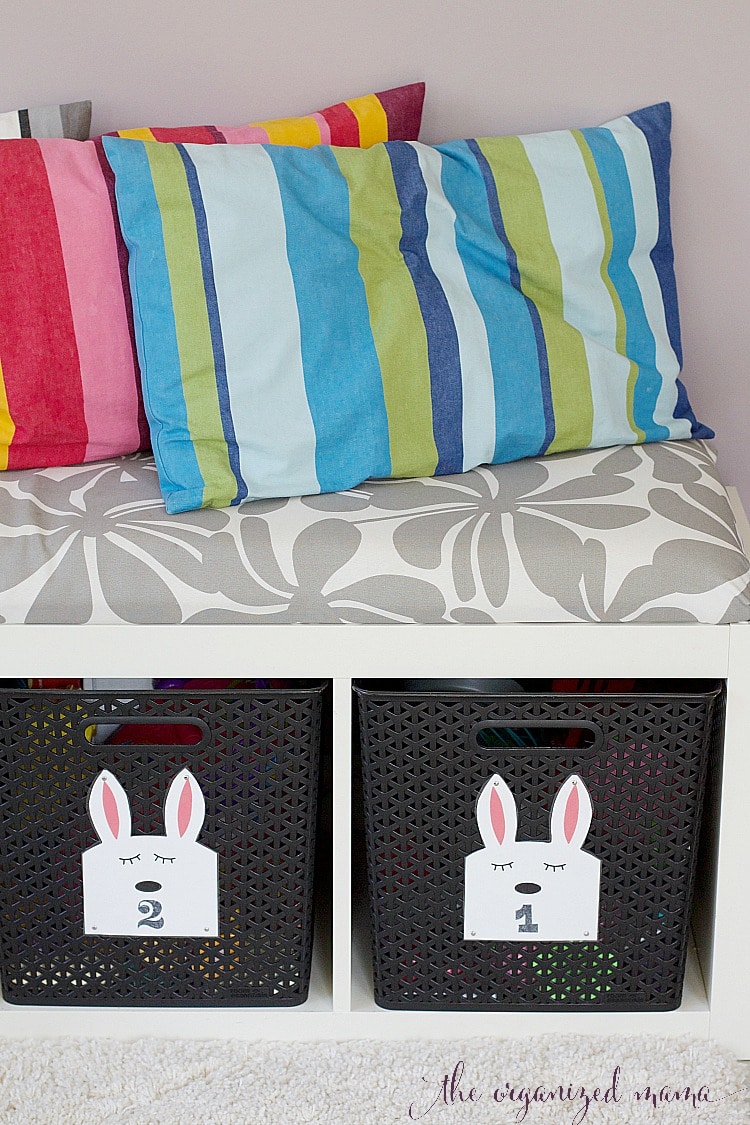
I created one of these bunny labels for each of our eight bins. I think they add some character to our play room! Plus the numbers are super cute and the kids love counting them. It makes cleaning up much easier since the bins just go back in the bench in order!

Need some inspiration for actually get those play room bins organized once you created these adorable bunny play room labels? Check out these posts:
Organize Kids Toys Like A Professional
Organizing Toys In Living Spaces Around Your Home
Organize Toys In The Living Room


")


Your idea is really adorable!!! Thanks for sharing!!!