
These past few weeks I haven’t spent as much time at my desk as I usually do. Life has gotten busy and the kids are on the go. So my entire desk space has been completely disorganized! I decided to start the week off right and get that space organized (again).
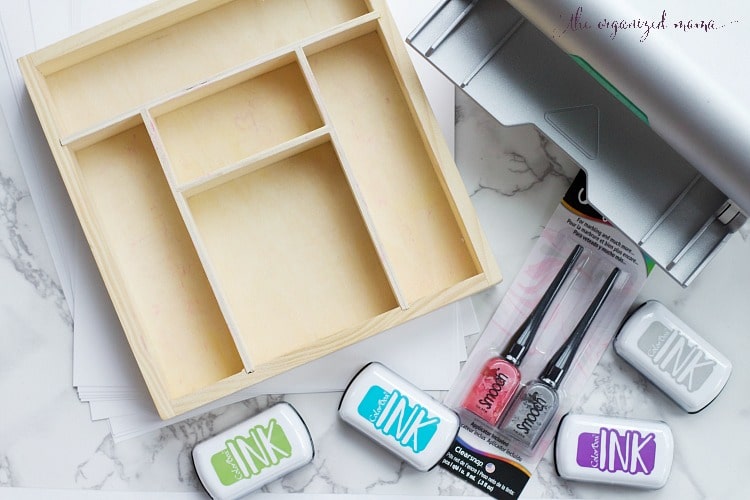
I started with organizing everything that was suppose to go in the desk drawer. Then I realized that nothing had a defined spot. Like I knew where to put things, but nothing was clearly defined based on the organizers I had in the drawer. To solve that problem, I pulled out some of my kids stamp holders and use them as organizers.
But to make sure they really worked, I needed to label each and every compartment so that things stayed organized. I enlisted the help of my Xyron Creative Station and ClearSnaps ink pads as part of the Xyron Design Team. (For more that, check this out.)
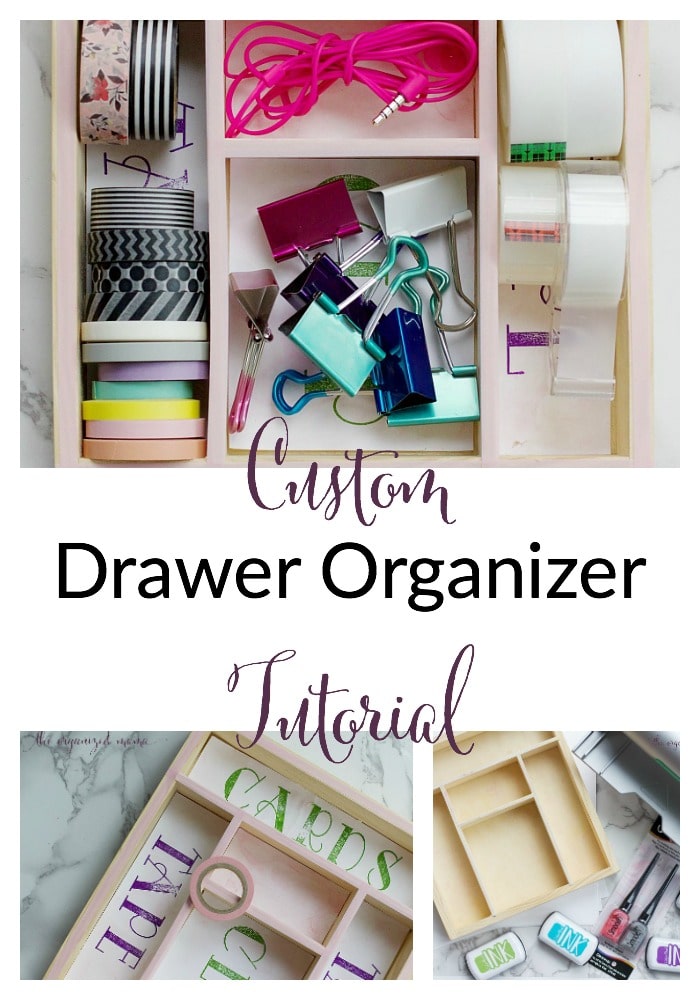
Custom Drawer Organizer Tutorial
Some links may contain affiliates.
Materials
- Xyron Creative Station Lite with Repositionable Refills
- ClearSnap Smooch Bottle
- ClearSnap ColorBox Stamp Pads
- ABC Stamps
- Cardstock
- Washi Tape
- Paper Cutter
- Box
Tutorial
Step One
Cut the white cardstock to the size of each divided holder.

Step Two
Add water and the Paper Smooches to a container. Dip the cardstock into the water mixture. Set aside to dry.
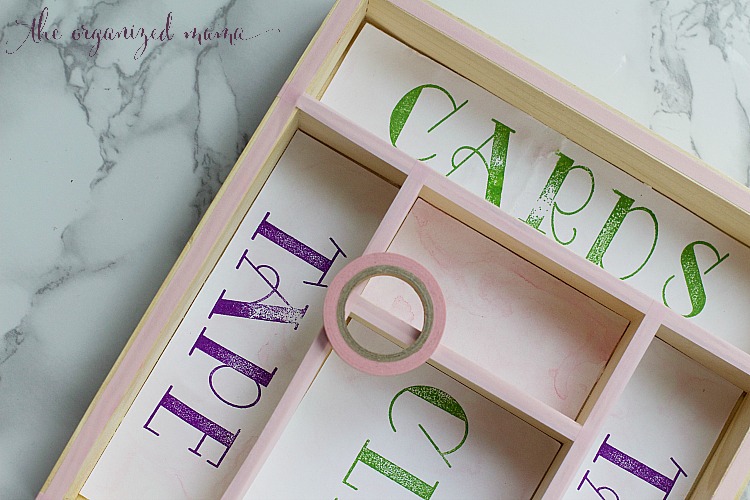
Step Three
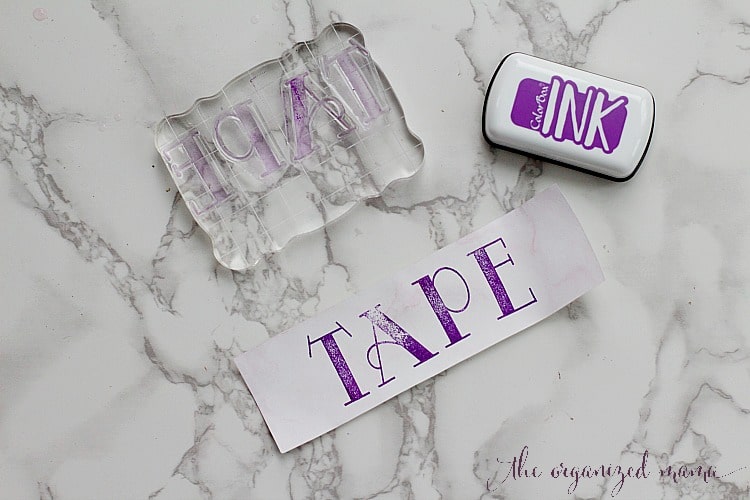
Once dry, stamp words onto each of the paper pieces using the ABC stamps and the ColorBox Ink Pads.
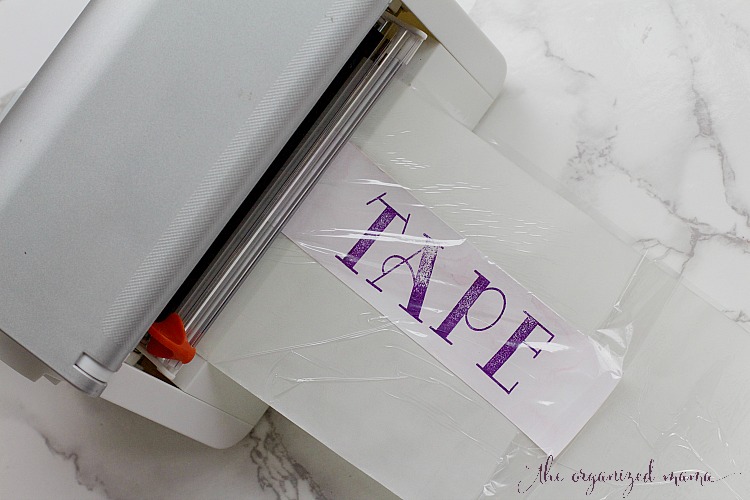
Step Four
Run the paper pieces through the Xyron Creative Station with repositionable refill. Adhere each paper to the designated holder. I used repositionable in case you want to swap out the label for a different one later!

Step Five
Place Washi tape around the top of the box.
Step Six
Fill with items and insert into the drawer!

I absolutely love how organized this makes my drawers! Everything has a label and a place in my desk drawer. Now to get the rest of my desk as tidy as my drawer!
For more organizing office tips, check these out Helpful Office Organizing Tips!

")


