

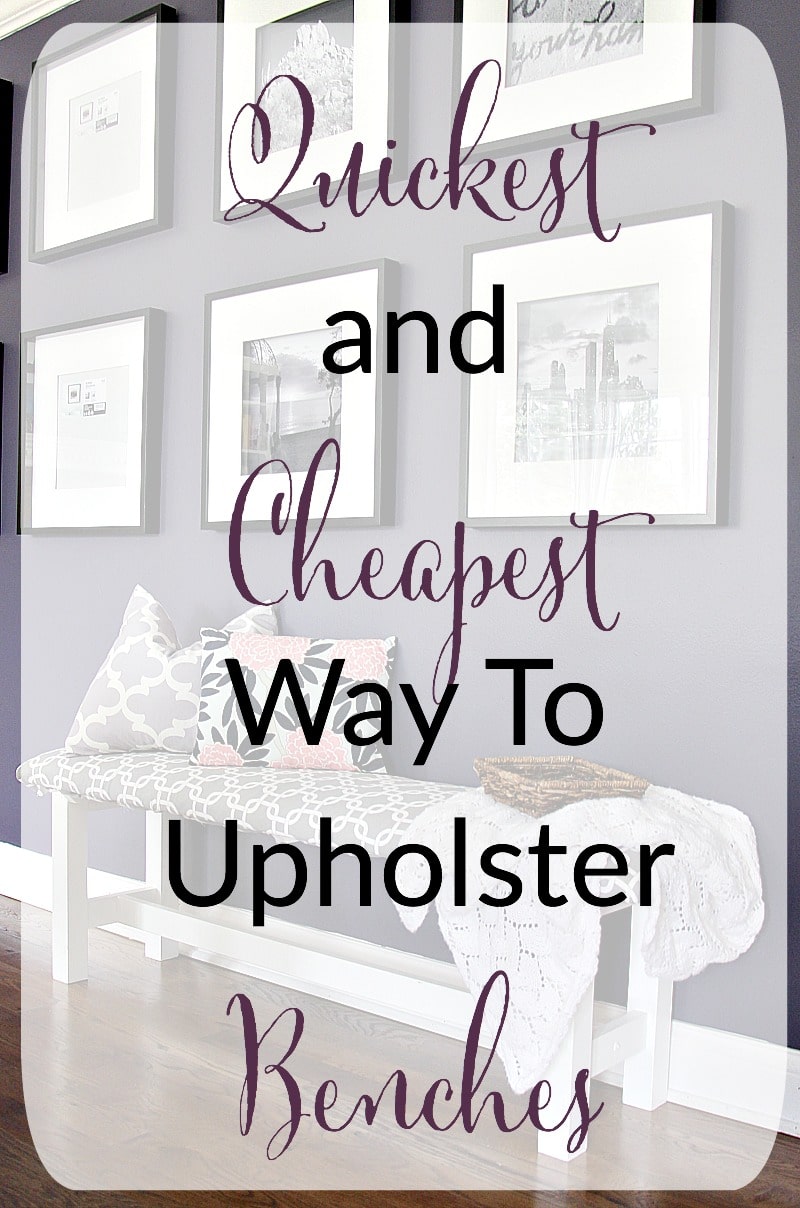
When it comes to changing up style of my home, I am all about it…frequently! But that can get rather costly, so I have taught myself how to do some things, like how to upholstered bench that is in our front hall entryway. It is incredibly easy, and can totally transform any space just by adding some fun and decorative fabric!!
I started this entire process with a trip to IKEA for the bench. Once I did the measurements on the bench, I was able to go to my local Joann Fabrics for fabric and batting, and Target for the mattress pad. I already have fabric scissors, my staple gun with staples, and white paint!
Materials For Upholstered Bench:
Some links may contain affiliates.
- Bench (similar to this one: IKEA Nornas bench)
- Paint
- Tape Measure
- Scissors
- Staple Gun with Heavy Duty Staples
- Twin Size Foam Mattress Pad
- Quilting Batting
- Fabric

Tutorial For Upholstered Bench:
1. Paint bench white. Make sure to get under the bench and around all the legs… Might have realized that I missed a few spots once I thought I was done painting!

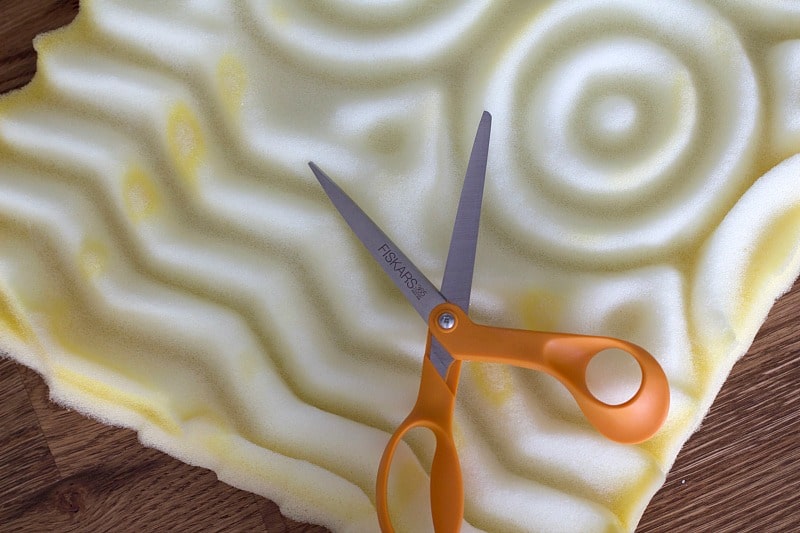
2. Cut the mattress pad to the size of the bench seat. I used my fabric scissors to cut right through the mattress pad. It worked perfectly!
3. Place the bumpy side down so you are able to sit on the flat side. Lay your batting on top of the foam and bench. Cut off excess batting.

4. Iron your fabric.
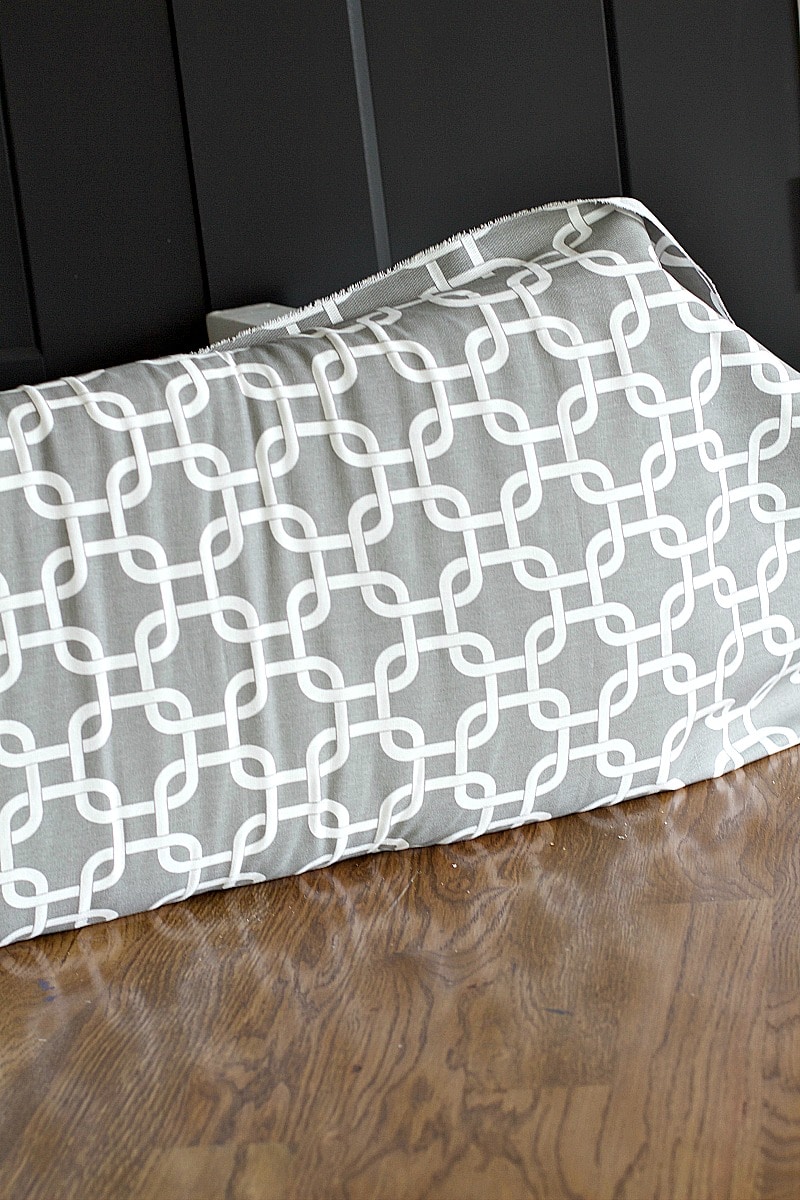
5. Lay fabric, face down, on a hard surface. I used the floor in our entry way. Lay the batting, foam, and bench on top of fabric.

6. Cut off excess fabric.
7. Starting in the middle of the bench, pull your fabric tight and shoot one staple into the fabric, batting, and bench.
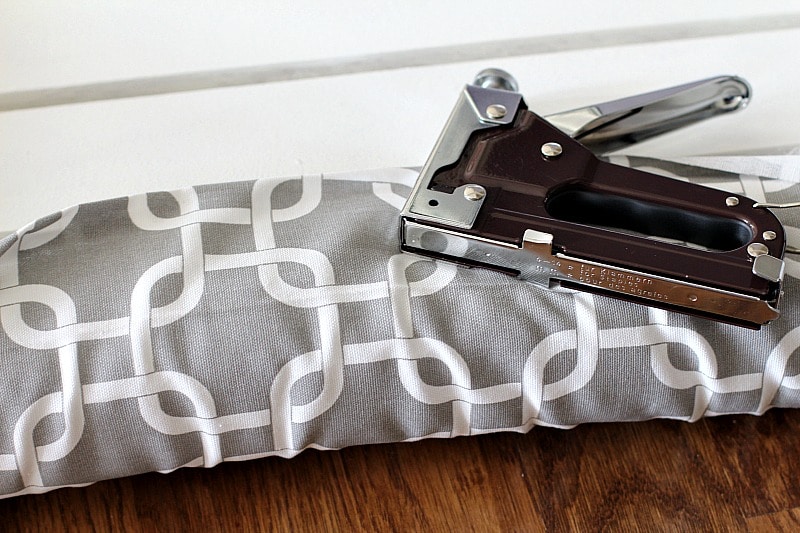
8. Move towards one edge of the bench by pulling the fabric and putting a staple into the bench. I was keeping my staples about 3-4 fingers apart from one another.
9. Once you get to the edge, start from the middle and work your way down to the other edge on the same side of the bench.
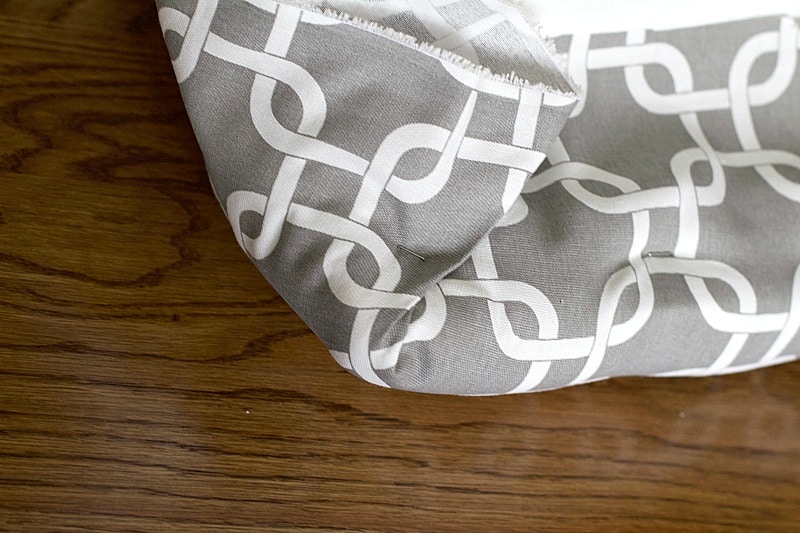
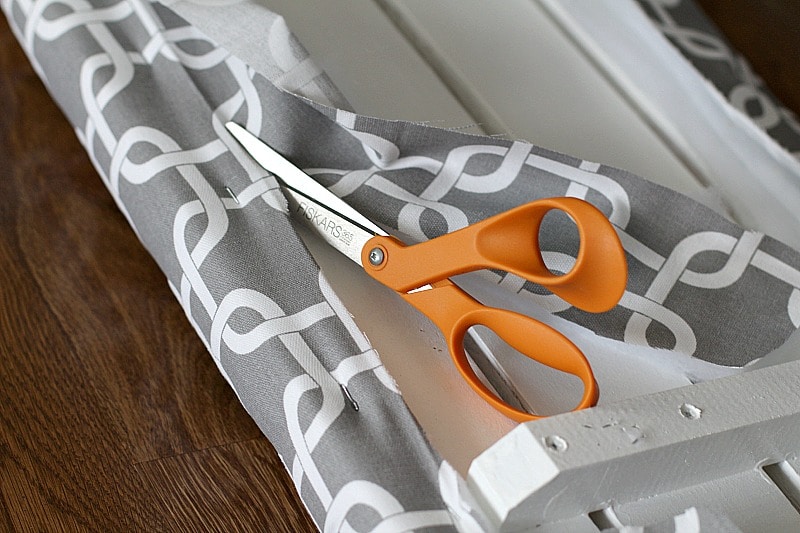
10. To upholster corners, fold your like you are folding a present. You want to make a triangle-shape. Repeat for the opposite corner.
11. Turn the bench on its side so you can pull and adjust the fabric before you move onto the other side. This way you can make sure it will look perfect when it is done!
12. Pull fabric really tight before turning the bench over.
13. Repeat this same process with the other side of the bench.
14. Cut off excess fabric and batting.
15. Turn bench upright and smooth out fabric. If there are any areas that need to be tighter, just pull fabric and add more staples.
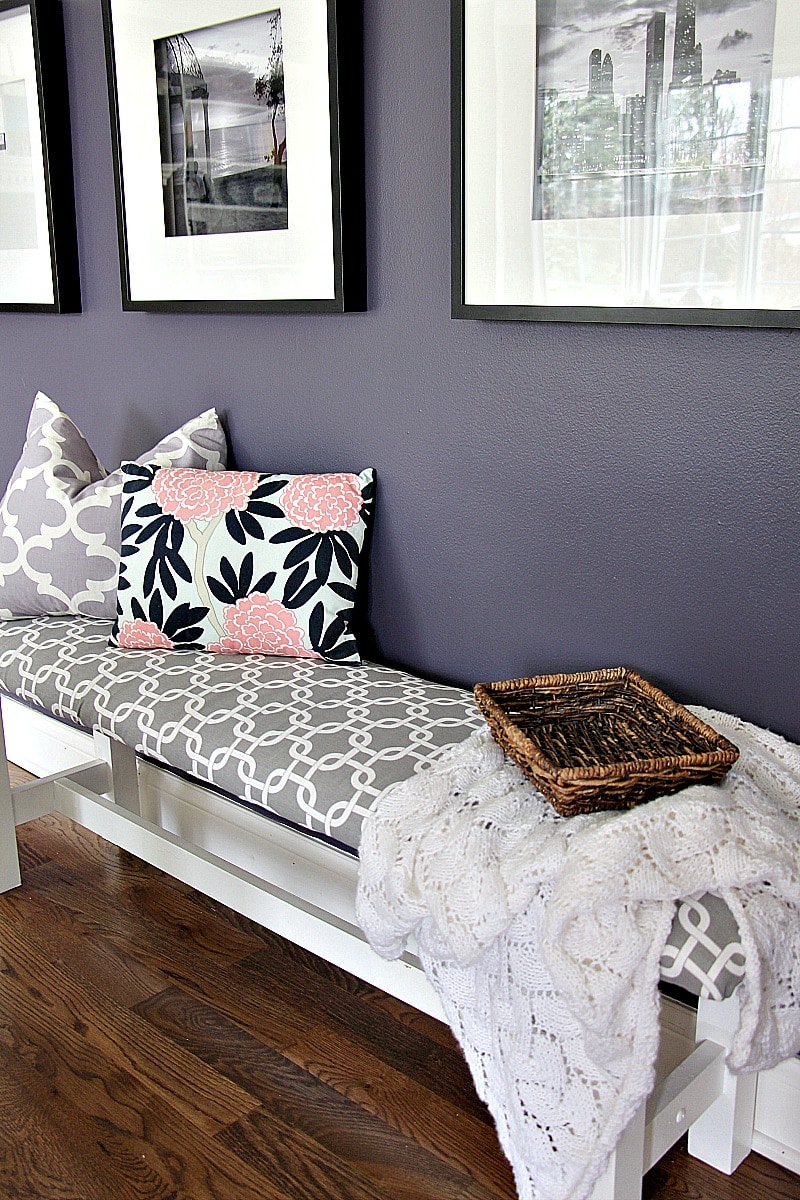
16. Add pillows, a throw, and you are ready to go!
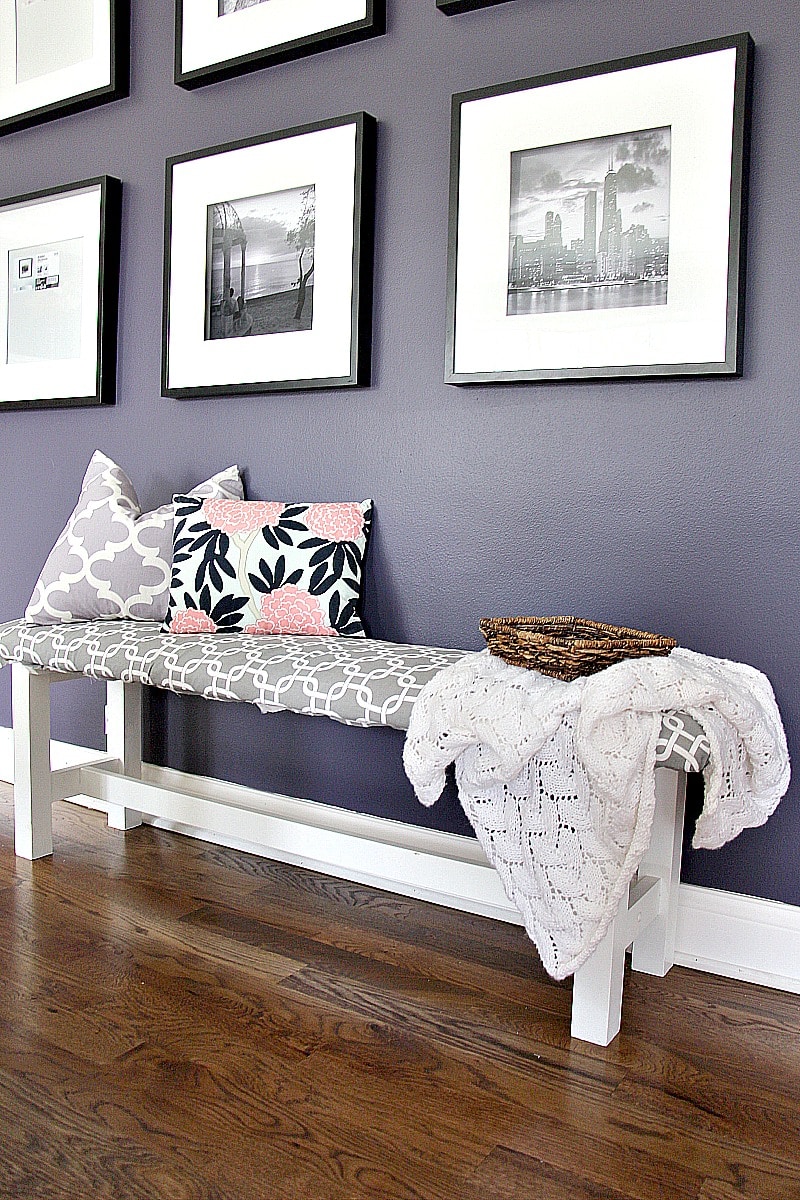
Now you have the most adorable bench that will fit perfectly in your home without spending a ton of money! The biggest reason I love using foam mattress pads is because they are much cheaper than the rolls of foam from a craft store, but totally feel the same!

")


Comments are closed.