

Being an organized person, my office/work space desk is always disorganized. My desk never seemed to keep up with my system to organize craft supplies.
Like, it was so bad, to the point of having to push things aside so I can make space for my computer. It is so not like me to keep something so untidy in our home. But, if an idea strikes, I just have to go with it.
All my crafting materials are super organized in drawers. I am working on labels for all the drawers right now. I just need to find a way to get my labels to stick to the bins.
But my desk and work space is another story.

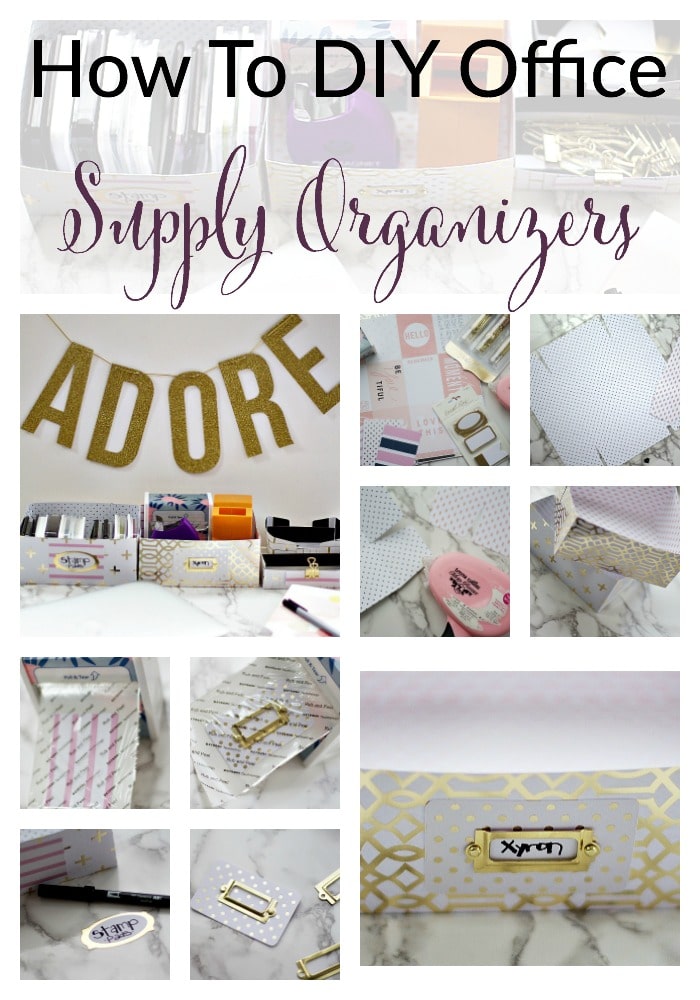
I was in desperate need of some small boxes. So I had the brilliant idea for a craft project for the Xyron Design Team this month!
We were challenged to create a project using Teresa Collins products. And I thought that making office storage products for my work space would be perfect for this collaboration!

Materials:
- Xyron Teresa Collins Mega Runner
- Xyron 3″ Disposable Sticker Maker
- Teresa Collins Paper from Wanderlust Collection
- Teresa Collins Paper from Project Pink Collection
- Teresa Collins Studio Gold Sticky Labels
- Teresa Collins Studio Gold Clip Set
- Scissors
- Paper Cutter Machine with box template (I used the Silhouette Cameo)
Tutorial:
1. Using your paper cutter machine, cut out a box shape on the Teresa Collins paper. I used the Silhouette Cameo with a 3-D box design #29152.
2. Gently peel the paper off the cut mat.
3. Fold box on the marks.

4. Adhere the box together using the Xyron Teresa Collins Mega Runner.
5. Repeat for all the boxes you want to make. Try different sizes to fit in drawers.
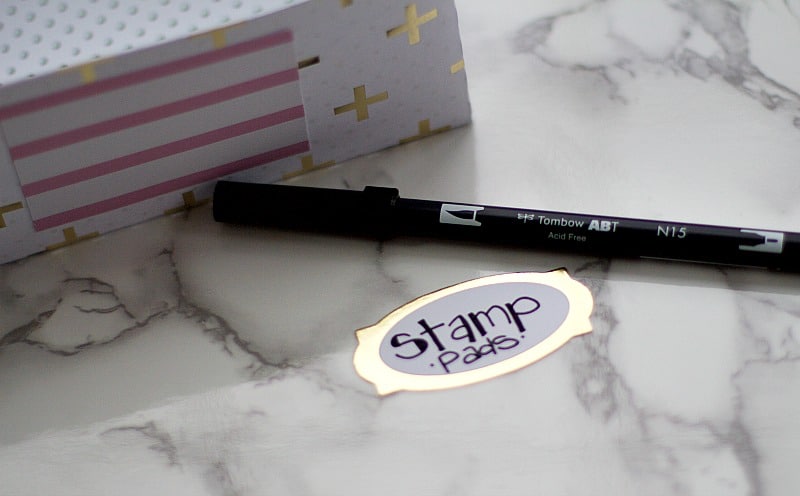
6. To create labels for your boxes, cut a piece of the Teresa Collins paper to the size you’d like.
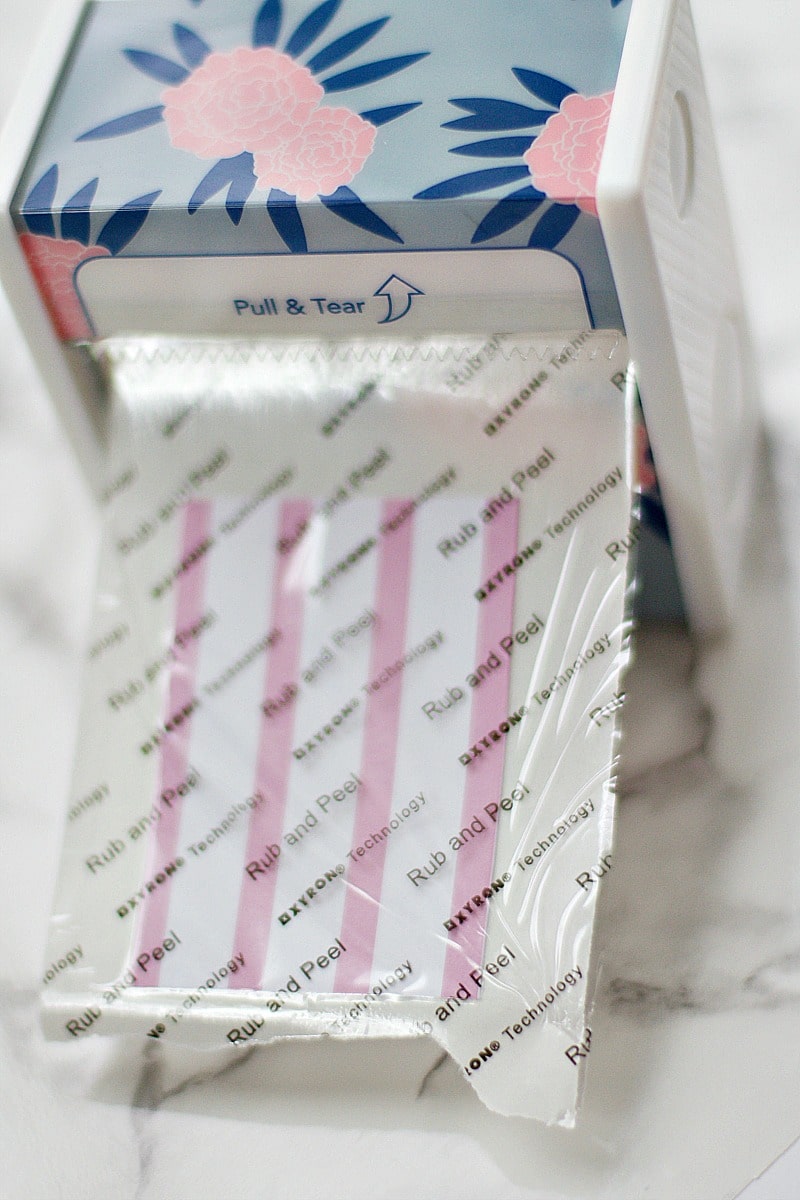
7. Run paper through the Xyron 3″ disposable sticker maker.
8. Adhere to box.
9. Peel off the backing of the Sticky Labels and attach.
-or-
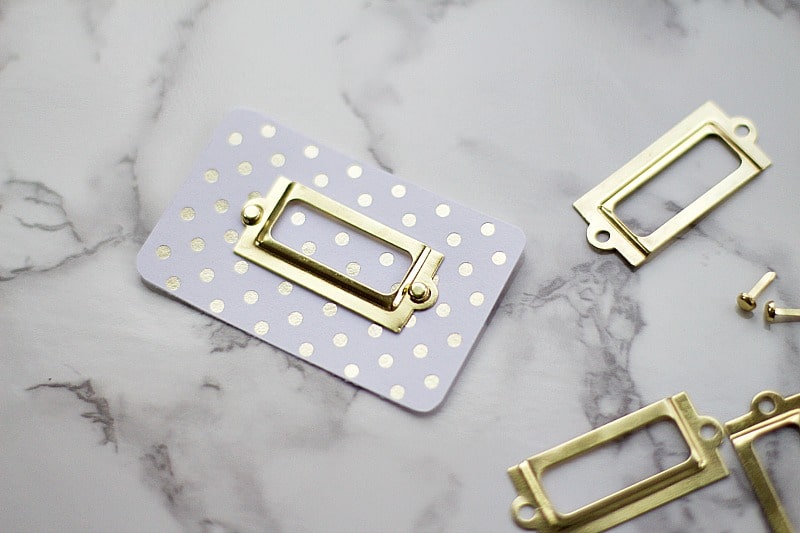
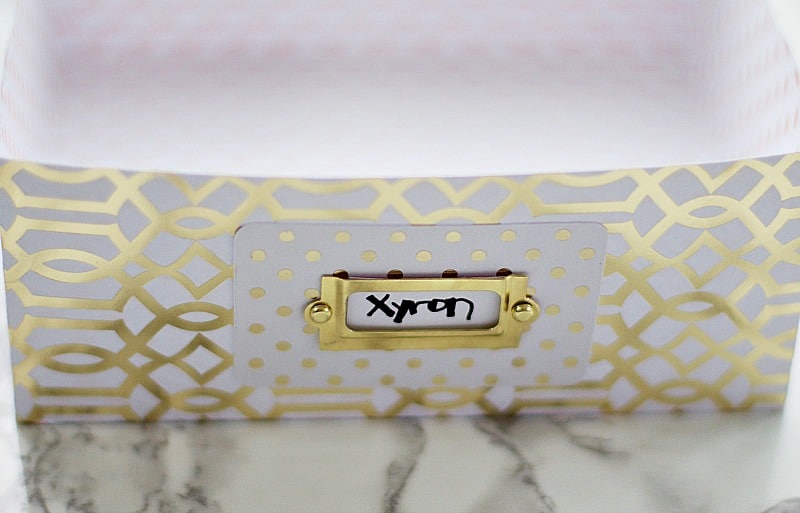
10. Use the gold binders to create labels. Cut paper and attach gold binders using brads.
11. Run paper with brads through the Xyron 3″ disposable sticker maker.

12. Adhere to box.
For a sturdier box, run the box through your Xyron Creative Station with the laminate refill. Attach the box using brads. I did this for drawer organizers for the kids’ craft stuff. The boxes help keep things organized, and I can adhere them to the insides of the drawers to ensure they don’t move around.
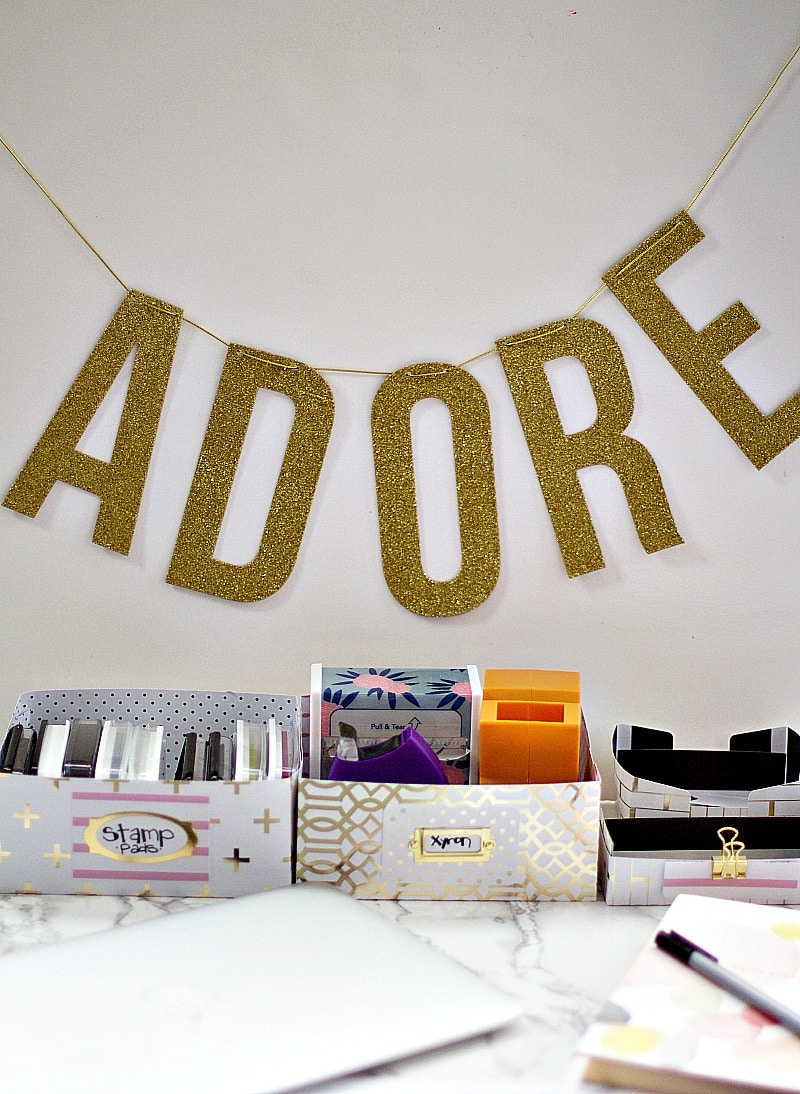
I decided to use the boxes for my desk/workstation to keep my things organized. I am keeping out the products I use frequently. Then, the rest of the products are in my bins that are organized by category.
I just love how the black and gold look in my office/work space! Since we repainted my office, I needed to switch up my decor. This was the best start!
And, I added this adorable “ADORE” sign from Teresa Collins to the space too! It is looking like the space is turning into black, white, and gold, so this Teresa Collins line is perfect for that!!

")


Great ideas Jessica! I love pretty ways to keep — or try to keep — organized! Love all of the gold elements too!
Thank you so much Laura! The gold elements just make the entire project!!