

I am obsessed with gallery walls, (or a way to showcase things that are important, meaningful, or beautiful to you). We have then all over the house. When you walk in our front door, we have six giant pictures of places we have visited on our accent wall staring you right in the face. On the wall near our stair case, I have created a gallery wall with family pictures and wall art that just keeps growing every time I print off new pictures. In Adleigh’s bedroom, I created a gallery wall with cute printables to decorate the space. In our master bedroom, I have pictures hanging all over the wall from when the kiddos were first born. The office has some pictures displayed in the form of a gallery wall after a weekend trip to the beach. And many walls in the basement are filled with family pictures, decorative t-shirt canvas, and sports artwork to create a gallery wall.
I think I love gallery walls so much is because I can showcase our photos in a fun and exciting way, that doesn’t bore me. I know people get intimidated by the thought of trying to arrange the pictures to look perfect, but I love the haphazard look of some gallery walls, especially my wall near the stairs, as it is constantly growing.

Frames:
One thing remains the same with every gallery wall I create… I keep the frames the same color. I know that there are articles out there that talk about using different frames to create more interest in the wall, but I find it difficult to actually pay attention to the art or photo in the frame in that scenario.
When picking my frame color, I look at the space first. The wall by the stairs is a beige-y color, so I knew that white frames wouldn’t stand out as much as black frames. I had to decide if I wanted the frames to pop, or if I wanted the images within the frames to pop. I decided to use black frames, as my pictures were going to be family photos. By using black frames, from a glance, my wall will pop, but once you take time to look, the images stand out because the frames slowly blend together as you look at the wall.
For our accent wall, we went with a dark grey color and all the pictures were in black and white. In order to make the pictures stand out, I needed to use a white mat to allow the pictures to shine. The frames for this wall didn’t really matter, so we went with black as we didn’t want to overpower the beautiful pictures.
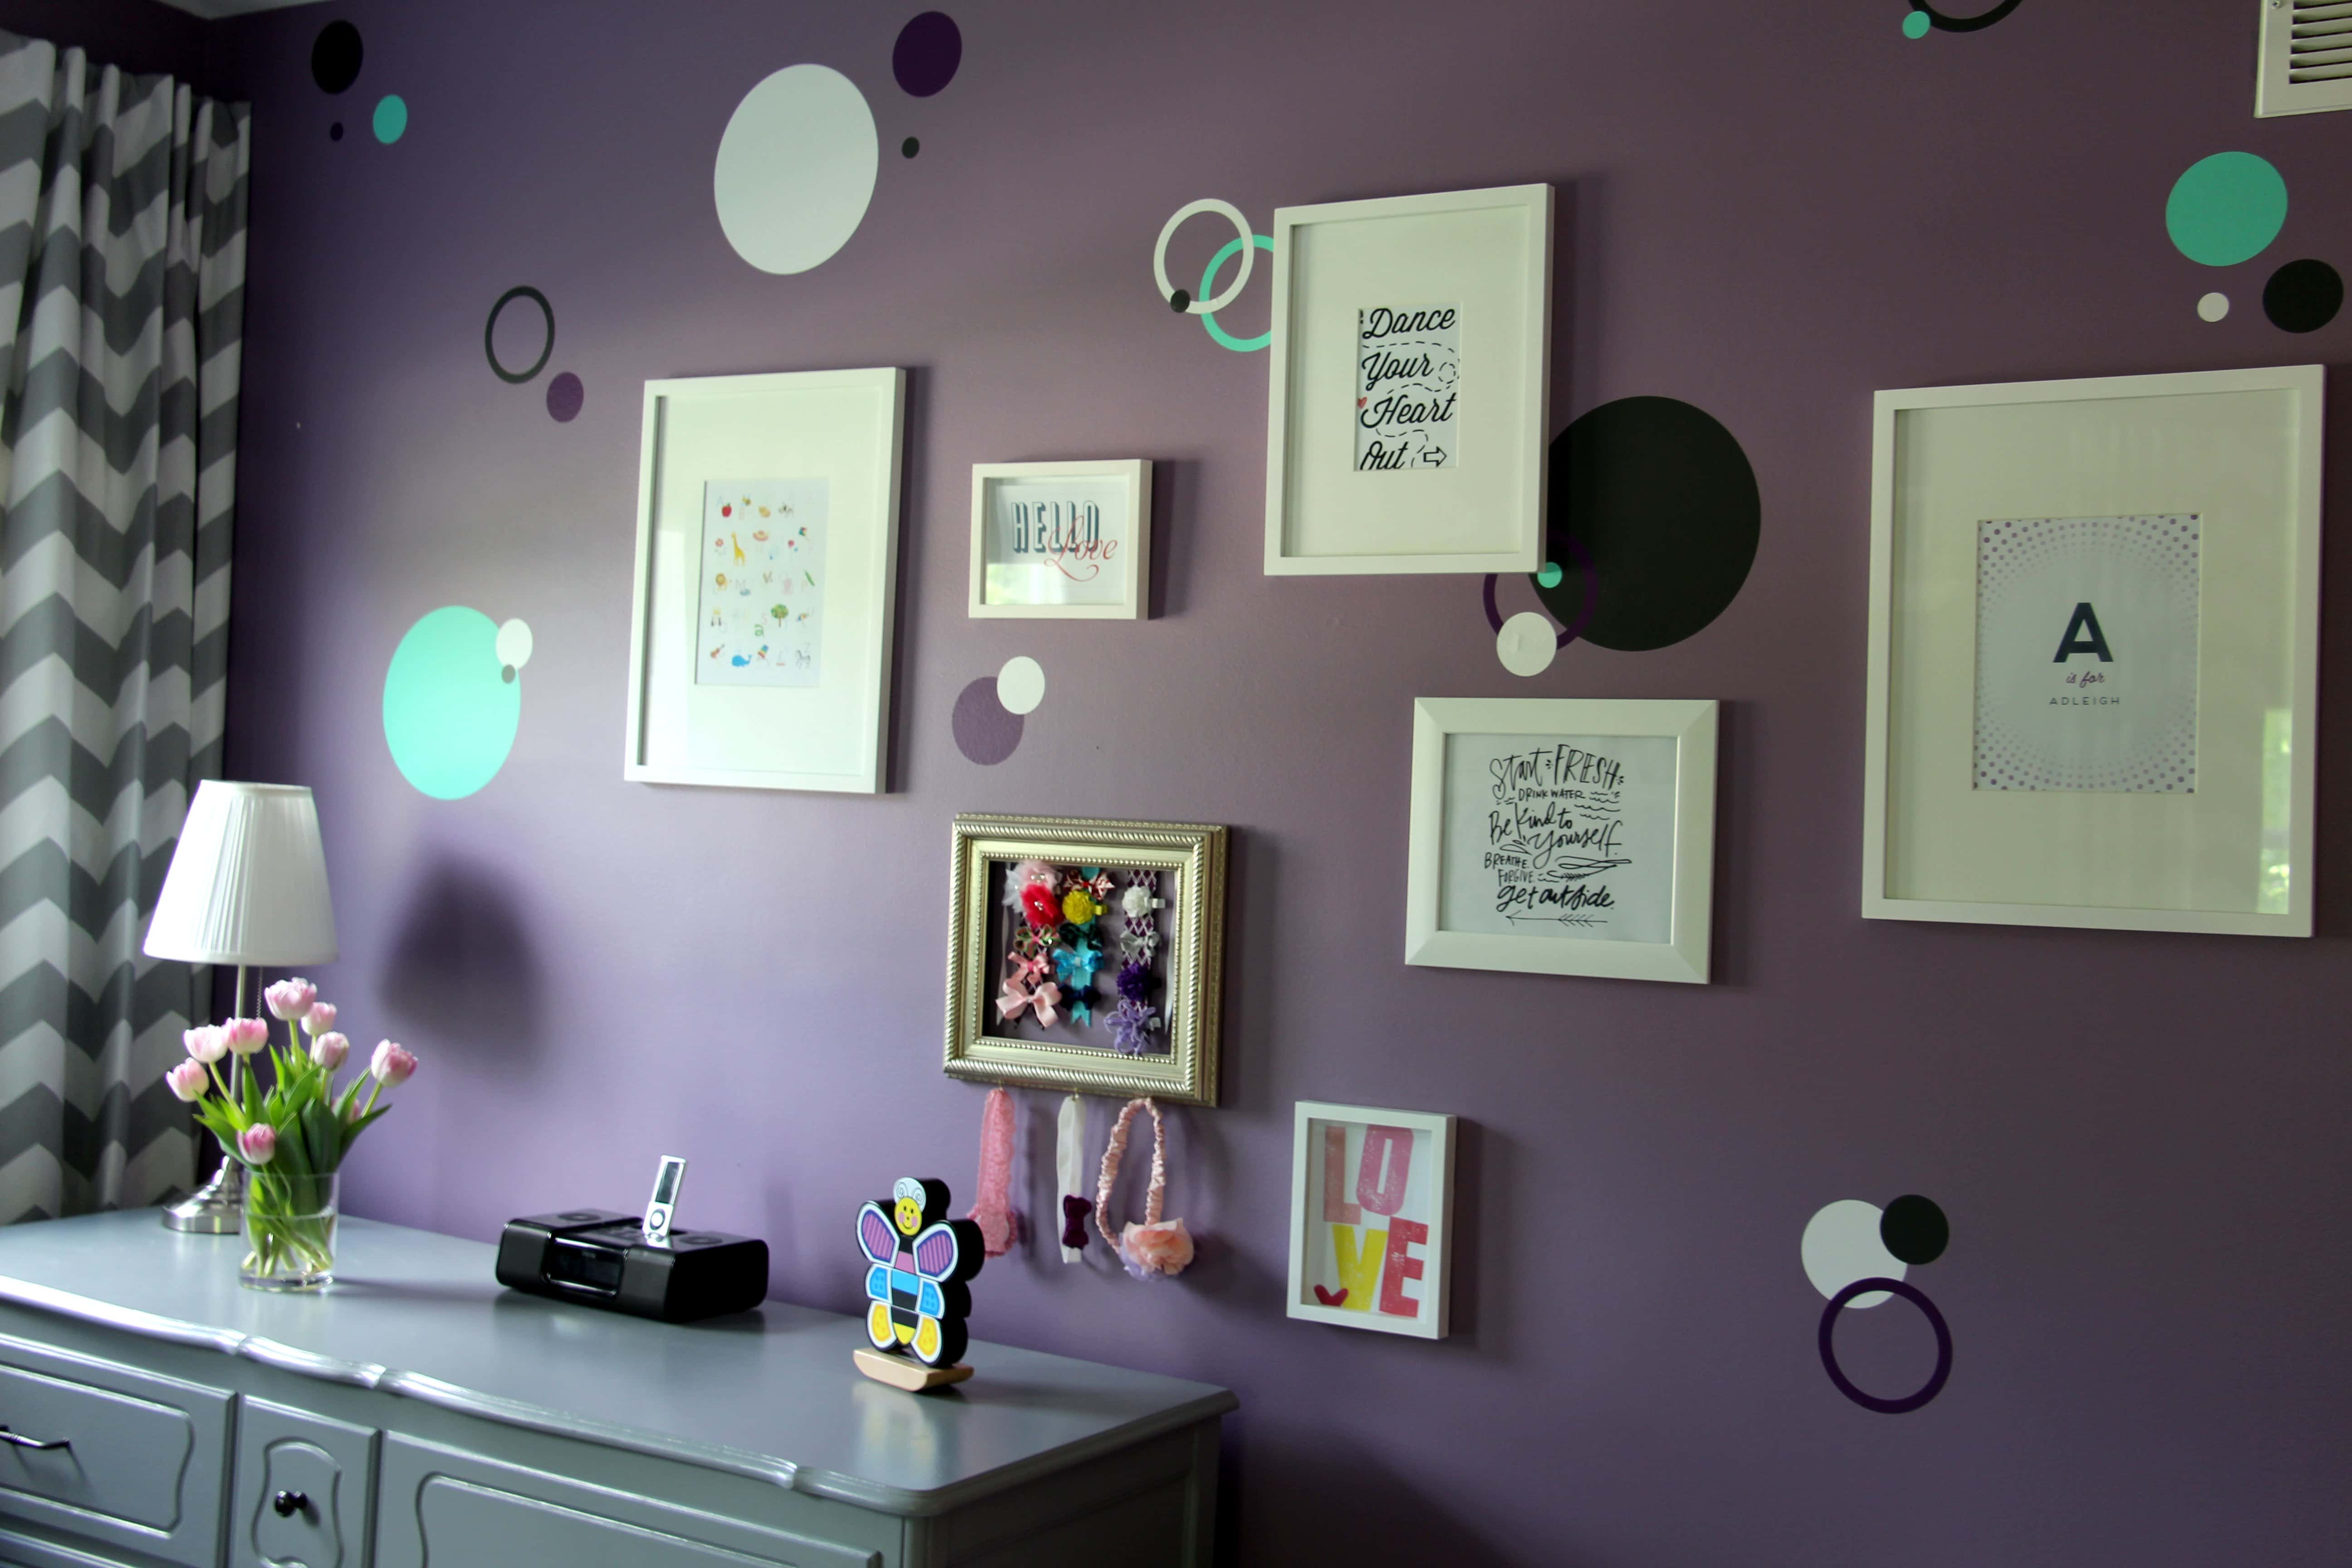
In my daughter’s room, I knew I was using all white frames because her furniture is all white and her walls are a purple color.
Set-Up:
There are so many tricks when it comes to setting up a gallery wall. I have probably tried every trick that there is on Pinterest in regards to setting up a gallery wall, and my biggest take-away from all those trial-and-error attempts is that it takes time, and, depending on what you want the look of your gallery wall to be, some of the tricks will never work!
When creating a gallery wall with clean, straight lines, I suggest using a laser-level and a Hang & Level Picture Hanging Tool (amazing purchase by the way, but more on that later). The laser-level will help you keep the tops of your frames lined up, creating the clean lines you might be looking for.
But to create a haphazard wall, I would suggest starting in the middle and working your way out on both sides of the wall. Just eyeballing it to see what looks good to you. I always start with a big picture or artwork in the middle, then use two or three smaller pictures around the big picture. Then add some other size pictures or artwork on either side. I try to balance out the artwork on either side by creating visual lines. If I place a piece of artwork higher on one side, I will place another piece lower on the other side to create visual balance.
To create a symmetrical wall, I would suggest cutting out paper to the size of the frame and taping them to the wall, using a laser-level. Once you feel you have created symmetry, hang the pictures in the place of the paper. I like to start with two larger frames on the “ends” of my gallery wall. Then I work my way towards the middle, using smaller frames and pieces of artwork. For this look, it’s easier to use the paper, so you can move things quickly and easily. Again, I just step back and look at the entire wall as a whole. If I like how it looks, then I hang up the pictures. If something doesn’t look right, I will rearrange the paper until I like how the wall looks.

Tools:
There are so many useful tools for hanging pictures, and I am sure we have tried almost every possible tool there is. Some are incredibly useful for creating gallery walls, while others are either a waste of money, or not helpful for this particular project. There are six things that we always use when we are hanging up any type of gallery wall: Hang & Level Picture Hanging Tool; Laser-level; Command™ Picture Hanging Strips; a good hammer; sturdy nails; and picture hanging hooks.
Having a good hammer will help when you are nailing things on the wall. We have a really nice hammer, but my brother has a rather cheap hammer, which makes it hard for him to hang things. When he was setting up his chiropractic office, he was trying to hang things using a cheap hammer, and he was having a difficult time. But when he started using my sturdy hammer, he was able to hang things up with minimal effort.
A laser-level that can attach to the wall makes keeping a straight line while you hammer incredibly easy. Also, the Hang & Level Picture Hanging Tool has come in useful for most of the gallery walls we have done. You just hang your picture on one of the hooks, adjust to where you want to hang the picture, use the level that is on the tool, and push the hanger into the wall to mark where you need to nail. This tool has saved us a lot of time, and makes picture hanging a breeze. Finally, I use the Command™ Picture Hanging Strips to secure the pictures to the wall once they are on a nail or picture hanging hook. This way, the pictures don’t move or become lopsided if someone bumps the wall, or I’m dusting.

")


Comments are closed.