

Last week I shared the reveal of the kids’ bathroom. I am still amazing that by painting the cabinets and changing out the knobs, the room feels totally transformed! I honestly can’t take the credit for painting the cabinets, but I did pick out the knobs and paint color. My husband, the incredibly, yet messy, painter deserves the credit for how beautiful the cabinets look. But there was one project I have to say, I am rather proud of that is hanging in that bathroom. And that project is the window valance I created!
This has been a project I have been trying to complete since we moved into the house. The kids’ bathroom window just needed something to spruce it up. While I tried curtains, honeycomb blinds, and leaving it bare, nothing felt right. The curtains and honeycomb blinds blocked a ton of natural light, which makes that bathroom so bright in the morning. Leaving the window bare left the room lacking something, and feeling unfinished. I thought, why not create a valance box to put over the window to give it a finished look. So, here we are, almost three years later, and I am finally sharing an incredibly easy tutorial for creating a window valance.
I was super nervous to create a valance box because it looked like it was a lot of work. But, I quickly realized this is an incredibly easy project! To start, figure out where you want your valance box to hang, then measure the window. I decided that I wanted our valance box to cover the entire window, including the casing, so I added a half inch to each side. I did this so I had room to hang the valance box on the wall. Then, we measured to figure out how far out we wanted the valance box to hang. We only wanted it to hang out a few more inches than the casing of the window, but since out casing is rather thick, we needed to measure to make sure it would look natural.
Once we got the measurements of the window, we went to Home Depot to purchase some wood. We decided on pine wood because it’s pretty solid and easy to work with. Giving them the measurements, we had the people at Home Depot cut the wood for us. We also bought “L” brackets to attach the sides, and two “D” rings to hold the valance up once we finished.
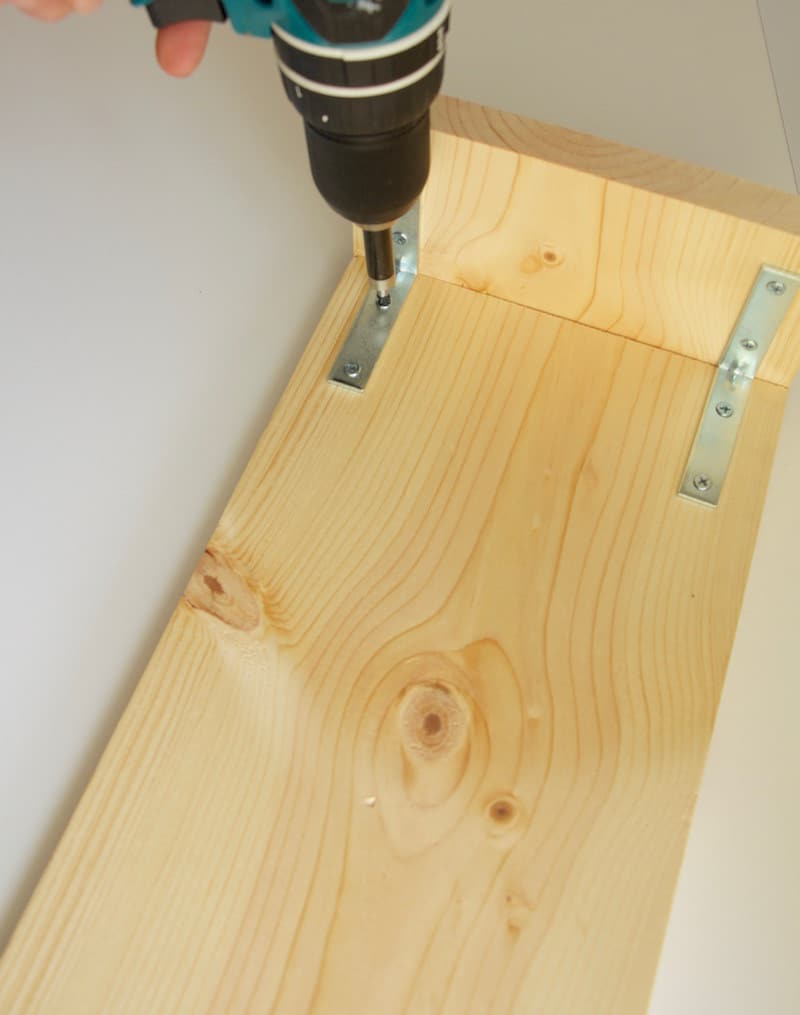
When we got home, we got right to work. First we laid the long piece of pine wood on a solid, flat surface. Then, we attached a small piece of wood to the long piece of wood using two “L” brackets. We repeated this for the other side.
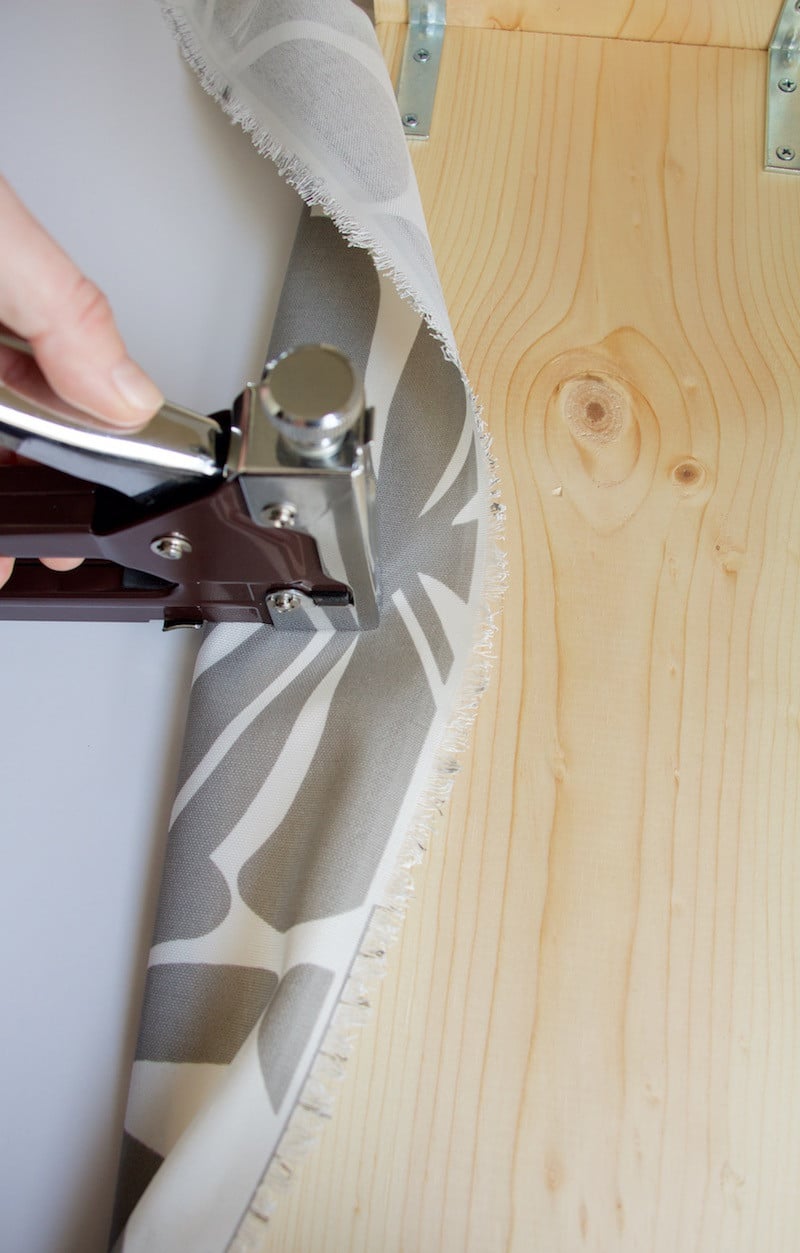
Then, taking some leftover fabric I had from the bench cushions I made for the play room, I upholstered the valance box. I used my staple gun to attach the fabric to the wood. I ended up folding the sides over the valance box like I would wrap a present. We attached the “D” rings to each side of the valance box.
So creating the valance box wasn’t tricky at all! Hanging it was kind of a pain, but I think we got it figured out. We started by taking painter’s tape and placing it over the underside of the valance box. Then we poked holes where each of the “D” rings were. This would give us a better idea of where to hang the valance box. Removing the tape from the underside of the valance box, we placed that tape on the wall. Then, using a laser level, we leveled out the tape. We marked where each hole was in the tape on the wall using a nail. Ben put in some wall anchors before he put in the nails to hold up the valance box.
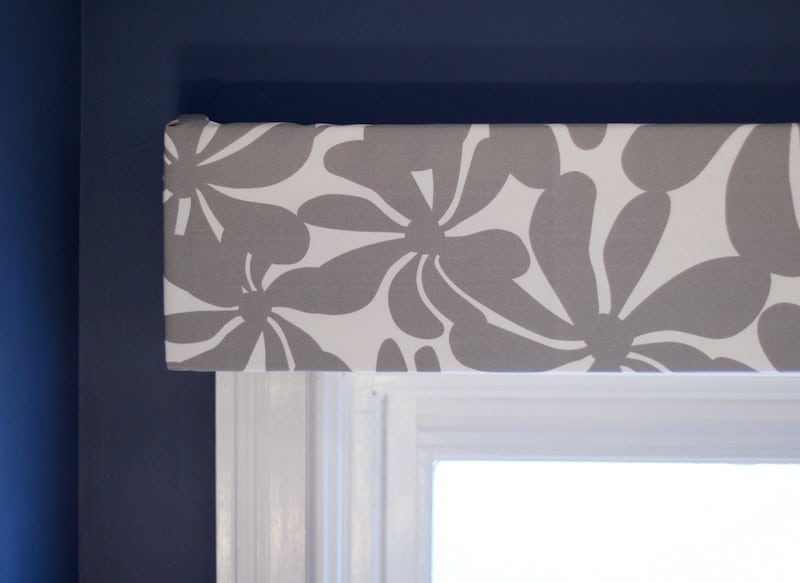
Then we hung the valance box over the window. The valance box looked like it was falling off the window, so we had to play around with making it even and flush to the wall. When we do this again, I think we will use the saw-tooth hangers, as it will help the valance box lay flush against the wall.
I am so happy with how well it turned out, and how easy it was to create! And, since it was so easy to create, I am going to be making these for almost every window in the house. But, I need to find fabric that works! And just to review, below is the steps to creating your own valance box.

Valance Box Tutorial
- Measure window, both width and depth
- Purchase:
- Wood
- Four” L” brackets
- Two saw-tooth hangers
- Fabric
- Cut wood to size
- Attach sides using “L” brackets
- Upholster wood using fabric and staple gun
- Attach saw-tooth hangers to each end of the valance box
- Measure and level before hanging up valance box (use tape to ensure accuracy)
- Hang up valance box
- Stand back and enjoy your work

")


Saw tooth hangars likely will not work as the wood is only 1″ thick. What do others do?
I haven’t had a problem with the saw tooth hangers on the valance as they come in other sizes! But you can use a “D” ring to attach to the wall as well.
Hi! The timing of seeing this article is perfect as I was just thinking of how I could reupholster my living room/office valance box! I just LOVE the pattern you used here, it’s so pretty. Any chance you might remember the maker/style name? Thank you!