
I love a good label. Might have a slight obsession with labels, but that’s a whole other story. I find it fun to test out different labels for different types of storage. And by test, I mean add a label to a bin and see if it can withstand the wrath of my two kiddos. If it does, then I write about it for you!
We have some adorable bins with rope handles that I have yet to find a way to label that actually lasts. That is until I thought about using felt as a label for these bins.
I tested this label out, and it actually stayed together AND the kids loved them! So I am sharing this tutorial for creating felt label tags in promotional partnership with Scrapbook.com and Spellbinders.
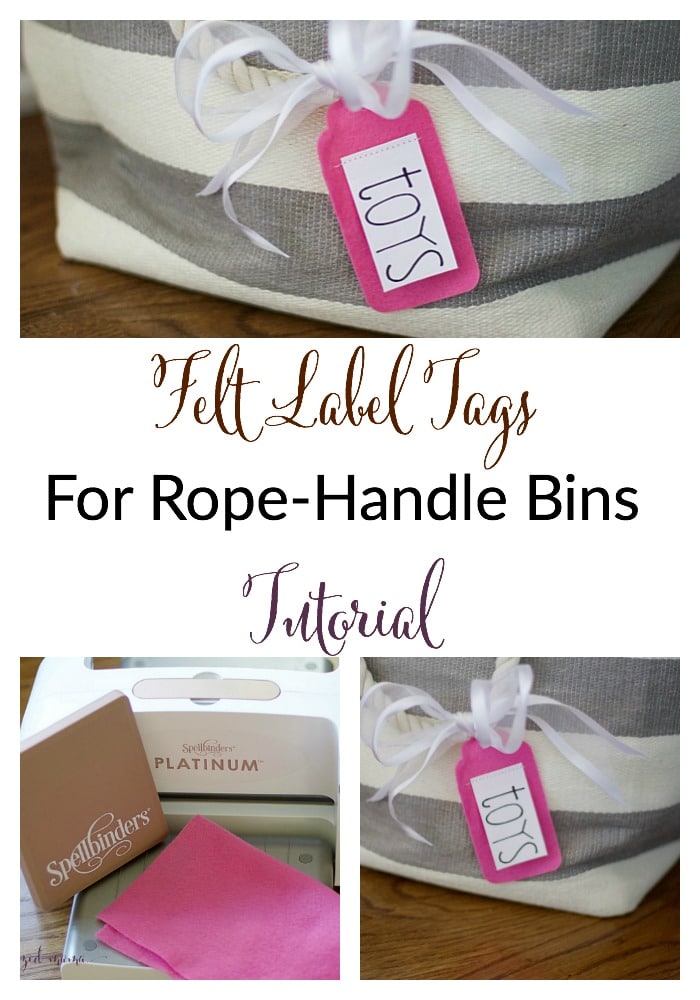
Felt Label Tags Tutorial
Some links may contain affiliates.

Materials
- Spellbinders Platinum Die Cutting And Embossing Machine
- Spellbinders Steel Rule Die, Tag You’re It
- Felt
- Cardstock
- Ribbon
Tutorial
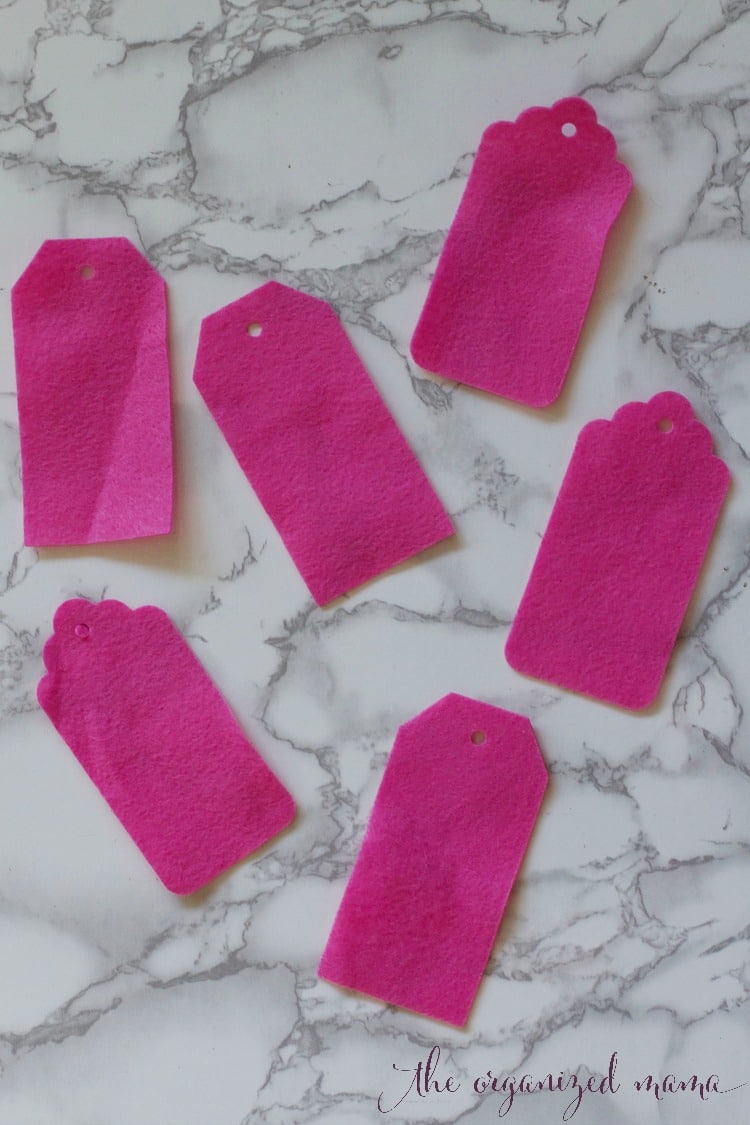
Step One
Cut out felt label tag. Put the clear cutting plate down. Then put the tag die cut down. Put felt on top, then sandwich together with another clear cutting plate.
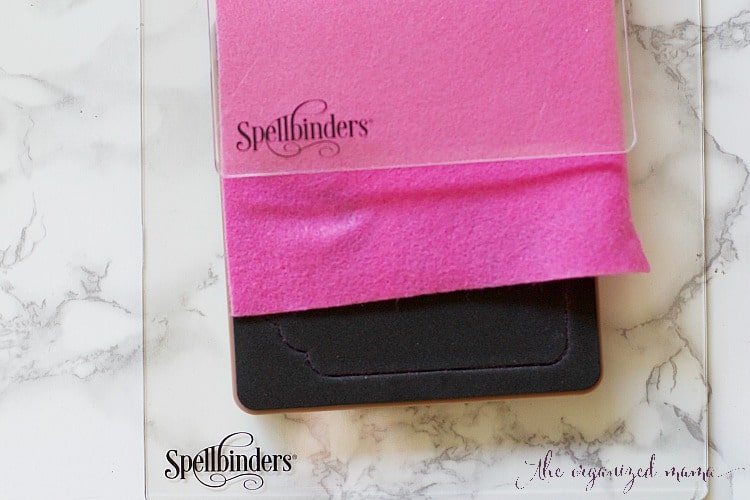
Step Two
Run the felt and die cut through the Spellbinders Platinum Die Cutter.

Step Three
Print off some word labels from your computer onto the cardstock. Cut out to fit on the felt tag labels.
Step Four
Sew the cardstock to the felt tag labels.
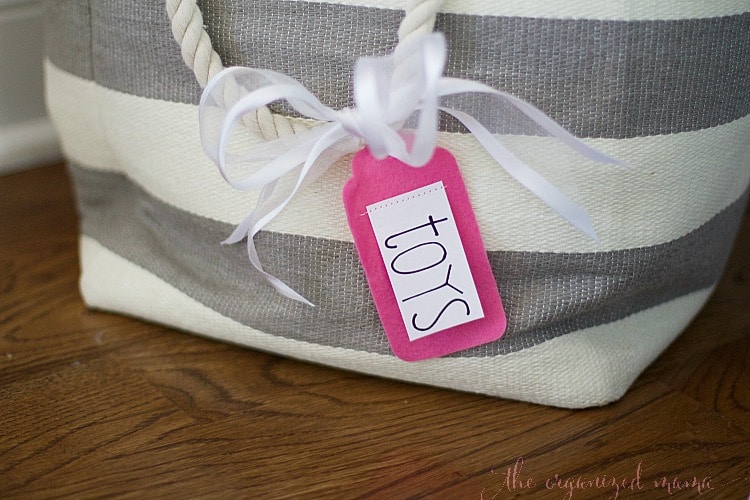
Step Five
Attach the felt tag labels to the rope handled bins using ribbon.
Step Six
Teach the kids how to organize their toys in the newly labeled bins!
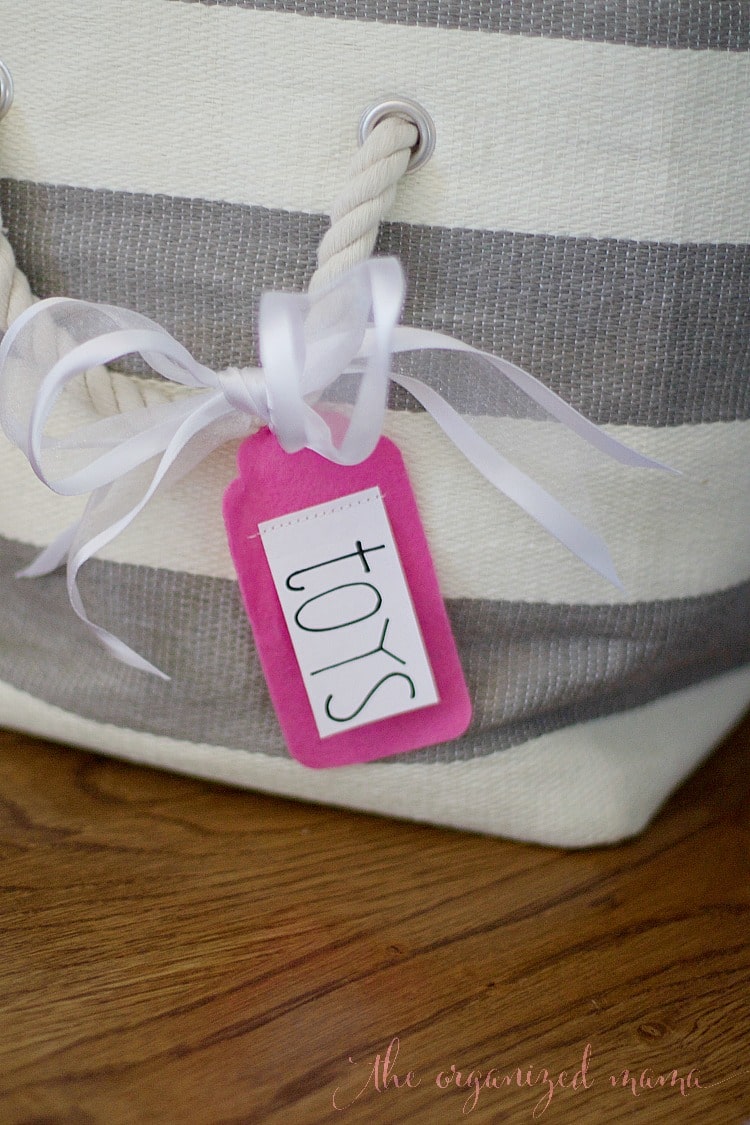
I really love how easy the felt was to cut with the Spellbinders Platinum die cutter. And the fact that the labels are felt, it doesn’t bother the kids like the paper or cardstock ones have in the past. That is why these felt tag labels work for my kiddos!
Need more toy organizational inspiration? Check out my post on how to declutter kids toys!

")


Comments are closed.