

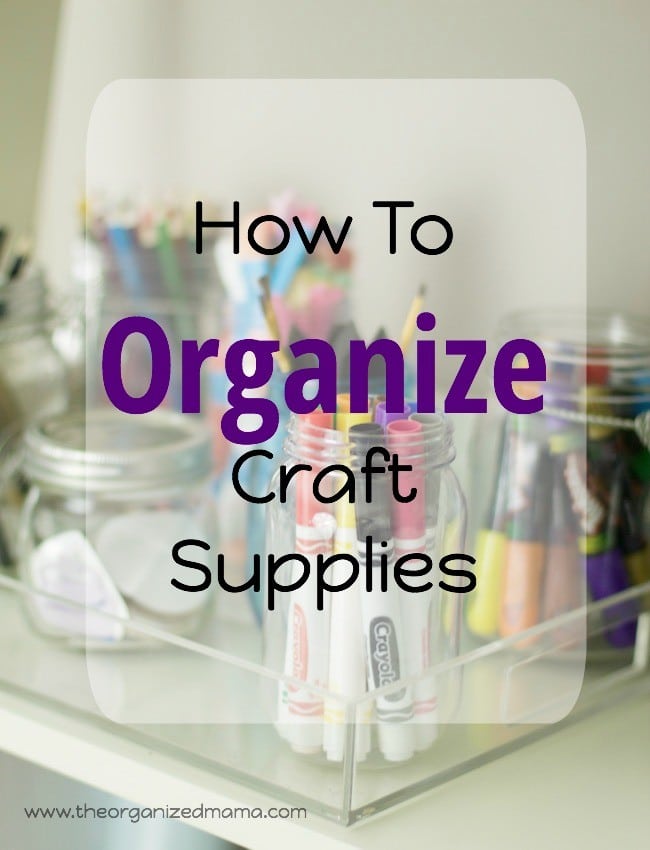
I may or may not be a hoarder of craft supplies. It might be my major weakness. Because when the Target dollar spot has stickers, embellishments, twine, and other crafting goodies, you just have to stock up, right?!?! I have come to terms with the fact that I do have an excessive amount of craft supplies (I justify their number by telling myself that I use them frequently). I have some tips on how to organize craft supplies. With all these years of hoarding crafting experience, I’ve learned ways to keep things organized and tidy!
 Some links may contain affiliates, at no extra cost to you! For more, see my disclaimer.
With my rapidly growing crafting collection, I’ve learned the best ways to organize craft supplies. Regardless of if you have an entire crafting room, closet, or just a corner in your studio apartment, these steps will help you get your crafting supplies organized!
Step One: Empty And Clean
My readers and clients ask how to organize craft supplies often, but it isn’t that difficult if you know where to start! Start by emptying the entire space that you’re working with to get a clear perspective of what you have. Clear the entire area and put everything that you want to store on the floor or in another room. There should be nothing left once you have cleared out your space. I mean, there might be shelves, but no supplies should be remaining in the space you are using to store your crafting supplies.
Clean the entire space before you even think about organizing anything. If you have a shelving unit, wipe down all the shelves and the corners of the shelves. Vacuum close colors and wipe down pull-out drawers. Because who wants to put things away into a dirty shelving area?!
Step Two: Grouping And Sorting
Once the storage area is clean, we can focus on sorting and grouping our craft supplies. I always recommend grouping like items together. For example, all my stamps, stamp pads, and stamp trays would be piled together. All my needlepoint materials would be piled together. My colored pencils, chalk, markers, drawing pencils would be piled together. All my supplies for my Silhouette Cameo would be piled together. Knitting supplies would be grouped together. My scrapbook paper would be stacked together.
As I am going through all my crafting supplies, I also look to see if I have double of something. I look to see if I have things that I haven’t used in a while, materials that I no longer like, or broken/ruined/torn supplies. I will either donate my excess crafting supplies to a local donation center or I will throw away supplies that are no longer in good condition.
Step Three: Bins And Containers
Now, we get to focus on finding the perfect container and bins to hold your crafting supplies. My biggest suggestion when it comes to finding a bin or container to store crafting supplies is to find a bin that perfectly fits all the supplies you have right now.
Do not use a bin that is too small. Your supplies will never fit in that one bin, so you’ll start to lose things and get disorganized again.
Never use a bin that is too big either! You’ll find yourself either buying more supplies you don’t need just to fill up space OR you’ll start to add other supplies into that bin because it’s so large. In either scenario, you will become disorganized. So stick with finding a bin or container that is the exact size of the supplies you want to store.
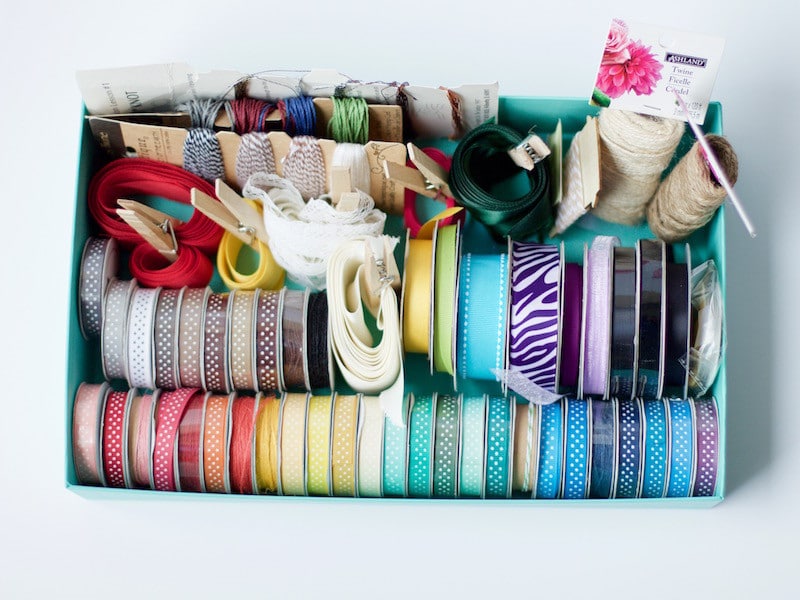
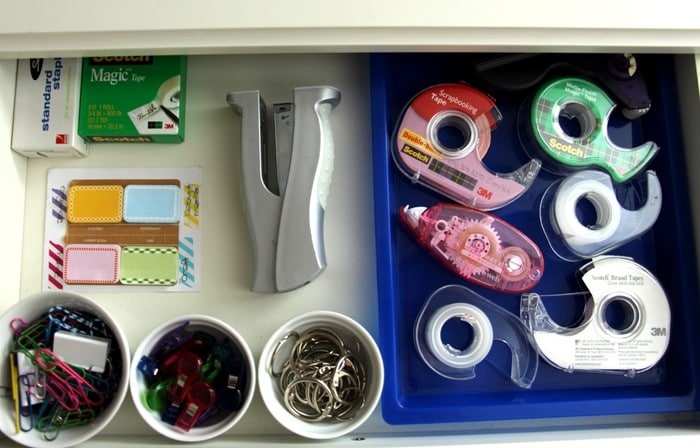
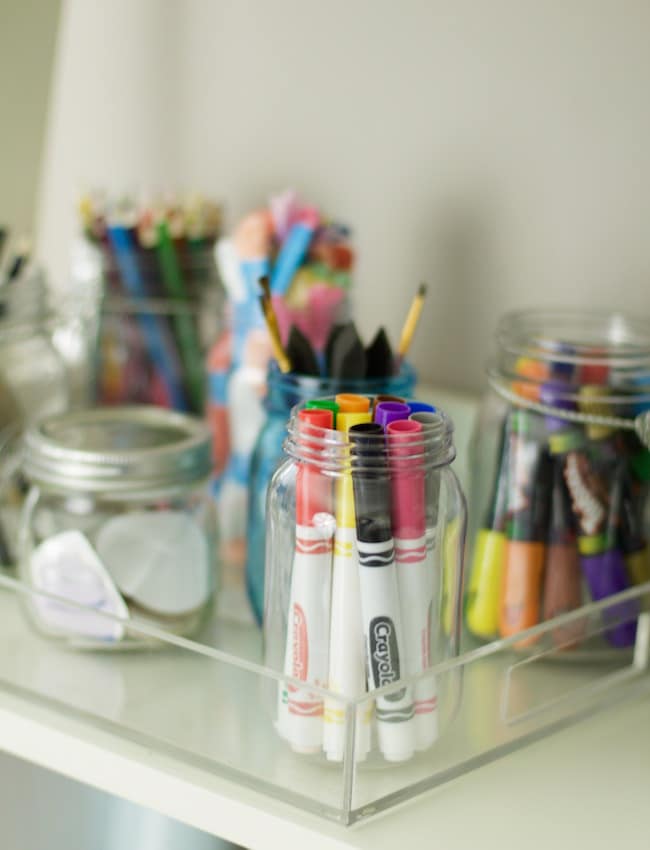
For example, I store all my ribbon in one box lid. It’s a perfect size because I can see all of my ribbons, nothing is lost because the sides are too high up, and my ribbon that isn’t on a spool can be stored by simply looping the ribbon around my finger and held together with a clothespin. Mason jars work great to store my markers, colored pencils, drawing pencils, and my die-cuts. I love using different size jars to store things. I store my die-cuts in a small, fat Mason jar, while I store my colored pencils in a tall jar.
Smaller Spaces
If you have a smaller space, you might want to think about organizing your craft supplies in boxes, like these from The Container Store. I love these boxes for a few reasons. These particular boxes come in a variety of sizes, so they are perfect to store your supplies based on how much of one particular supply you have. They stack beautifully, so you can pile your supplies rather high, without worrying that they will topple over. I’d recommend these for closets or smaller workspaces, as they stack nicely. And, if you are working with a closet, don’t forget about adding some door storage. By adding a few shelves to the door, you will give yourself some extra storage for your crafting supplies!
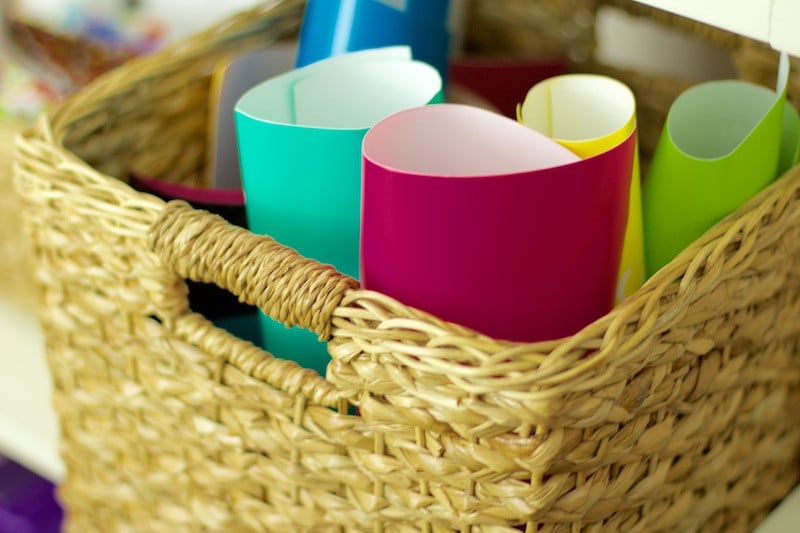
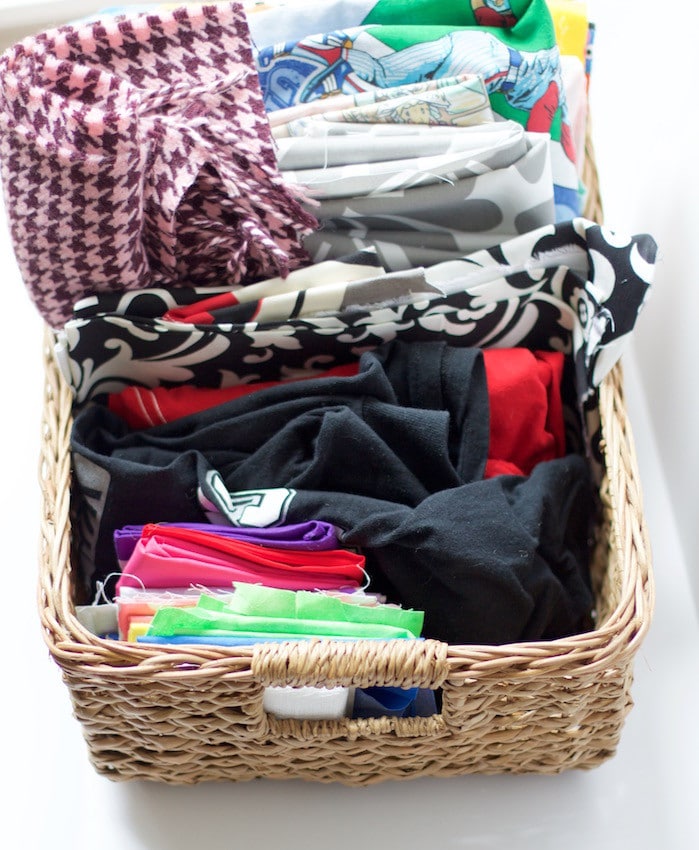
I also love using different items to store my crafting supplies. For example, I use magazine holders to hold my stickers. I store my scrapbooking paper in a legal-size plastic file box, sorted by color. I have my fabric also stored in a legal-size plastic file box, again, sorted by color. My stamps are stored in a cart, similar to this one, sorted based on holiday and/or season. I make sure to find bins and containers that are practical, as well as functional to hold all my crafting supplies. So test out some different types of containers to see what works for you!
Step Four: Labels
You’ve taken the time to find the best bins and containers that fit your crafting supplies at this very moment. But we can’t start thinking about putting anything back until we label all the bins, containers, and drawers. Labeling is a crucial step in organizing your craft supplies!
Every single thing needs to be labeled so you will know where everything is, and where to put your supplies away once you have completed a project. Often, I see clients overlook this step, but it’s crucial to the success of your organizational system. When things don’t get labeled, you will probably get lazy and put something away where it doesn’t go. Then, the next time you are looking for it, you have to search. Then you get frustrated with your organizational system and give up on it. Sound familiar? Just label everything, and you won’t have to worry about figuring out where something goes, because it is all labeled!
Some of my favorite labels are Dry Erase tape because you can cut the tape to size and use them over and over again by simply wiping off the label and changing it to something else! I’d suggest this for people whose craft supplies are constantly changing and growing. I also love this chalkboard tape. It’s perfect for the ever-changing craft supplies as well.
Now, if you feel your crafting supplies are more stable in the amount you have, then you could use something more permanent as a label like using stickers or creating vinyl letters using the Silhouette. Or, you could use your Xyron sticker maker and create some fun labels. Print out some labels and run them through your sticker maker to create easy labels for your bins. I typically do this when I label my drawers with my stamps.
Step Five: Storage
All the bins and containers are labeled, so now we can start thinking about putting everything away. Bring all your bins and containers into the area where you plan to store your craft supplies. Think about how you typically use the space. What supplies do you use frequently? What supplies do you use once a year? Are there supplies you use seasonally? For me, I keep my knitting supplies tucked away until it’s fall because I typically knit in the fall and winter. I don’t knit in the spring or summer, so I swap out my knitting based on the season. I have some shelves under my desk that are more difficult to reach, so in that area is where I store seasonal crafting supplies.
It might help to pretend to create something. Try grabbing those supplies. What are you using? What needs to be out on your craft table or desk? Can you put it away at the bottom of the pile? Think about all of this as you start to put things away. If you always need your paper cutter but stored it in a box, maybe you should think about finding a more functional place for your paper cutter instead of the box. Maybe on top of the box? If you have a crafting closet, maybe think about adding a hook to your paper cutter and hanging it from the door.
The biggest take-away when storing your crafting supplies is to keep it simple. The easier it is to find what you are looking for, the more likely you will be to put it away and keep up with your organizational system. And this is also why it’s so important to label everything, so you don’t lose things in the mix of trying to organize your crafting supplies!
Step Six: Work the Space
Now you’ve put all your crafting supplies away! Congratulations! So you get to actually work the space and see how it is functioning with your newly created organizational system. I would keep a piece of paper out and jot down anything that is bothering you about the space or storage. Live with the space for a few weeks, then make changes based on the notes you took. If you are always finding yourself misplacing one particular item, think about changing up where you store it. If you find that your ribbon collection keeps growing and you can’t find a bin that can hold it all, you might want to separate the ribbon into different categories, such as curling ribbon, lace, etc.
For those of us with growing collections, it’s important to find a bin or container that will fit your newly enhanced collection. I recommend doing this so you are able to actually see what supplies you have, so you can evaluate if you actually need those items. Most of the time, when craft supplies grow faster than we can use them, it is because we either found a new craft we love, or we are collecting more than we need. Visually seeing everything in one place will help tame that clutter that can pile up from an excess of crafting supplies! It can give you the motivation you need to either use the supplies or give some to a friend!
Step Seven: Putting It All Together
It makes me so happy when I have a nice, clean craft room. I’m more productive when everything has a home with a label and I have a clean workspace! I hope these tips on how to organize craft supplies come in useful.
So, as you start to organize your crafting supplies, remember to completely empty the entire space. Clean the space so it’s nice and sparkly before you put anything away. Sort and group like-supplies together while getting rid of old or unnecessary supplies. Find containers or bins that fit the size of the supplies you have. Label ALL the bins and containers. Put containers away, being thoughtful about how you use the space, and what supplies you use the most. Then, work in the space for a few weeks before making any changes. Take note of what you like and what you don’t like. And always remember that if it is easy to clean up, you’re more likely to keep up with that organizational system.

")


What a great post. 🙂
Love all the tips and the detailed organization ideas!
Have a great day!
karianne
Thank you so much KariAnne! If my crafting supplies weren’t organized I think I would be a total mess! Ha!
I so need to do this. I have crafting supplies literally everywhere in my house. 🙄 I mean they are in the garage, the kitchen, the den, my bedroom, and downstairs where my supposed to be designated DIY area is. I’m always trying to find SOMETHING it’s so frustrating. Thanks so much for the amazing and detailed ideas and tips you gave.
So glad that you found it helpful!! Once they are organized, it’s amazing!
I am drown in my cake “toys” Use to have a whole room and know even when I only have a 1/4 of what I use to have, but living in the apartment have a good size closet and a wall in the dining room, still can find things,or have the inspiration and drive I use too and I hate it🤔 This article sure is awesome and touch everything in organization for a craft room… hope this gives me the push I need…
So glad it helped!! Hope it comes in useful for all the cake supplies!!
Great article. I love to organize, guess it goes with elementary education.
Your first two paragraphs really describe me. Selling house and can’t wait to set up new craft room in a new house, everything in storage now.
What do you suggest for labels for a tall wood chest that I store crafts in? I have a label maker but am unsure about this.
If you are looking to label the outside of the chest, then use vinyl labels. If you want to label the inside then use a label marker!
My wonderful husband recently created a crafting space for me! I’m working on organizing it, as I’m not a very organized crafter. I came across your post and I really appreciate your tips. I guess the part of organizing I always get stuck on is am I supposed to organize supplies by type, or what it could be used with? For example, I seem to find two categories each piece could fit into (like 4th of July ribbon – could go with regular ribbon or could go with other 4th of July materials in its own bin), get overwhelmed and hit a wall. Could you offer any advice so I can move forward?
Hi Jessica! My biggest suggestion is to make a quick decision on how you are going to store your things, by holiday or by type of item. If you have a lot, it may work better storing by type of item. So all ribbon goes together. Then when you need 4 of July ribbon, you just look through your entire collection! But I wouldn’t mix the organization of it all. Stick to by type or by holiday but don’t do a little of each!
When I get stumped where to put something . I think when I need it where would be the first place where I’d look for it. I also use sub sets /files whatever u wanna call it. Like ribbon , then id go holiday, then color, or by size. LoL idk how many times I’ve reorganized something, then forget what I did , because I don’t mark it. lol .
Oh I totally get that! That’s why labels are so important!