

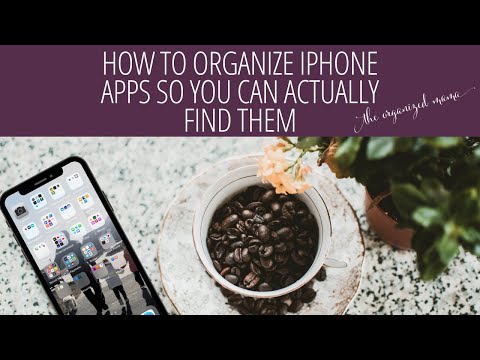
Whenever I open my phone, I get a lot of questions about how I organize my iPhone apps. While it isn’t all that “genius”, it does take some time to figure out a system that will work for you. For me, I need all my apps to be organized into folders based on the type of app they are used for.
I do this because I can easily find everything on only two screens.
My husband has about six or seven screens he has to flip to to find the app he is looking for.
So, if you are looking for a better way to organize your iPhone apps, this is the perfect tutorial for you!
How To Organize iPhone Apps
1. Remove any unwanted or unused apps
The first thing you have to do when organizing your iPhone apps is to “trim the fat” if you will. Go through all your apps and remove any that you are not using or you just don’t want anymore.
To remove, start by holding down on the app you want to remove. It will prompt you to “rearrange apps”. Click that. Then click the X to delete the app.
2. Group together based on how you use them
Once you have deleted any unused or unwanted apps, it is time to group them together based on how you use them. Not by color. Not by type. But by how you use them.
Start by moving one app and placing it on top of another app that you use together. This will create a folder. Keep adding apps to that one folder based on how you use them.
So, if you like to take pictures and edit the pictures, I would put your camera and photo editors in one folder on your phone. It just helps you find all the things you need when you are using the different apps you have on your phone.
For myself, I have all my photography apps in one folder. I have another folder for photo editing apps. I keep another folder for my e-readers and podcasts. Since I use those apps together, let’s say when I am taking the dog for a walk, I have one folder to open with many options of things to listen to while I am walking the dog.
3. Name that folder
This one is a big one when organizing iPhone apps. You need to name the folder, not let your phone decide on what to name it.
I like calling my app folders what they are used for. So my folder with all my photo editing apps is called “photo editing”. My phone wanted to call it photography, but that wasn’t what was in that folder!! See why I always change the recommended name to something that is more useful?!?!
4. Repeat to organize iPhone apps
Then you need to repeat this entire process for every type of category you have on your phone to organize iPhone apps completely!
It will take some time to get them all organized, but once they are, you will see how much easier things are when your iPhone apps are all grouped together based on how you use them!

To recap, to organize iPhone apps, start by removing any unwanted or unused apps. Then group the apps together in a folder based on how you use them. Name that folder! Don’t just go with whatever your phone thinks. Actually name it what you use it for. Then repeat until all your apps are in folders and totally organized!!

")


