

So I don’t really enjoy cooking. My husband is the one who does the majority of the cooking in our house. But when it comes time for him to find the kitchen utensil he needs, I need to make sure everything is organized and tidy. Because he does not enjoy searching for the item he needs. When he gets cooking, you really can’t interrupt the process by having to search for a particular kitchen utensil.
So to keep him happy in the kitchen, I have 4 easy tips to organize kitchen utensils in under 10 minutes!! Seriously! If you follow these tips and discard what you don’t use quickly, this entire process should take you no more than 10 minutes. You can get all those kitchen utensil organized really fast if you follow these tips and be super decisive about what to keep and what you can part with.
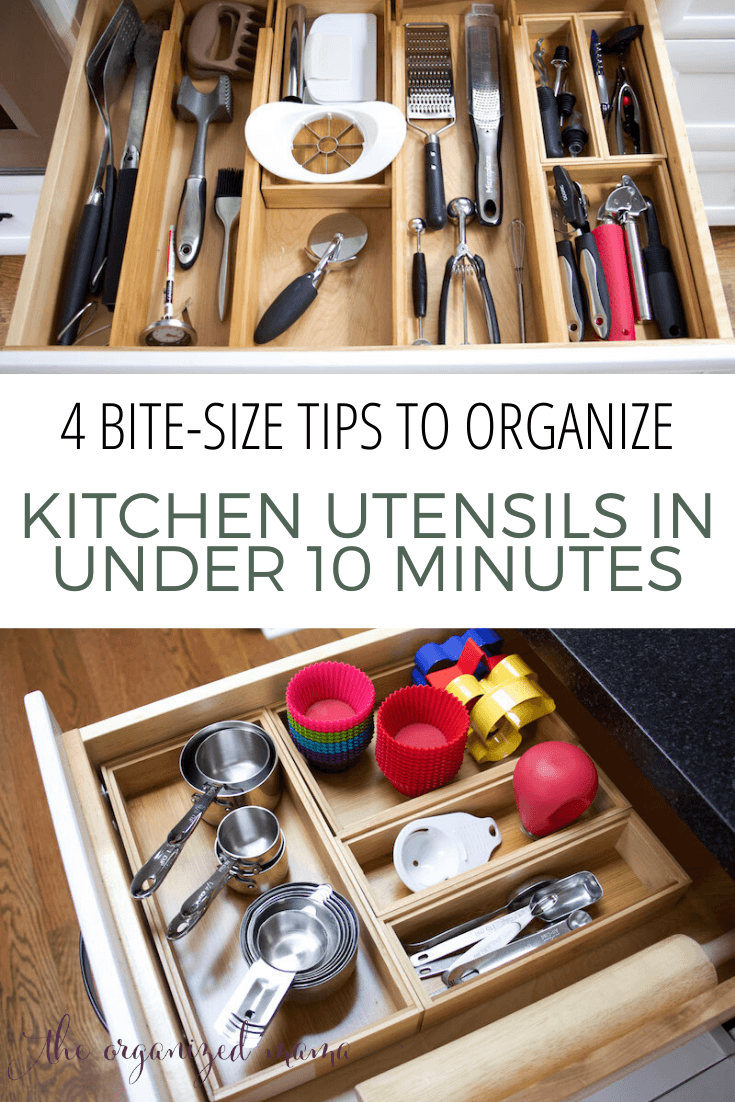
4 Bite-Size Tips To Organize Kitchen Utensils In Under 10 Minutes
This post is sponsored by iDesign. All thoughts and opinions are my own. Some links may contain affiliates. For more info, see my disclaimer.
I want to start and specify what I mean by kitchen utensils. There are many different ideas of kitchen utensils, so I created a list of all the utensils I am talking about here. Things like forks, knives, and spoons for eating are not included, along with kitchen knives. I have other suggestions for those. These are the kitchen utensils you use when cooking or meal prep. When I say kitchen utensils, there are many different ideas that can come to mind. For this article, I am talking about about the items you use to cook. These kitchen utensils list includes (but not limited to):
- Kitchen scissors
- Vegetable peeler
- Garlic press
- Graters/Zesters
- Measuring cups/spoons
- Sieve
- Rolling pin
- Can opener
- Stirring spoons
- Slotted spoons
- Spatulas
- Tongs
- Mashers
- Whisks
- Ladle
- Food thermometers
- Pizza cutter
- Cork screw/bottle opener
- Grilling items
1. Collect All Kitchen Utensils
The first bite-size tip is to collect all the kitchen utensils you have around your kitchen. This is the easiest part of this entire process. Mostly because you just have to round them up and put them on your counter. Whenever we are organizing a client, we make sure to check every drawer and cabinet. Collect every last kitchen utensil. Even the spoons you have sitting on the counter. This will help you see how many items you actually have. Then lay out all the kitchen utensils on the counter. This helps give us an idea of how many items are are working with.
2. Ditch The Duplicates
Look at all the items that are on your counter. See if you have any duplicates or any items that you just never use. Those are the items you need to donate or trash. Donate if the item is still useable but you just don’t use it. If the item is broken, then you have to trash it.
Unsure if you use it or not? An easy test is to see if you know the name of the item. For example, one of my clients had an item but didn’t know what it was called. So I asked her if we could donate it. She said she wasn’t sure if she used it. I said if you don’t know what it is called, how do you plan to use it? By being honest about the utensils you have in your home, it will help you keep only the items you actually use. That particular item the client had was a garlic press.
3. Sort By How You Use Utensils
Group the items together based on how you use them. This is key to when you are organizing kitchen utensils. Think about when you are cooking. Do you pull a few kitchen utensils out together? Or do a few items all work together when you are baking?
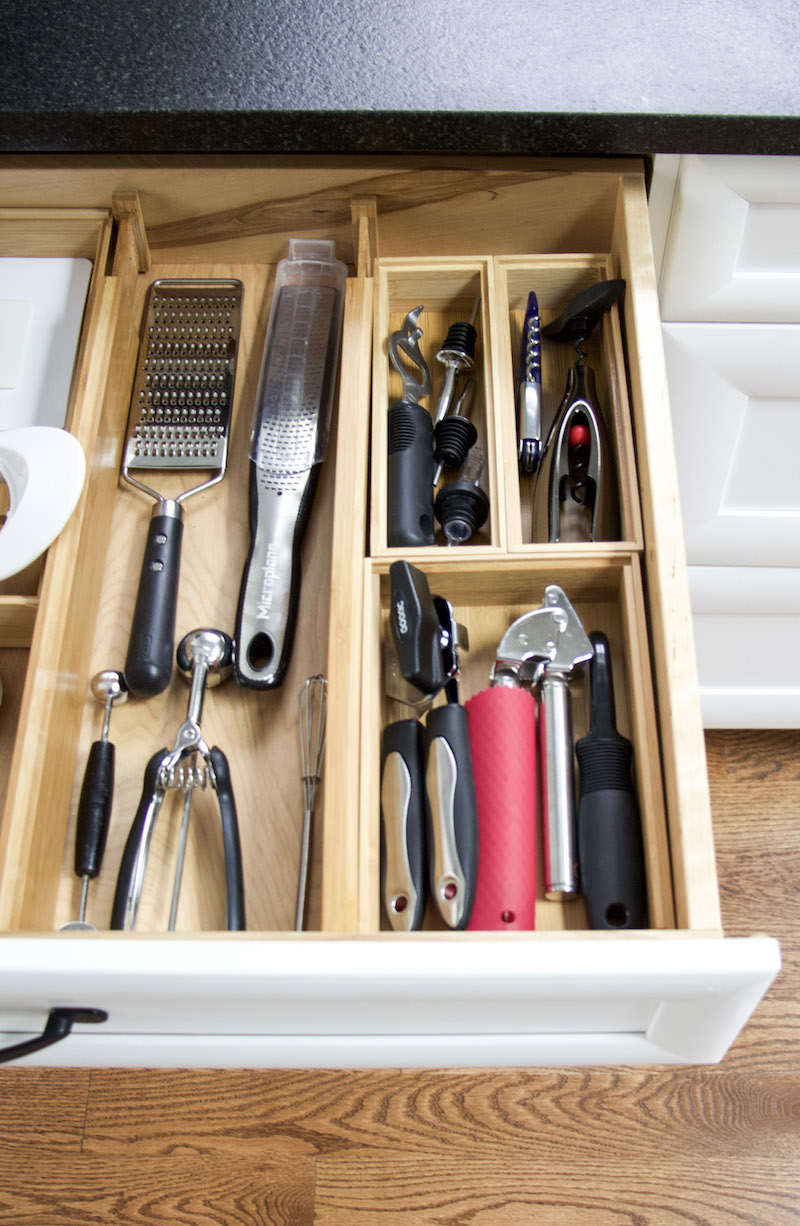
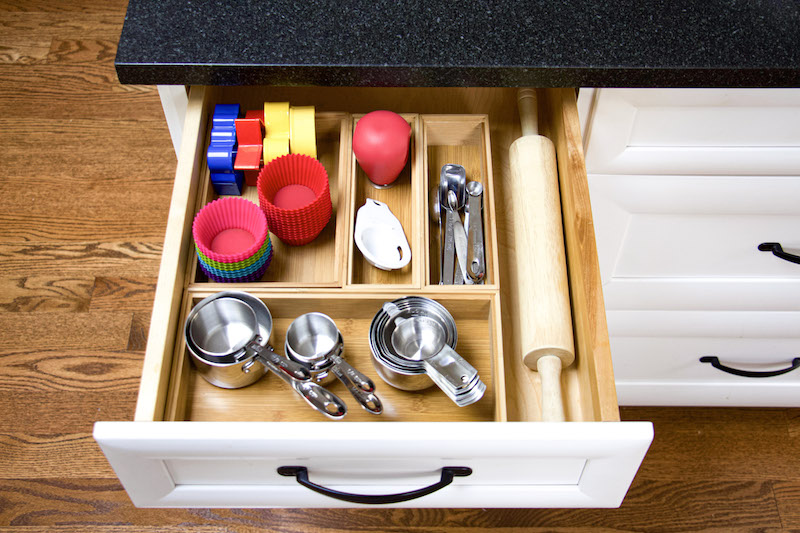
For us, I grouped all the grilling items together. All the baking items together. The peelers and zesters are together. Wine and beer items are together. Those include the bottle openers. Then the mixers are together. Those are the things we use to whisk and mix. I keep our spoons out on the counter but they are all stored together in a holder.
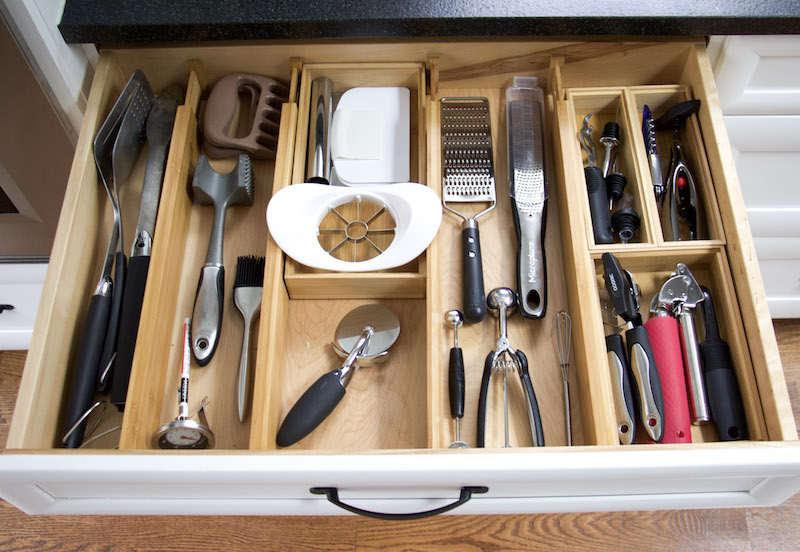
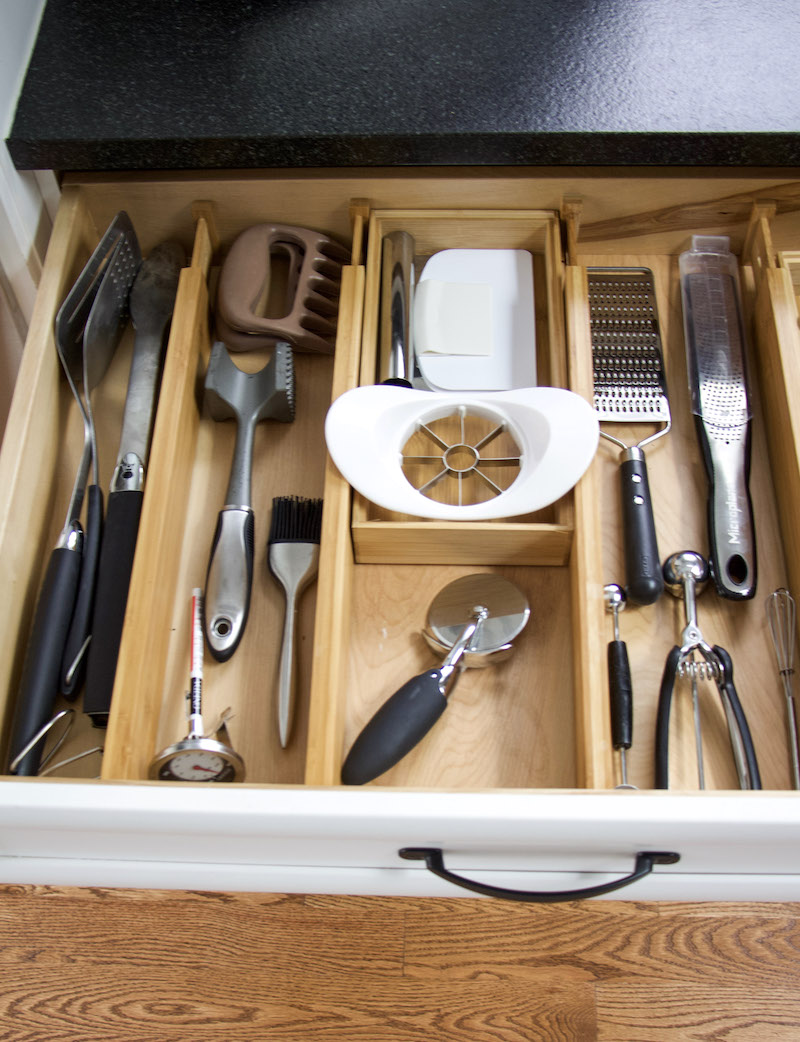
4. Store Kitchen Utensils With Dividers And Boxes
Finally we get to store the kitchen utensils. Start by using drawer dividers, like these bamboo dividers from iDesign, to create sections to hold your grouped kitchen utensils. These sections will help you keep up with your newly organized kitchen utensils. For smaller kitchen utensils like the peelers or bottle openers, store them in boxes like these bamboo boxes from iDesign. I love the bamboo boxes because they hold up really well, and are eco-friendly. The bamboo boxes hold up really well in kitchens and bathrooms, and since they last a long time, you are less likely going to have to replace them in the future.
Other Kitchen Organizing Posts
How To Organize Kitchen Drawers
How To Transform Your Kitchen Into A Dark, Moody Room
Tidying Up Under The Kitchen Sink

Favorite Organizing Tools

So give yourself 10 minutes and start collecting all those kitchen utensils. Focus on getting every last utensil, then only keeping the ones you actually use and work! Sort the utensils into categories based on how you use them. Then organize kitchen utensils into drawers using dividers and boxes. If other people use the drawers, then label them so everyone knows where to put that kitchen utensil once they are finished!
Watch Video On Organizing Kitchen Utensils

")


Comments are closed.