

Are you feeling the organizing buzz? I feel like when August approaches, everyone gets into the organizing mode before school starts. I know I usually do, but seeing as we are still living with my parents, I am not able to get the kids rooms tidy for school.
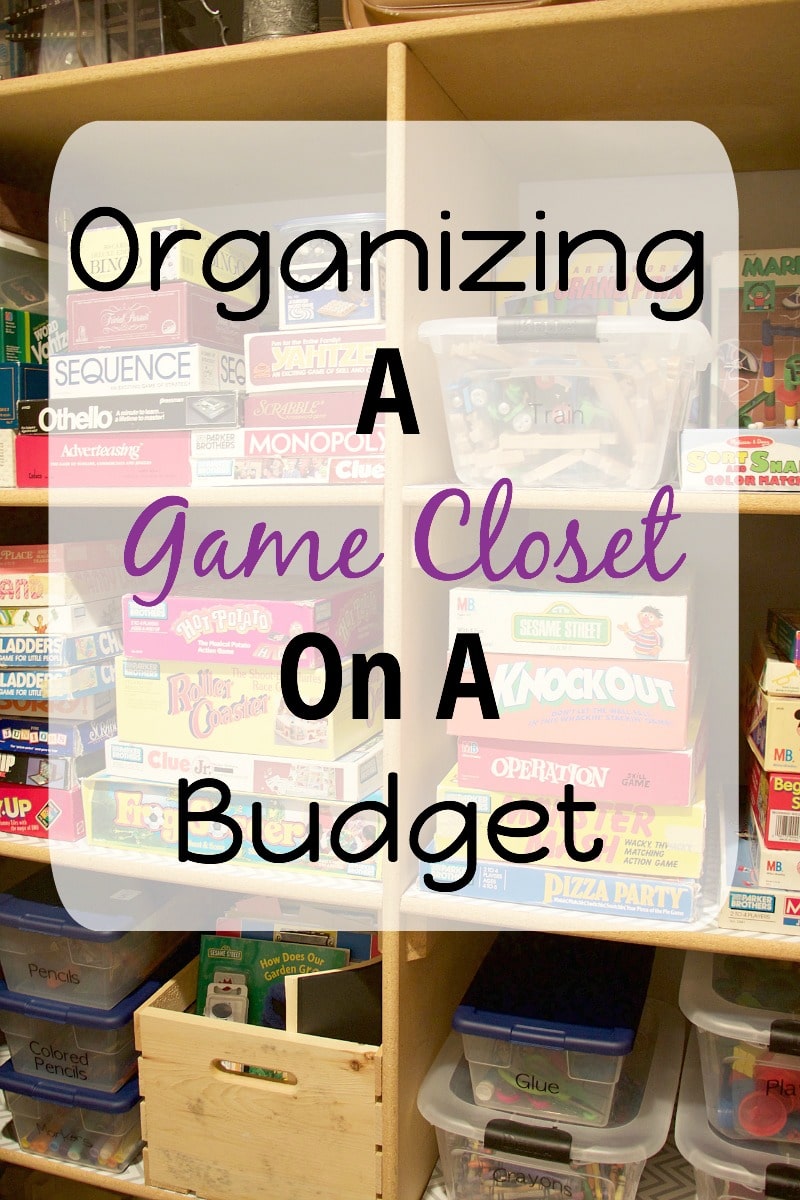
Instead of focusing on the kids and their things, I am focusing on toys, games, and other bits around my parents’ house. One area that has gotten completely out of control was their game closet. This closet was used to hold the majority of the toys that their grandkids can play with.
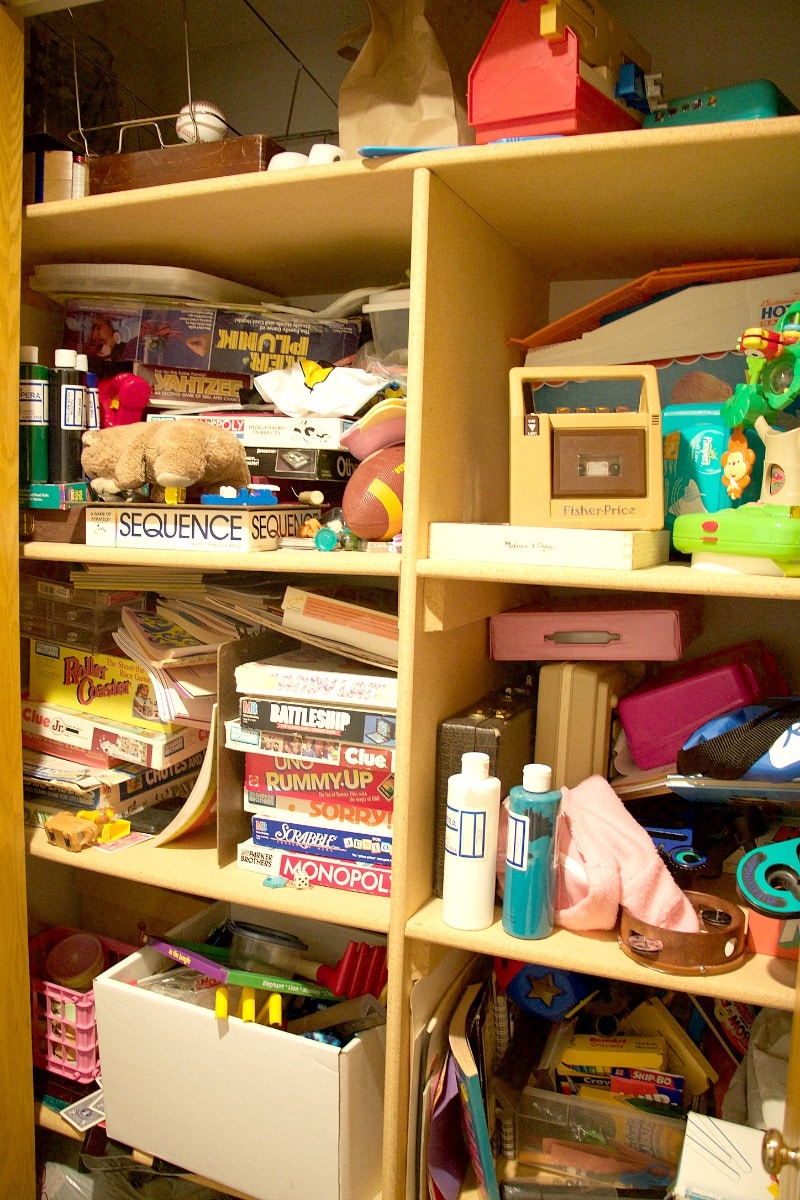
Seeing as it got used so much, things just started falling out of the closet. There was games, toys, art supplies, fabric, dishes, and sewing items. At one point there was order, but since we started living here, that was thrown out the window as the kiddos continued to pull things out and I would just shove things back in.
Getting Started
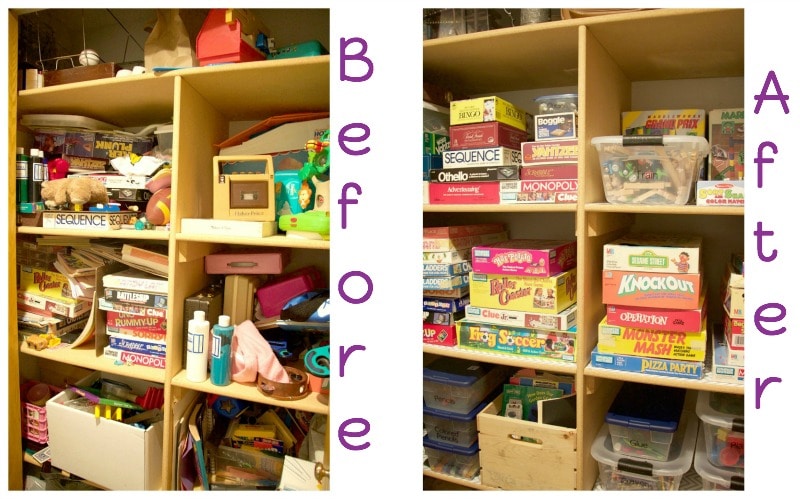
To start the entire process, we cleared everything out of all the shelves. Since this closet is located in the hallway of the basement (which is why these pictures aren’t the best!), we moved everything into the laundry room. We piled everything on top of the washing machine and dryer, counters, and covered the floor with all the items that were stored in the closet.
Once everything was out, we cleaned the shelves and lined them with liner. This will help keep the shelves clean and make it easier to pull containers and other items out of the shelves.

Editing
Next, we started to go through all the toys, fabric, sewing items, games, etc. We checked every game for all the pieces. If we were missing pieces, we put it in the donation pile. There is a local donation center that takes games with missing pieces. Make sure you check before you donate things with missing parts!
We threw away games and toys that were broken. We sorted all like items together. All the crayons were sorted together. Markers were put together after we checked them. This was super easy to have the kids color while we were sorting and editing the games and toys. They would color and if the marker was running out, we would throw it away.
There were boxes of fabric and sewing items that were stored in the closet. These items were relocated to be with the rest of the sewing items that were in cabinets in the laundry room, near the sewing machine. This opened a lot of space in the closet.
Storage
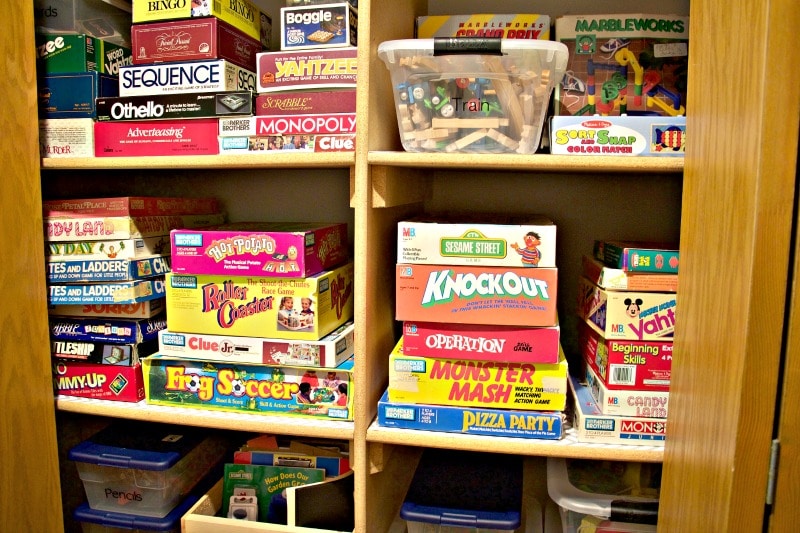
Once everything was edited and sorted, we started to talk about storage. When thinking about ways to store games and toys, get down on the kiddos level. What do they see and what do you want them to see!
For this closet, we stored all the Little People on the floor. This makes it easy for the kids to grab the zoo or farm and start playing!
On the bottom shelve, we decided to put art supplies. The art supplies would be stored in bins that had handles on each side, making it a little more difficult for the kiddos to open on their own. These bins were the only thing purchased for this project.
Since we sorted the items earlier, we put all the crayons in one container. Markers in another container. Craft sticks in another container. Scissors and glue went together in another container. All the containers were labeled using vinyl letters I created using my Silhouette Cameo.
Using a wooden crate, we stored all the construction paper, coloring books, and tracing books together. This is an easy way to keep paper together and add a decorative touch to your space!
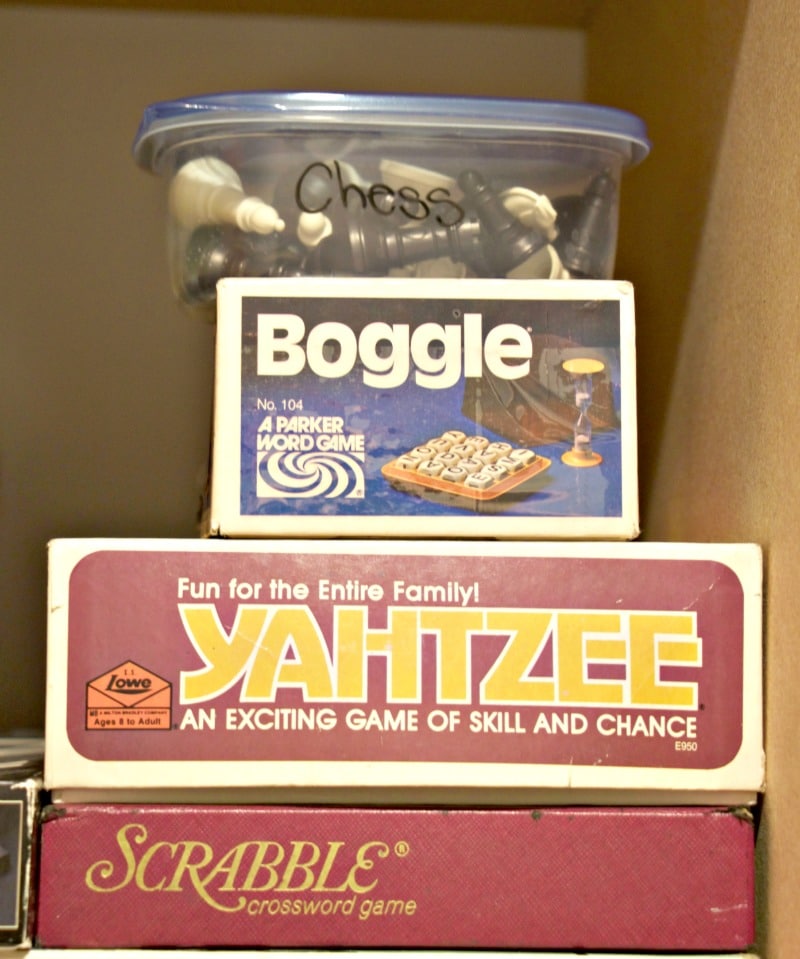
The next shelf is where we decided to put all the kids’ games. We taped the corners of the boxes using packaging tape to ensure the boxes would last. Some boxes were already broken, so we used Tupperware containers to store pieces. I labeled all the Tupperware using a Chalk Marker to write the label. This can easily be removed by using nail polish remover!
We stored the adult games and some older toys on the next shelf. These were toys that not all the grandkids could play with such as marble races, Barbies, and puzzles with smaller parts. We also stored the train set on this shelf because that’s where the box fit! Sometimes you just have to store things where they fit!

The top shelf is where we put things that are not used frequently, like my grandmother’s silverware, a box from a vintage Little People farm set, poker chips, a mug, and some formal dishes and wine glasses.

Now that all the toys have a home, the kids have been able to keep the game closet organized, which is the point, right?!?! Because this closet didn’t need a major overhaul, we only needed to purchase a few bins to keep the art supplies organized. So when you are organizing, make sure to use what you have first, then find things that can hold the remaining items. Tupperware can make for a great organizational container, instead of buying new bins! Think outside the box when it comes to storage!


")


