

I have found that when you have an organized pantry, you waste less food. Because nothing is hiding in the back corner. Things aren’t piling up. So you eat what you already have instead of buying new things to eat.
But keeping the pantry organized with a family takes some time. Whenever I work with a virtual client, I have found that following specific steps for the pantry organizing process helps keep the project focused. These steps for creating an organized pantry are sure to inspire you to tidy up your food on your shelves!
Step One
To start your pantry organization, start by removing everything from your space.
When you have a blank space, it allows your brain to think about things in a different way. And isn’t that why you wanted to organize your pantry to begin with? To make it work better for you?
Wipe down the shelves and vacuum the floor before moving on to step two.
You really want to give yourself a nice, clean space before going any further!
Step Two
When all your items are out of the pantry, check dates on your food. Scan for items your family no longer eats.
Gather the items that are still good and donate to a local food shelter. Expired foods should be tossed.
Now everyone has a different opinion on expired foods. You decide what expired means to you. My husband believes that expired foods are just when they are “best by”, so he thinks they are fine. I have gotten sick from a can of expired food so I am more on the side of use it before it expires.
One thing I have noticed about spices is that they do have expiration dates. And that date is when they are fresh until. So you can still use those spices but they don’t have as much flavor.
Step Three
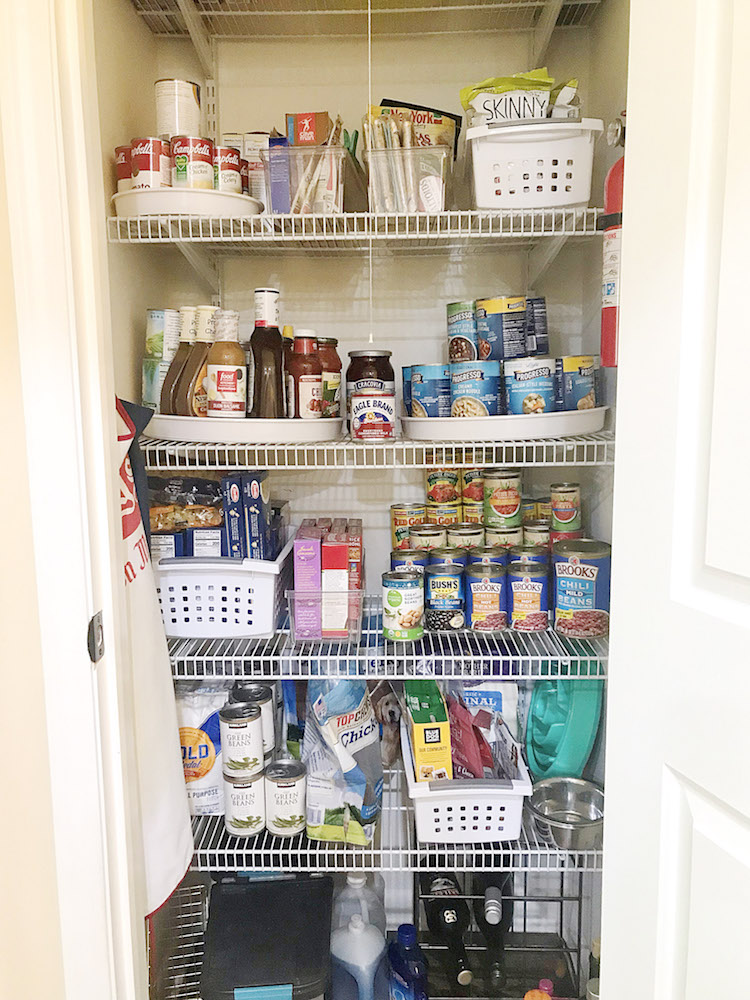
With the remaining food, group items together based on categories. This will help you create a plan for putting those items away.
I like to group into categories of items we keep on hand, along with a category of “meal prep” items. These are things like packets of spices for tacos or seasonings. Or items that I might have purchased for a specific meal that doesn’t fit into any other category.
It doesn’t have to be this crazy formula for categorizing. Just group based on how you use the items. All baking items together. All spices together. Canned goods can be stored together. You get the idea!
Step Four
Take inventory of all the remaining items. Inventory is a great way to keep yourself from overbuying. To take inventory, you need to write down categories of the foods you have
Write down the staples you always like to have on hand. Then add those to your shopping list when you are running low.
I like to keep this list on a clipboard in my pantry. It helps me stay organized before I shop.
Step Five
Then line your shelves with shelf liner.
Reason I love shelf liner is because it protects your shelves, keeps items from slipping and sliding in drawers, and makes any spills easy to clean!
And if you have wire shelving in a pantry, using shelf liner will help you create a smooth surface for your items to be held!
You can read more tips for lining shelves below:
The Easiest Way To Install Drawer Liner
Best Ways To Line Kitchen Drawers
Cut Straight Lines On Drawer Liners With 3 Hacks
Step Six
When all your shelves and drawers are lined with drawer liner, you can start space planning your pantry.
Space planning, what is that?
It is the step where you decide what should go where in your space. I like using Post-It notes for space planning. I will write out each category on a Post-It note. Then add that note to a shelf or drawer where I want the items to go. I can move around the notes so that I can ensure that all the food will be organized in the pantry.

Step Seven
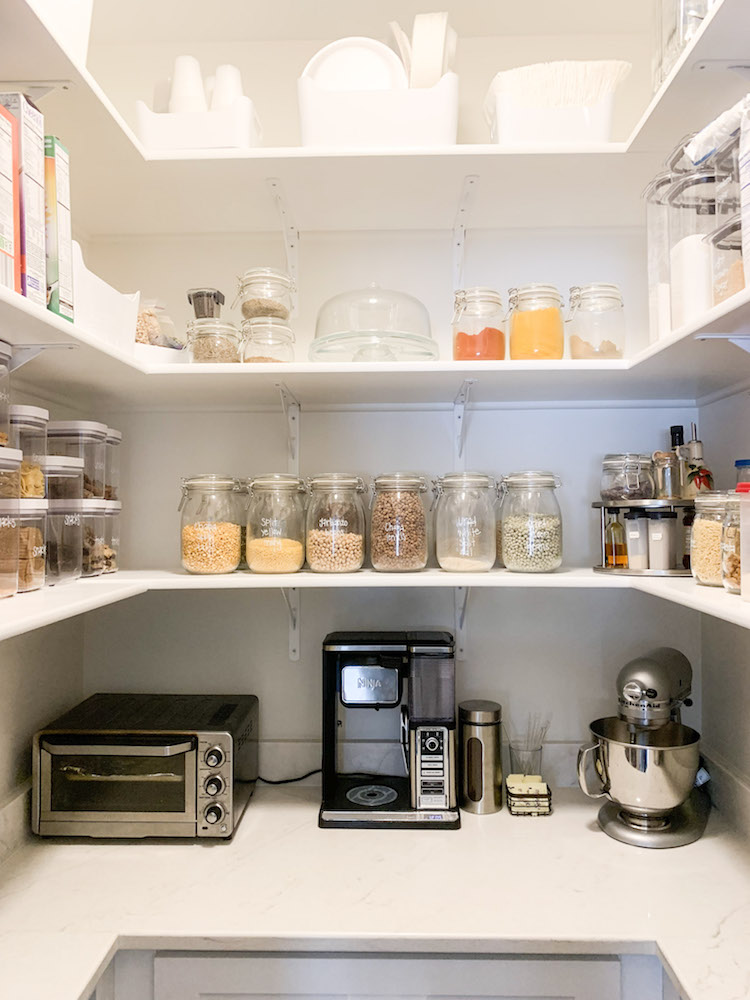
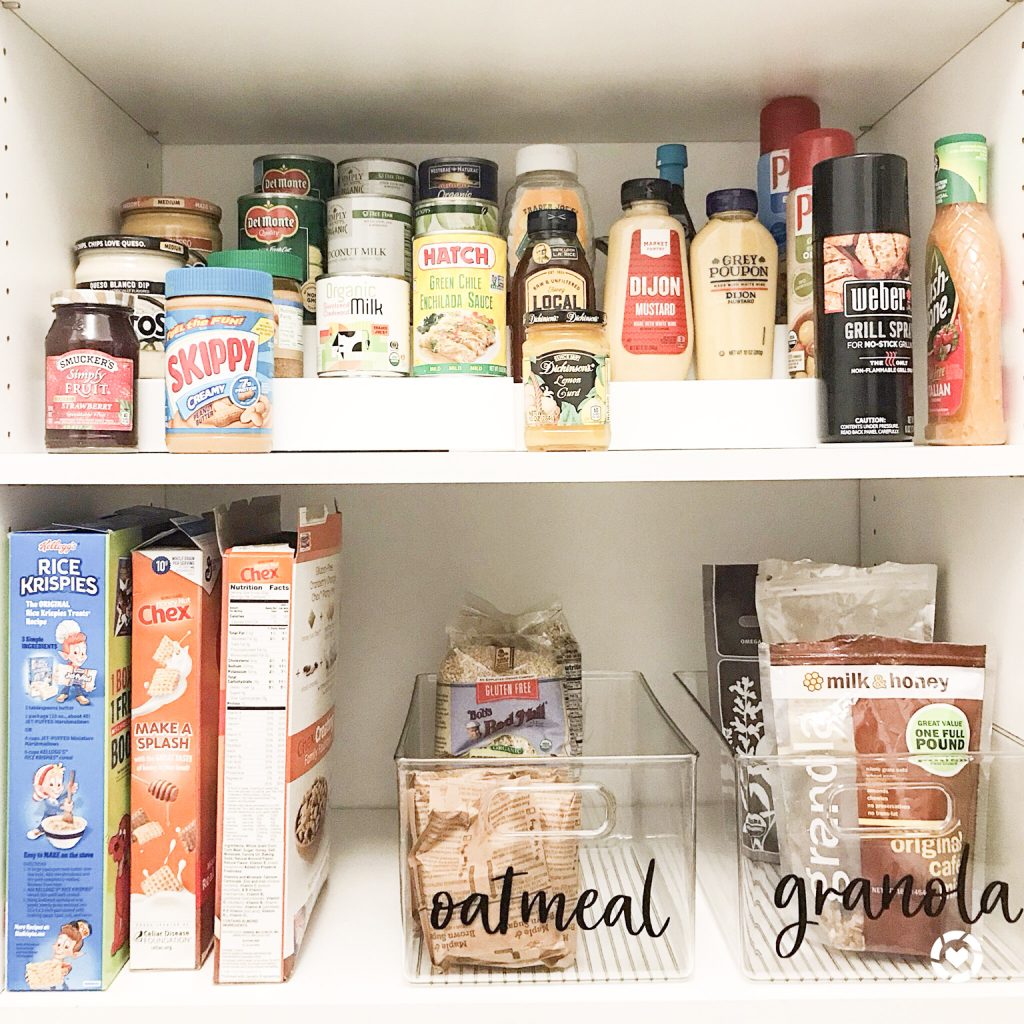
Use containers if helpful. Not all pantries need containers for things. Sometimes you may want to contain items like kids’ snacks. Other times you may only want to use what you have.
Decide if items need to be contained first. Then find bins or baskets to hold those items.
I have found that smaller items do well in containers. So do flours and baking items. Drinks and chips may not be the best in containers as they can be difficult to grab and enjoy.
Below are my favorite containers for pantry organization:

Step Eight
Another option is to use other organizing gadgets like turntables or can risers.
Turntables help when you have items that are in a corner or could get lost in the back of a shelf.
Can risers are great for keeping your canned goods visible.
Since you spent time space planning, you already know where you want your items to go in your panty. You just have to decide how you are going to store them.
If you don’t want organizing gadgets, try setting up the pantry like you would find at a grocery store. It will help you group like items together in rows so you can find the food you are looking for easier.
Step Nine
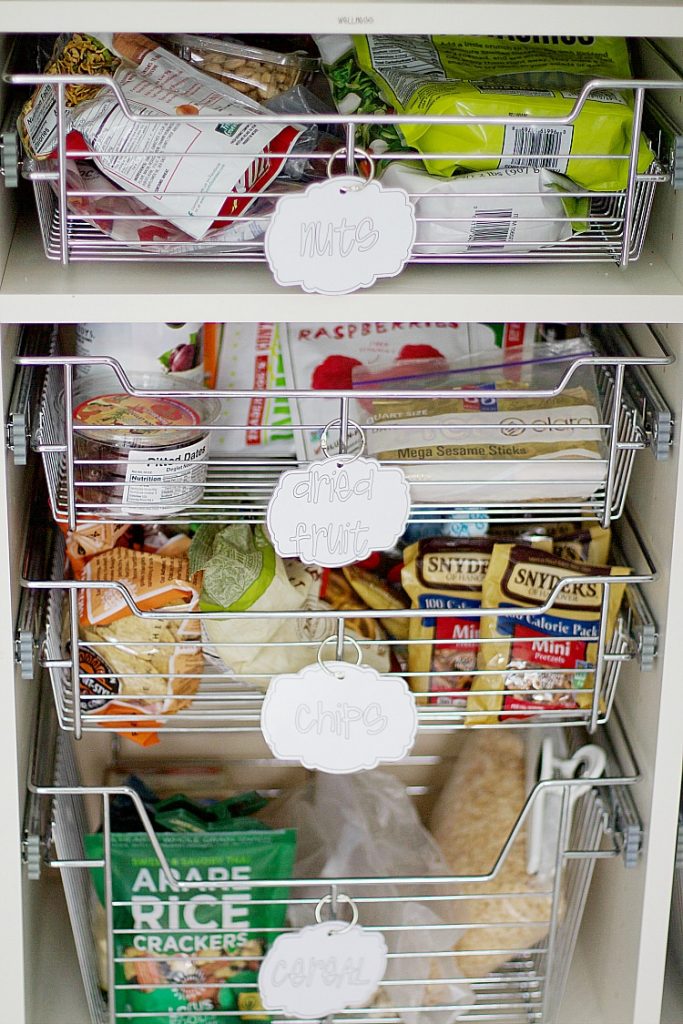
Once all the food items are back in your pantry, spend time to label all the things!
You spent all this time on setting up an organized space, so why skip this step?
When everything is labeled, you can find what you need when you need it. Family members can put things away easily. You are not the one responsible for keeping the pantry organized, because it is labeled.
You can use label makers, vinyl labels, or download my free pantry labels!
Step Ten
The last step to organizing your pantry is creating a system for how you are going to keep the space tidy.
I always suggest doing a quick tidy every time you go to the store. As you unpack your items, you can tidy up the space. Check for things that may need to be refilled. Straighten up rows of food or drinks. And clean up any crumbs that may have fallen on the shelves.
By doing this every time you unpack your groceries, you should not have to do a big organizing session again. Because you are keeping it tidy as you use it. Which is my favorite way to keep it organized.
Pantry Organization Ideas
While I love sharing how to create an organized pantry, I also wanted to share some inspirational ideas with you. Check out the posts below:
Better Homes And Gardens Pantry
How To Organize Small Pantry Cabinets
Do You Really Need Products To Organize?

")


You did a great job on your pantry. Those pull-out shelves and drawers keep everything easy to access without letting it take up too much room on the stationary shelves. Good thinking!
I couldn’t agree more!!