

I love creating systems that will keep you organized by saving you time and energy. I love teaching and sharing how to keep you organized, which is why I love writing this blog so much! I also love to solve organizational problems that are presented to me. So when friends share a problem, I love to help them create a system that will help them stay organized and save time and energy.
So long story short, my husband and I decided to switch cars. I now get the bigger car, while he has the smaller car. I think it makes sense since I am toting around two kiddos. But with a new car, comes new ways to organize. I was in the parking lot of my favorite coffee shop, when a friend stopped me to chat. She saw what I was doing to organize my car, and commented that her car is a total mess because that is where she stores all her daughter’s artwork. She shared that it was easier having her car be a mess than to let her mud room get messy with tons of papers everywhere. I told her that we have a clipboard wall in our mud room to hold the kids’ artwork. She thought it was a great idea, which made me thing how many other people need an easy storage solution for the beautiful artwork their kiddos bring home?
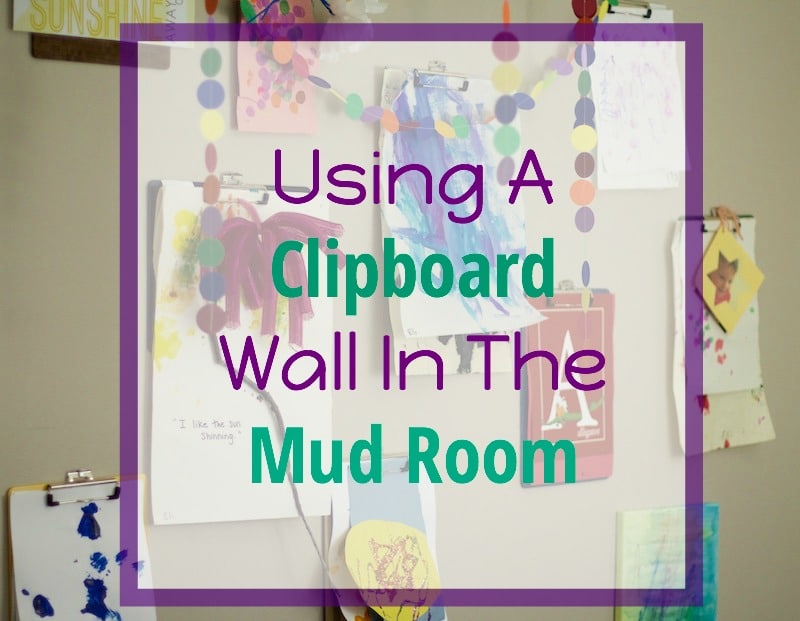
Last year I created a clipboard wall for our mud room. When I started with creating the clipboard wall, I wanted something for school papers, a calendar, and a place to hold a few pieces of artwork. I was trying to use this area as a command center. I thought that by putting the command center in the mud room, instead of in the kitchen, it would keep us organized. After living with that arrangement for a few months, I quickly realized that was not the solution for us. We were missing appointments, my husband wasn’t sure what was going on, and I was having a hard time remembering to write things down on the family calendar, since it wasn’t located in the kitchen.
I ended up moving the command center back to the kitchen, but kept the clipboard wall up in the mud room. I really liked how easy it was to hang the kids artwork. But the kids’ art table was in the kitchen. So it wasn’t the most ideal for creating and hanging artwork. Then, I created an art area for the kids around this space. I moved the kids art table back to the mud room, but this time I put the table under the clipboard wall. This arrangement works perfect because I have a place for holding their completed artwork and a space for them to be able to get messy and explore.
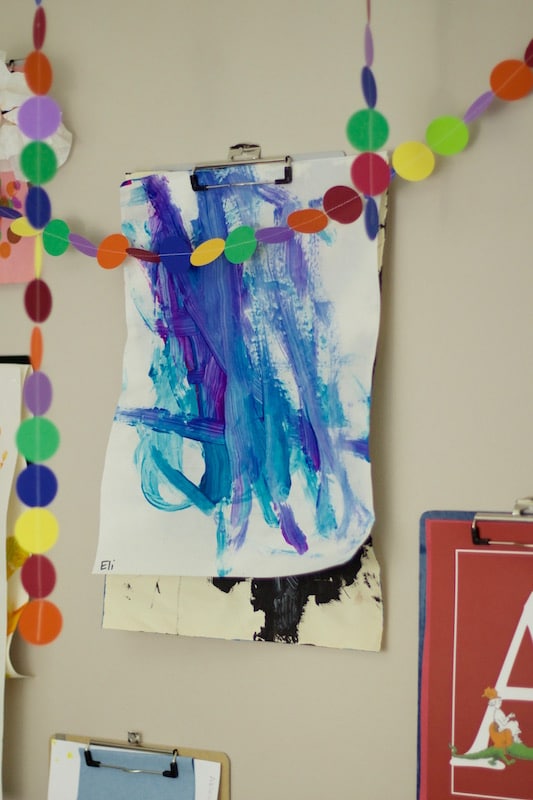
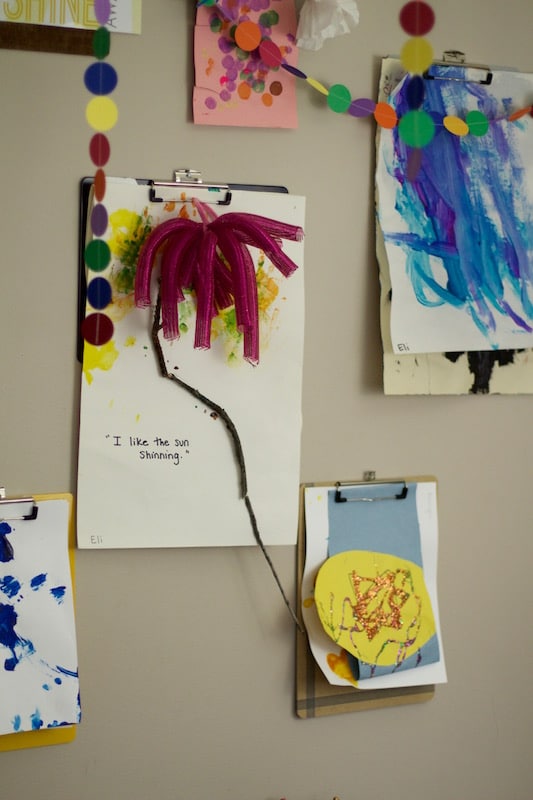
But, this space also works well for collecting all the artwork we bring home from school. Instead of keeping the artwork in the car or throwing it away, I just clip it to a clipboard as soon as we get home. I collect all my kiddos’ artwork and bring it inside from our car. Then I hang it on a clipboard as soon as we walk in the door. This way, it doesn’t clutter up space in the mud room or my car. I space out where I put the pile of artwork because I have a lot of clipboards hanging on the wall.
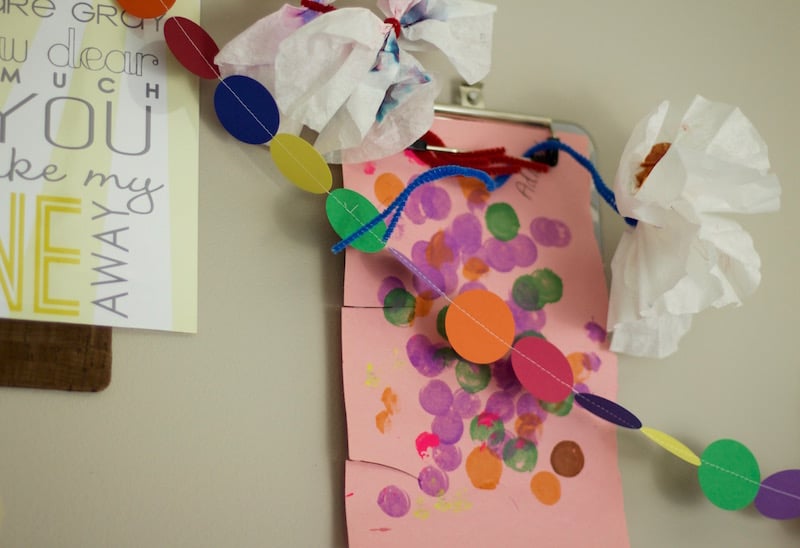
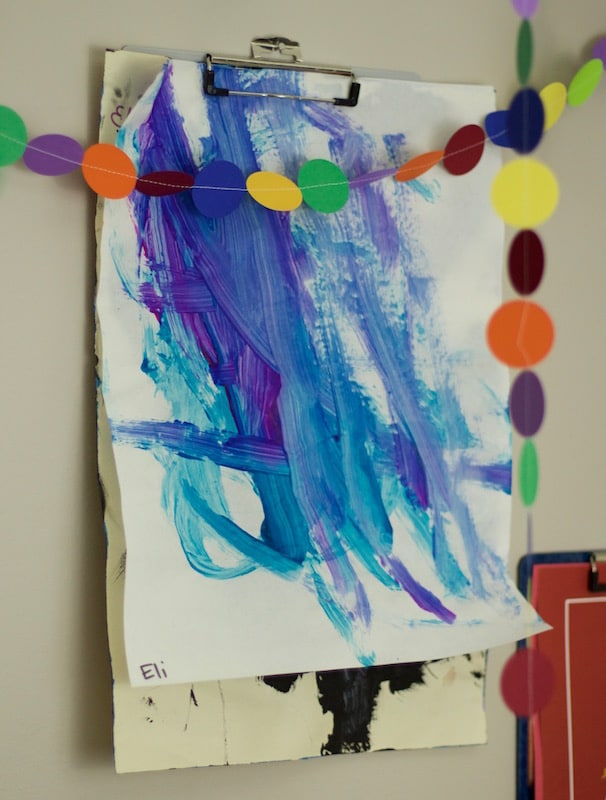
My favorite clipboards for the clipboard wall are ones with a “flat clip”, like this one. I find this much easier to open without having to take the clipboard off the wall to hang the artwork. I just open the clip, stick the artwork under the clip, and now I am displaying the beautiful artwork my kiddos created, without having to worry about storing the papers or bringing them to a different location of the house. I also have different size clipboards. I have legal size, letter size, and small sizes to hold different size artwork.
To create a clipboard wall, you will need clipboards, nails, and a hammer. Hammer a nail into the wall where you want your first clipboard to hang. I like to start in the middle of the wall and work my way out. Then, place the clipboard on the nail. Move onto the next clipboard. Hold it up in different places around the wall. When you find the perfect place for your clipboard, take your nail and push it into the wall to make a mark. Use that mark to hammer in the nail. Hang the clipboard on the nail. Repeat until your wall is covered in clipboards!
If a clipboard is getting too full with papers, you can throw out the papers at the bottom of the pile, or use those papers to create fun gift tags, cards, or other artwork. I shared how I turned some artwork into a gift, but you can also use the artwork to cut out a gift tag for birthday or holiday presents. Just cut out a large rectangle from the dried artwork. Then cut off two corners by making small triangle on the same side to create a tag. Use a single hole-punch to create a hole, and write a message using a Sharpie. Now you have a cute gift tag created by your kiddo!
I also love how colorful it makes the space. The bright colors of the paints, crayons, and markers really makes the mud room a cheery place to be when you come into our home from the garage. I find that it is very easy to keep the artwork organized, because it is being stored in the first place we come into when we come home from school.
Now it’s your turn to get your kiddos’ artwork organized! Grab a bunch of clipboards and hang them to the wall in your mud room. Then, hang up your kiddos’ artwork as soon as you get home. By doing this a few times, it will become a habit. Then you will find yourself with much less clutter lying around the house and you created a system that is easy and a major time-saver.


")


Comments are closed.