
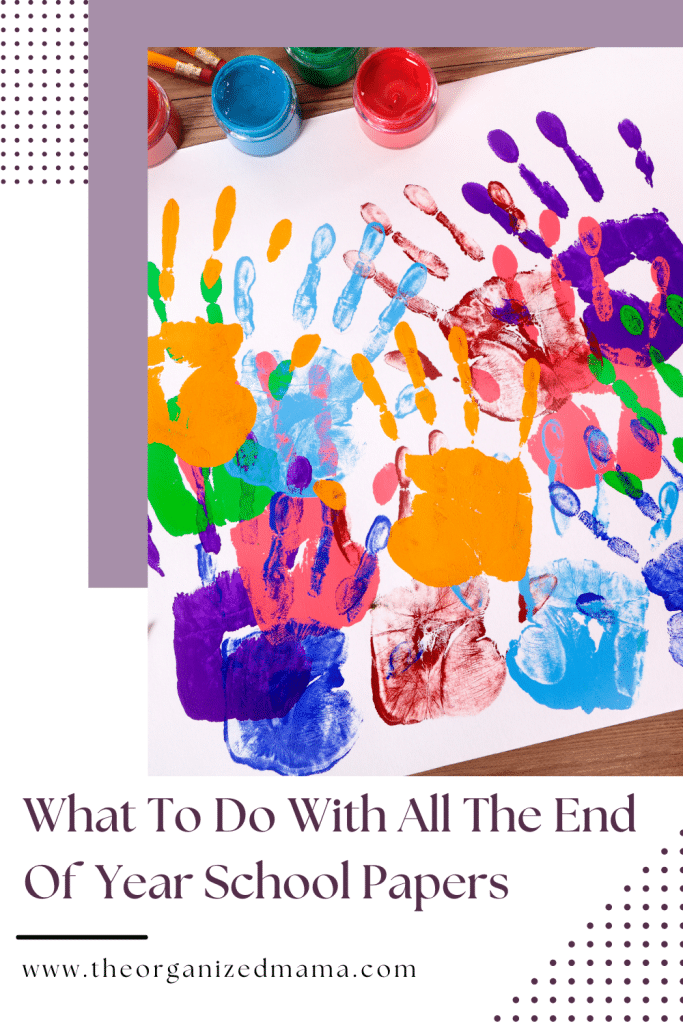
Can you believe that the end of the school year is coming?? I know the weather in the Midwest doesn’t realize that yet, but it is already mid-April!!
And with end of school year means tons of papers!! So what do you do when those papers come barreling through the door?? I have a few ways you can get them organized before they take over your entire house.
What To Do With All The End Of School Papers
Some links may contain affiliates.
Sort
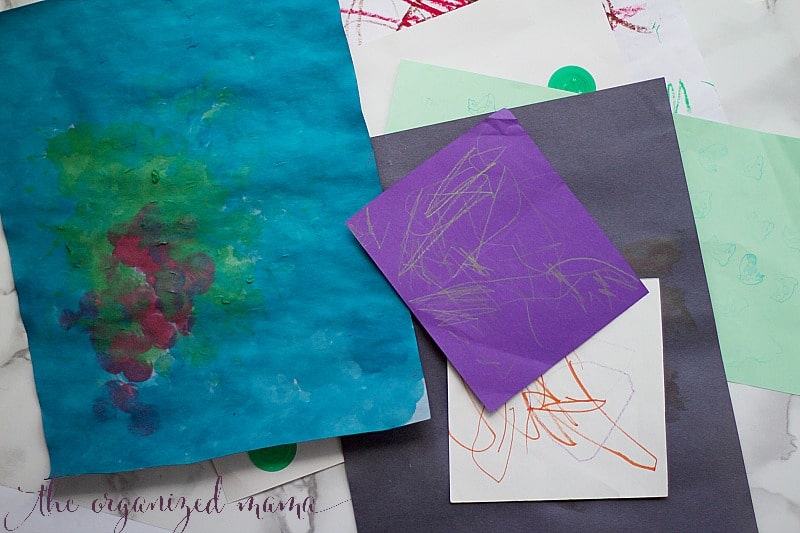
First thing you have to do once you get the school papers is sort into three piles. Pile one is for keeping. Pile two is taking pictures. And pile three is recycle.
Depending on your kiddo, I would suggest doing this with them. I also have my kids take pictures of each piece of art/school paper they like but don’t need to keep.
Shoot
Once you have recycled all the unwanted papers, it is time to take pictures of the papers from pile two. I suggest getting a white tag board to use as the background. Find a well-lite spot in the house… I love taking picture by our back door. Lots of natural light so I get the best quality of pictures.
Lay each picture on top of the tag board. Then shoot the picture while standing over the paper.
Create a book that showcases all the artwork. My favorites are Chatbook!
Store
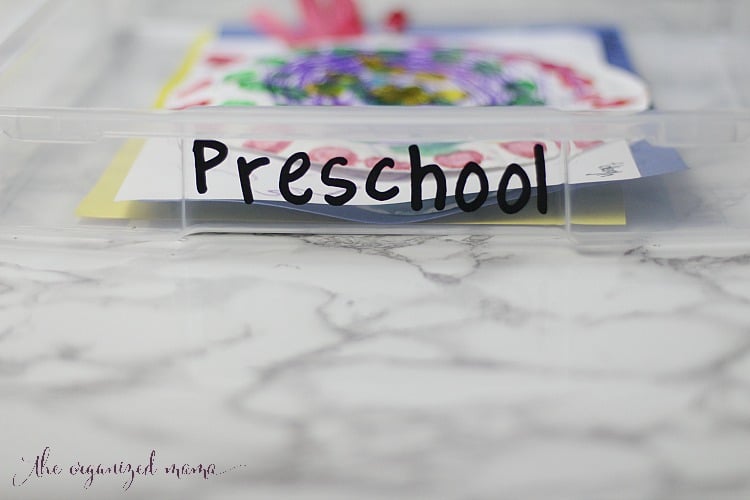
Finally it is time to tackle pile three… the keep pile. For this project, we are going to create a bin to hold papers and projects. I like using portfolio bins because they can hold those things that are 3-dimensional much better than those boxes with file-folders!
Materials
- Portfolio Project Case
- Cricut Maker
- Vinyl
- All The Papers
Tutorial
Step One
Head into the Design Studio for Cricut. Using the text, type each kiddos’ name. Adjust the font and size to fit the portfolio box you have.
For my kids, I am doing all pre-school in one box. Then I will do lower elementary (K-2) in a box, 3-5 in a box, then middle and high school can probably go in the same box! Because, let’s face it, by the time they are in middle school and high school they aren’t bringing home cute art projects!
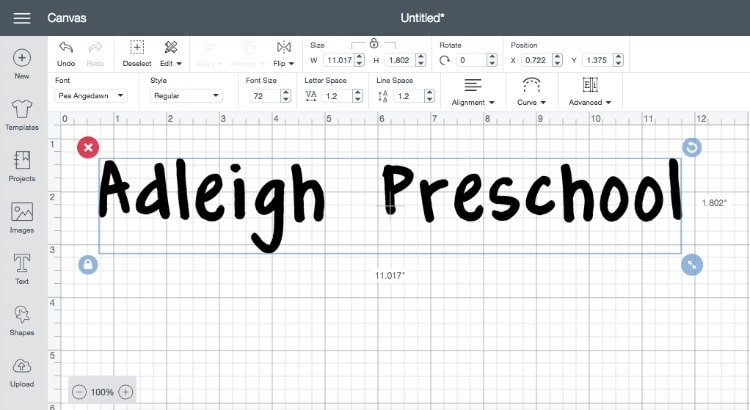
Step Two
Cut out the names and grades onto the vinyl.

Step Three
Adhere each label onto each box.

Step Four
Fill with all the keep papers.
Step Five
Store the keepsake box in an accessible place. You never know when you will find a random paper floating around! This will help you always have a home for those loose papers!
Still stressing out about paper clutter?? Check out these posts for easy ways to organize papers:
Organizing Paper Like A Professional

")


Comments are closed.