
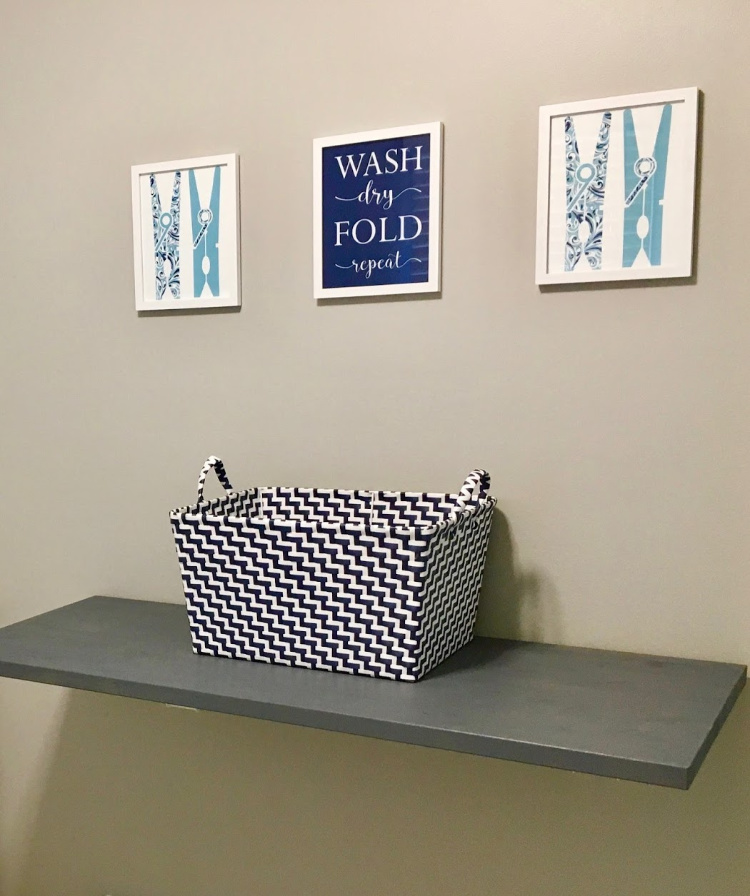
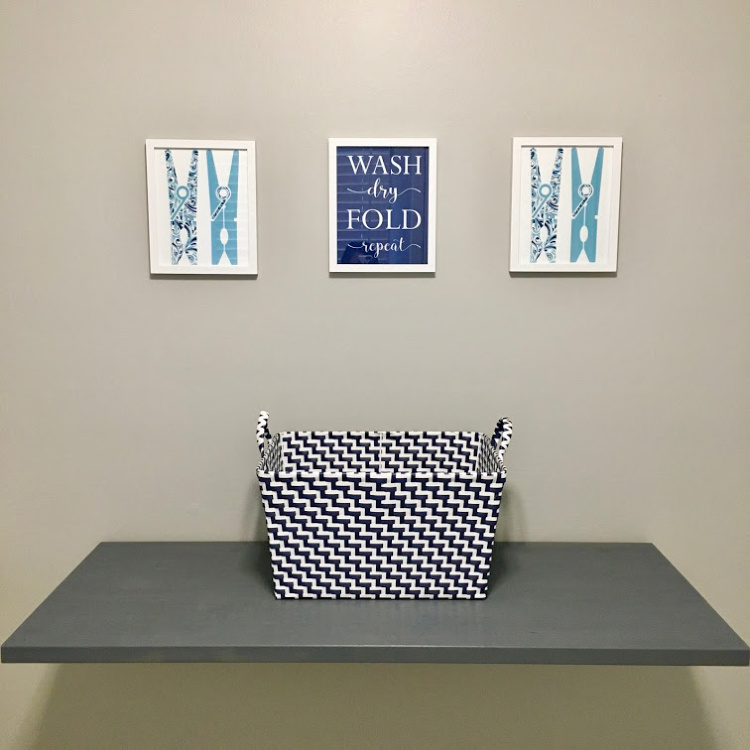
When it comes to laundry rooms, no two spaces are exactly the same. So guest contributor, Sara Minkus, is sharing unconventional laundry room hacks and laundry room set up. She even has a tutorial for how to install a DIY folding bench that is great for adding an extra area in your laundry room but doesn’t take up much space when you don’t need it!
The Folding Dilemma
I’ve always wanted a table for folding clothes in my laundry room, but unfortunately the space is too small. There is little room to put a table without blocking the utility sink or the closet. So, I do what everyone else probably does that needs a space to fold laundry. I drag all the clean clothes to another location (usually the couch or the kitchen table) to start the process of sorting and folding.
Since I’m always seeking ways to be more productive with my time, I started to look for space saver solutions. That is when I discovered The Quick Bench! It is a wall mounted table that can collapse down when not in use, but swings back into the raised position when you need it. The perfect solution for my small laundry room! This folding table will save space and increase my productivity. Sounds like a win-win!
The Quick Bench comes with a nice size piece of wood measuring 4 feet across by 20 inches deep. You can choose between buying the wood finished or unfinished. I didn’t love the light wood so I decided to buy some paint, roll up my sleeves, and get crafty!
Read on for DIY wood staining instructions or watch my video tutorial.

DIY Wood Staining Project Materials
Step One: Sand
Step Two: Brush and Wipe
Step Three: Condition the Wood
Step Four: Stain the Wood
Step Five: Repeat!
Space Saver Solution
Even though I have The Quick Bench in my laundry room, it can be put to good use in many other areas in your home such as your garage, office, or basement. My husband can’t wait to purchase one for our storage area to act as a workbench!
Take a look at my video tutorial on how to stain The Quick Bench for any area in your home!
Installation and Laundry Tips:
#1: When following the mounting instructions, make sure you drill the brackets into studs to secure the table properly.
#2: Install the brackets first! This will give you the perfect place to prop and stain your table.
#3: Keep a separate basket for your darks and lights. That way everything is already sorted for you before it goes in the wash. This will save you time when you are sorting and folding on your brand new table!
More Unconventional Laundry Room Hacks:
3 Insanely Easy Ways To Create Laundry Room Storage
How I Get My Kids To Put Away Their Own Laundry
How To Organize Laundry Room with Unique Features

Some links may contain affiliates. For more see my disclaimer.


")


