
We Tried the Scandinavian Sleep Method—Here’s What Happened
Here’s a crazy thought, what if each individual in a bed has their own blanket that was just for them. No sharing with their partner. No tugging or tossing during…

Don’t have a laminating machine? Try this hack for getting lamination on paper without the machine. It is the perfect alternative.
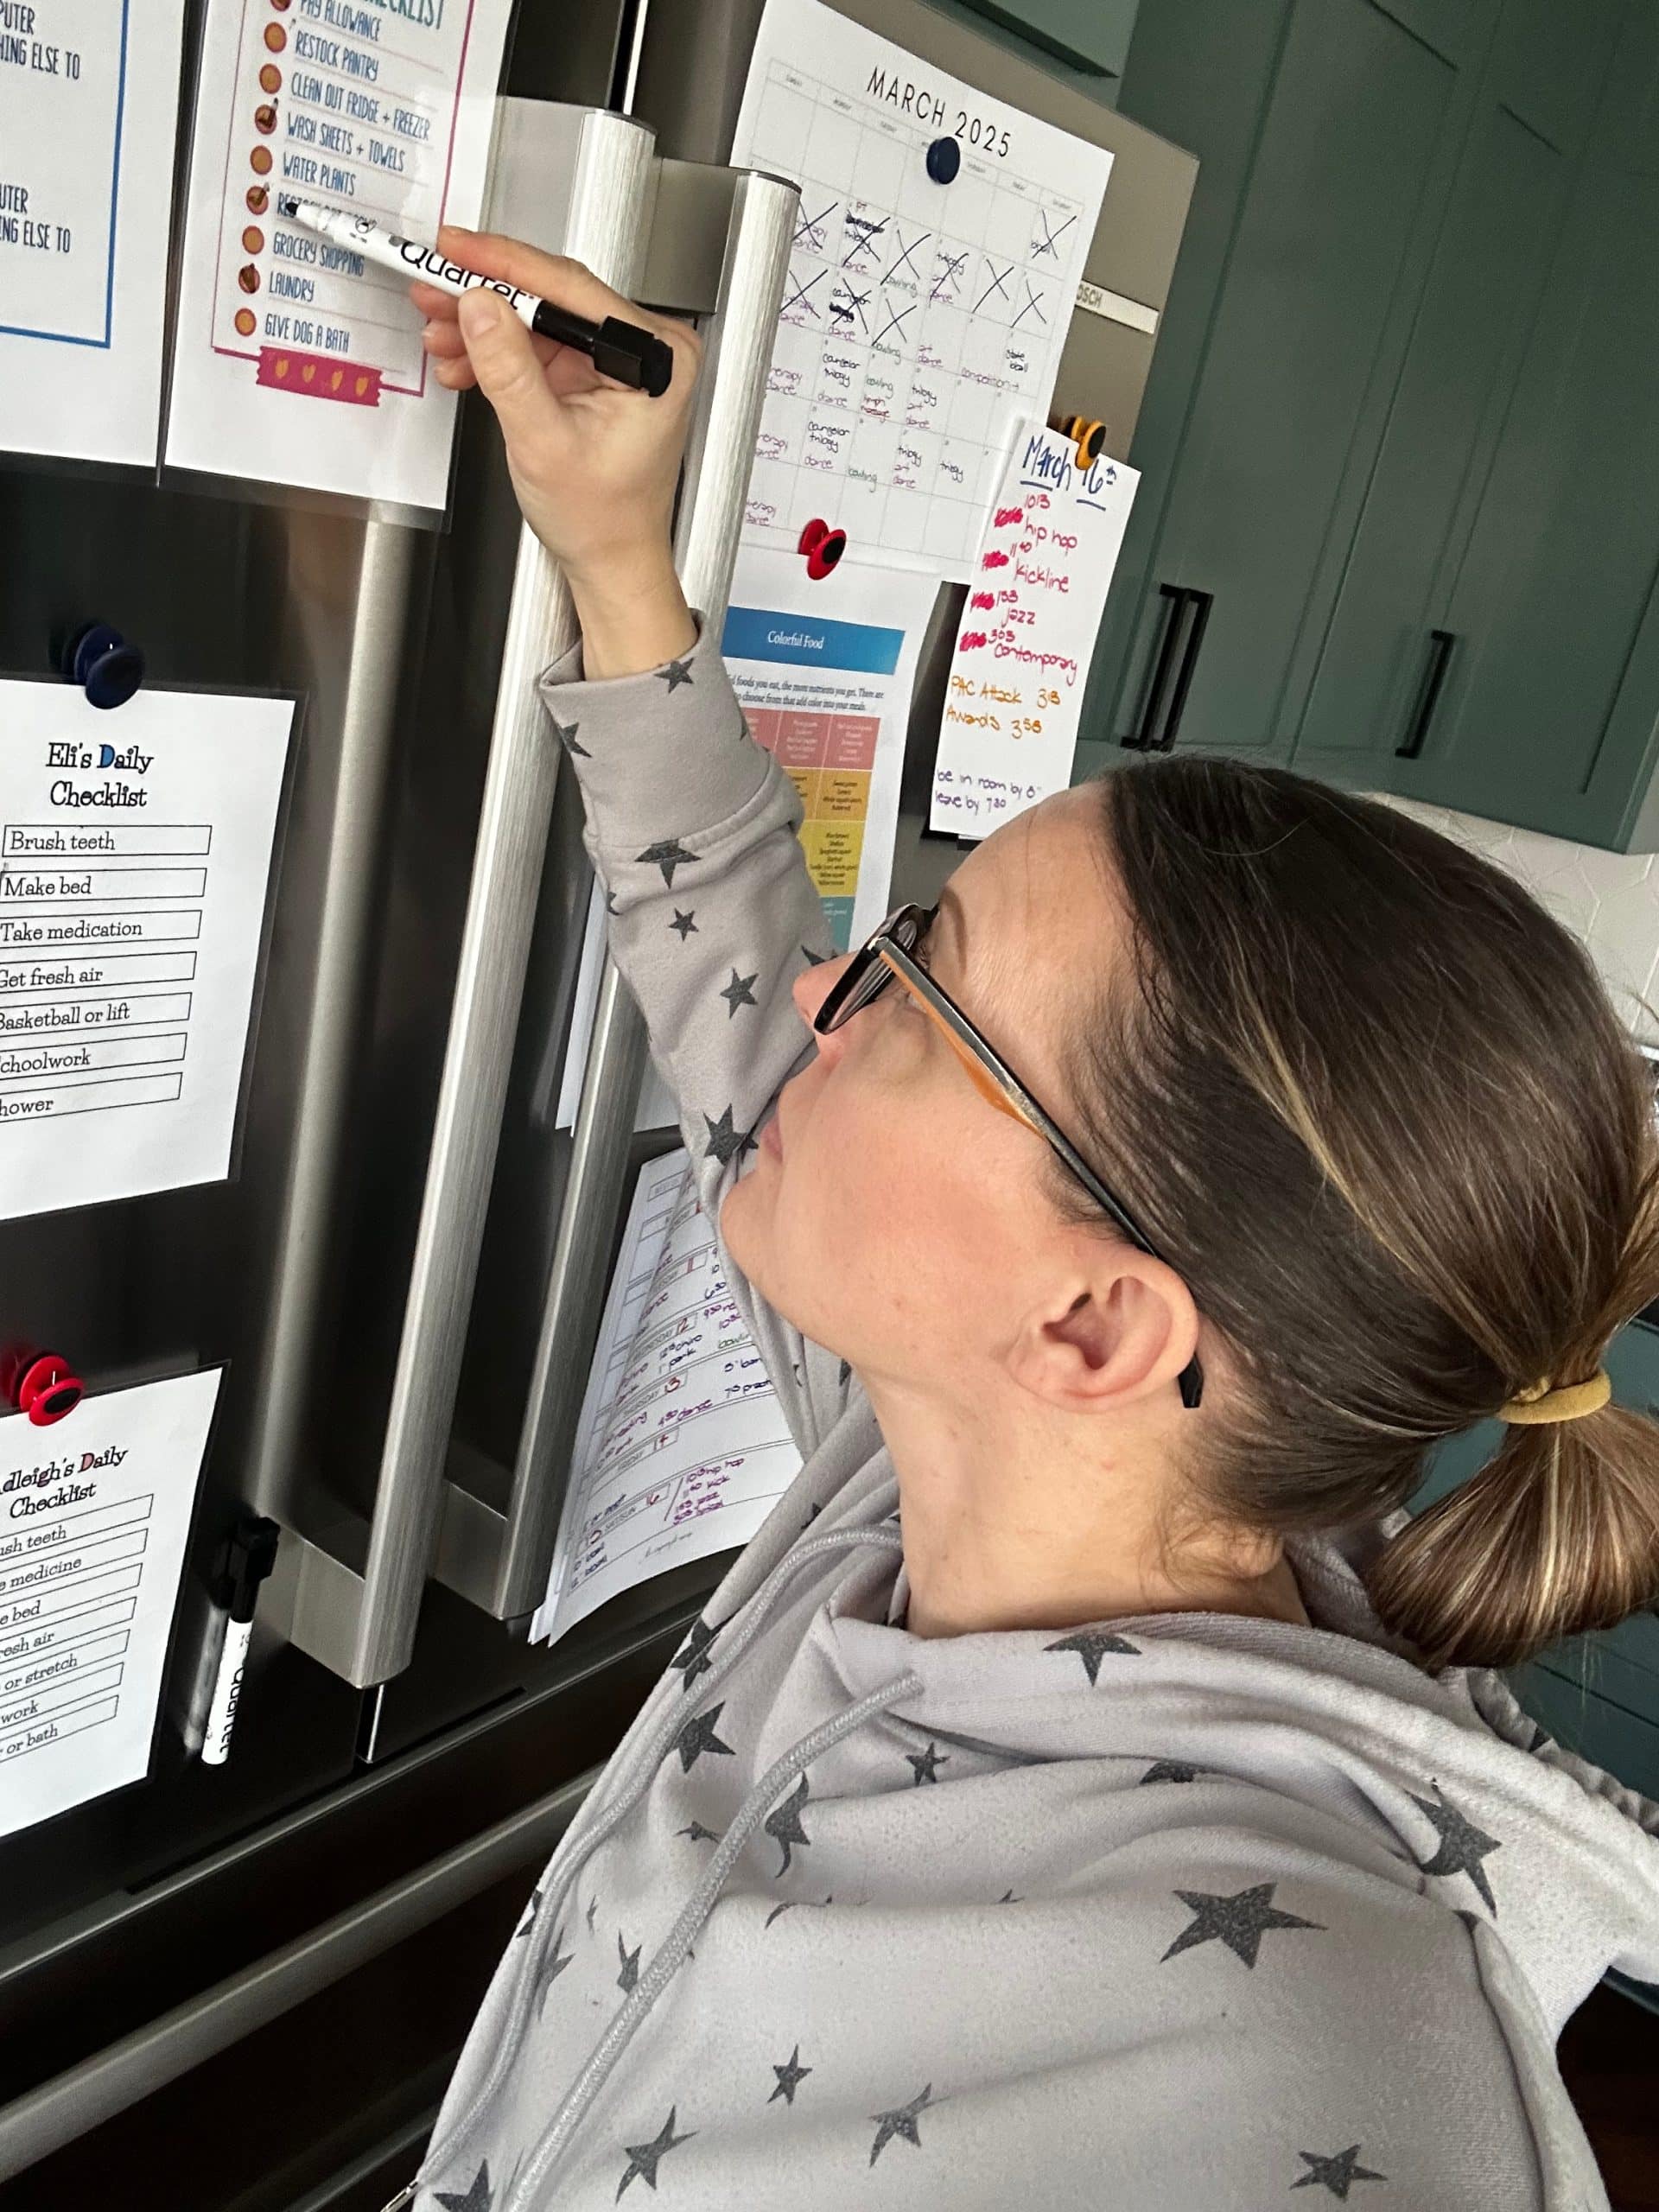
If you’ve ever needed to protect a recipe card, chore chart, label, or kids’ artwork right now—but don’t have a laminator, don’t worry.
Now you may not have a laminating machine.
So I am sharing how you can get lamination on paper without a machine!
There are three easy DIY lamination tricks you can use, especially for labels, checklists, schedules, and anything that needs to survive sticky fingers.
These methods aren’t just quick—they’re durable and surprisingly long-lasting.
Let’s walk through the simplest ways to laminate paper without a machine.

You don’t need a laminator to protect papers, labels, or kids’ projects.
There are actually three easy ways to laminate paper at home using simple supplies you already have: clear contact paper, packing tape, and self-adhesive laminating sheets.
All three give you a durable, wipeable finish—no heat or special equipment required.
These DIY methods work beautifully for notebooks, folders, checklists, printables, and even book covers.
They’re also great for homeschool materials and anything that needs to survive heavy use.
My kids love decorating their own notebook covers, and then we “laminate” them using one of these machine-free methods to make a personalized, long-lasting design.
For this method, we are using clear laminate to cover the paper.
Lay out the clear laminate. We are going to measure the paper you want to laminate. Use the lines on the lamination paper as your guide.
Cut off the desired amount of lamination paper. I recommend cutting off more so you can make sure that the paper is completely covered.
Then you are going to cut another piece of laminate for the backside of the paper.
Roll the lamination paper the opposite way it was rolled on the roll. I like doing this so that the lamination paper lays flat.
Peel off the lamination paper and lay the sticky side up. Place your paper on the sticky side of the lamination paper. Smooth the paper on the lamination paper.
Peel off the other piece of lamination paper. Lay the second piece of lamination paper over the other piece of lamination paper.
This is where you have to be careful as you lay the second piece down so you don’t get any bumps. Smooth the top part down then gradually lay the lamination paper on top.
Cut off around the paper you are laminating. I like leaving a small edge around the paper and the laminate so the kids don’t pull it off.
Which I learned my lesson for leaving an edge back when I was teaching. I would cut right to the edge of the paper and within a few days the laminated paper was peeling. Because the kids would pick it.
So make sure you have a little bit of laminate around the paper so they don’t pull it off.

For this method, you will want to use packing tape!
This works best for smaller items like recipe cards, bookmarks, flashcards or labels.
Cut a piece of packing tape longer than your paper. You may need to cut a few if the item you are laminating is wider than the tape.
Place your paper face-down onto the sticky side.
Cover with a second strip of packing tape over the back. Again, you may need two pieces to get more coverage.
Smooth out the bubbles and cut the edges off.
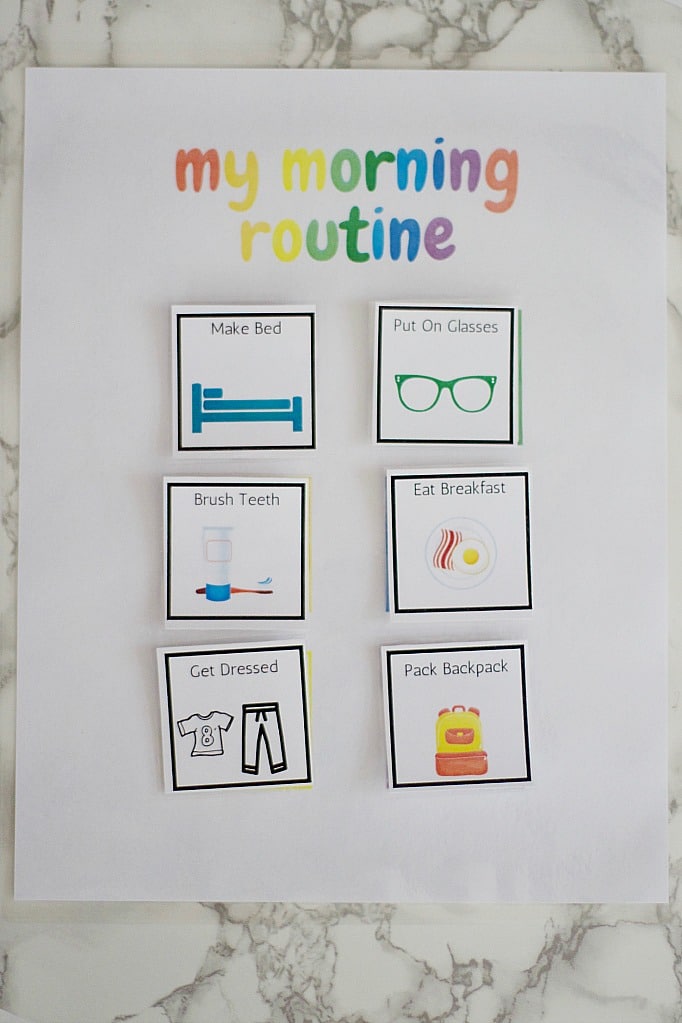
If you want the closest result to real lamination without buying a laminator, self-adhesive laminating sheets are the way to go.
This is perfect for homeschool checklists, reusable schedules, menu planners, instruction sheets, and kids’ chore charts.
Peel off the backing of the laminating sheet.
Carefully place your paper onto the sticky side.
Use a ruler to smooth out bubbles as you go.
Press firmly for a strong seal.
Trim around edges if needed.
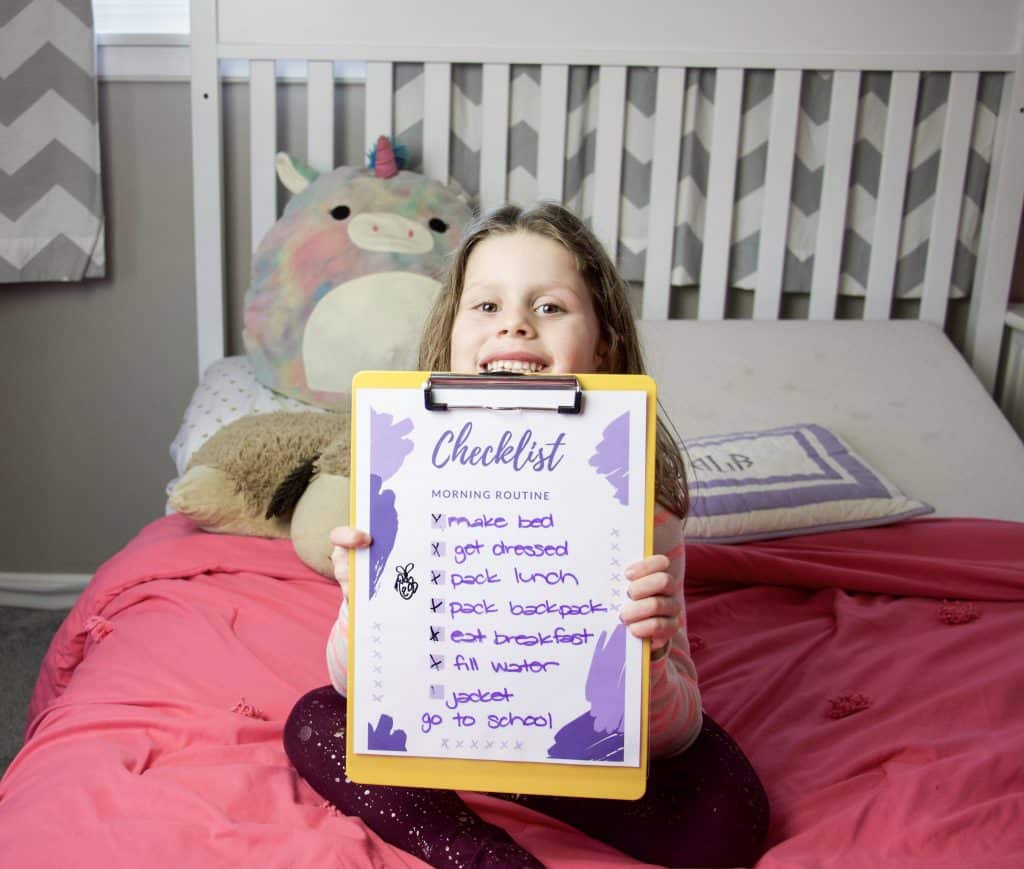
After you have covered the paper with lamination paper, you can test out different white board, dry erase, or wet markers to see what works.
I have found that some markers work better on the lamination paper than others, so test on the backside before you use on the front side!
Watch these liner tutorials:

I love using liners around the house, and the clear laminate is just one of them!
Check out other posts about using liners to decorate and organize your home.
Cut Straight Lines On Drawer Liners With 3 Hacks
Best Ways To Line Kitchen Drawers
The Cheapest Way To Upcycle Wooden Trays
How To Update Kitchen Cabinets
This post is sponsored by The Duck Brand. All thoughts and opinions are my own. Some links contain affiliates.


