
We Tried the Scandinavian Sleep Method—Here’s What Happened
Here’s a crazy thought, what if each individual in a bed has their own blanket that was just for them. No sharing with their partner. No tugging or tossing during…
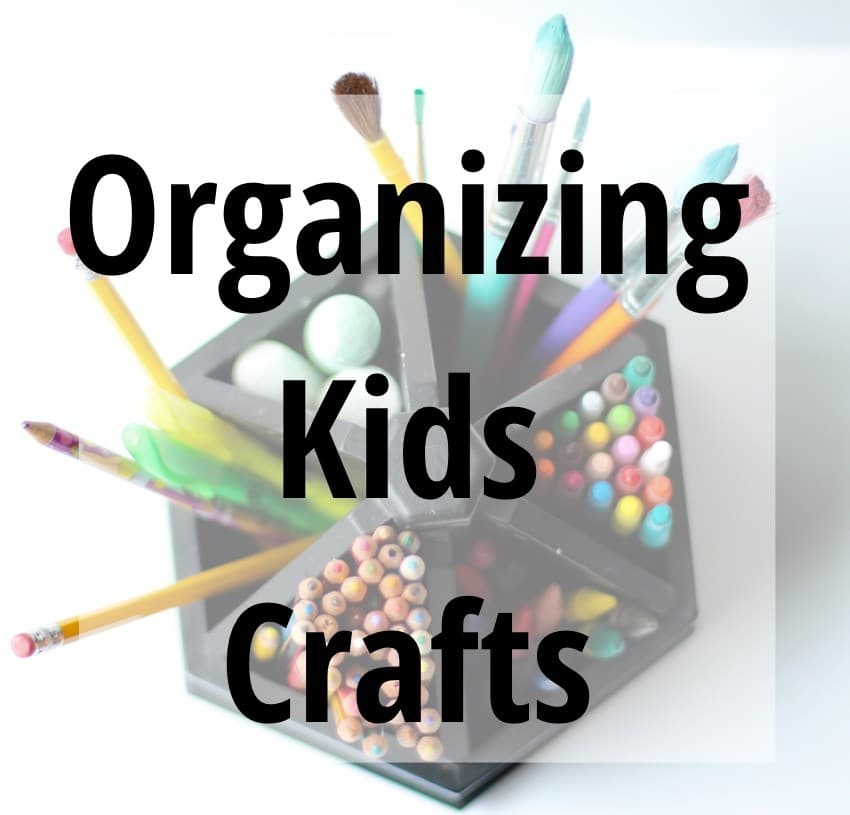
We love doing art projects in our house and I love organizing kids crafts. Okay, scratch that…The kids and I love doing art projects in our house. Again, scratch that…I love doing art projects in our office/craft room/art room/mud room of our house. The kids would do art projects anywhere in the house. But I’d […]

We love doing art projects in our house and I love organizing kids crafts.
Okay, scratch that…The kids and I love doing art projects in our house.
Again, scratch that…I love doing art projects in our office/craft room/art room/mud room of our house.
The kids would do art projects anywhere in the house. But I’d rather not have them color or paint all over our hardwood floors.
So keeping projects contained to the one area of our home that is tile flooring is our best option for us now.
But with all the art projects, comes a lot of art supplies.
We have so many supplies. Paint, brushes, smocks, crayons, coloring books, stamps, stamp pads, dotters, paper, scissors, markers, pencils…And let’s not even get started on all the Play Doh!
It just seems like there is a never-ending supply of crafting tools.
I didn’t want to get rid of anything because both kids love getting crafty, and I never want to discourage that.
The supplies did completely take over the floors, counters, and tabletops for a few weeks. Until I finally had it and decided to create an organizational system for our crafting and art supplies.
After a trip to Costco to purchase some bins to store the supplies, I made a game-plan.
While the kids were napping, I was going to organize the kids crafts.
Once the kids were asleep, I started by sorting all the supplies into categories.
I put all the paper/coloring books/note pads into a pile.
We have so much construction paper and coloring books. Once I got them into piles, I realized that we are set with paper for a while!
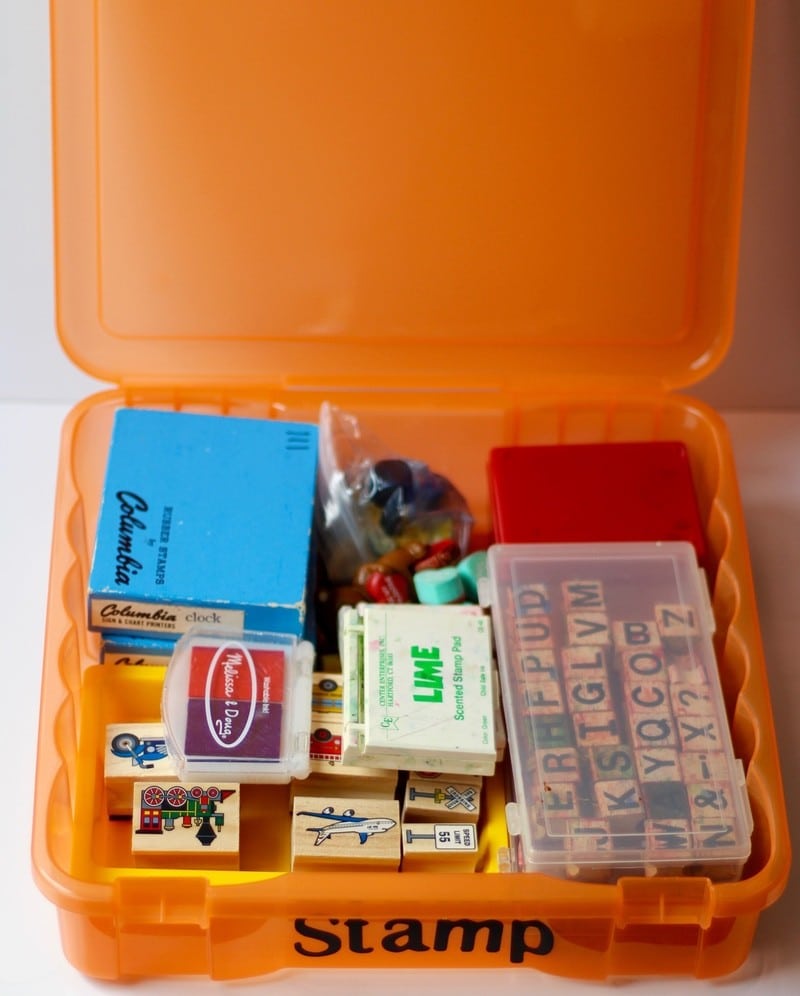
Stamps and stamp pads went together.
Drawing utensils were placed (temporarily) in a bin.
I just thought it would be easier to contain them to one space while I was sorting through everything.
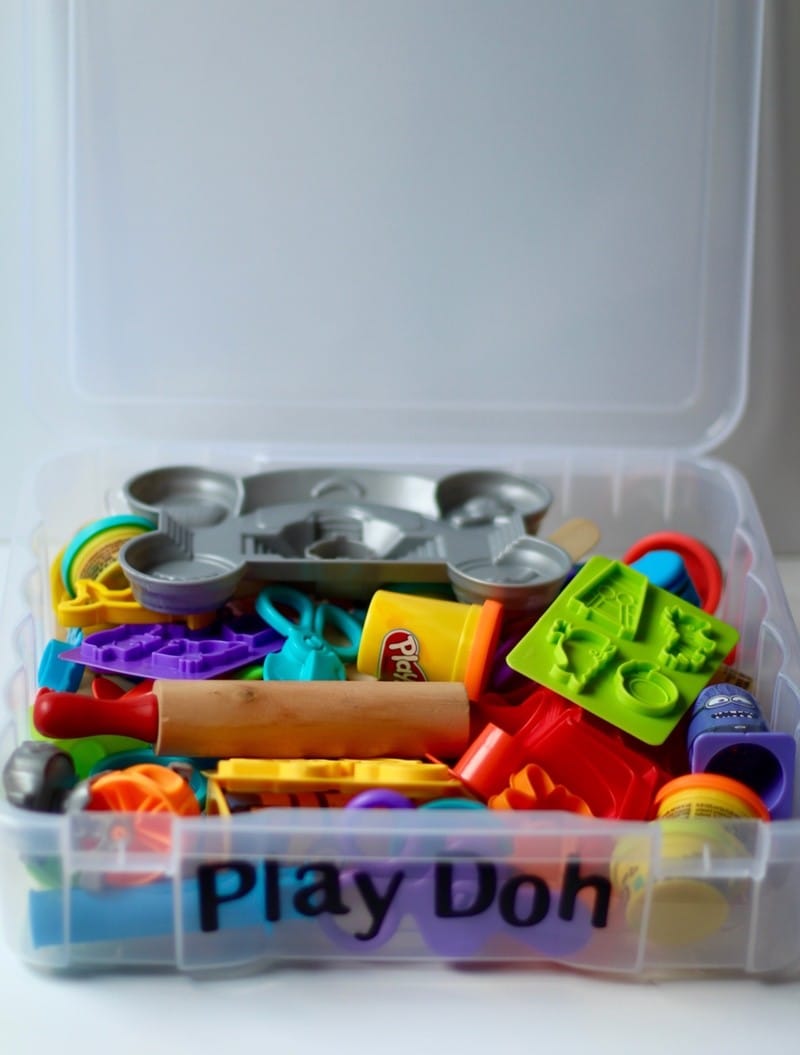
Our Play Doh was already in a big bin, but we lost the lid a while ago.
I know with my kiddos, I need to keep the Play Doh “locked up”. I do this because they would take everything out. And leave it out to dry up.
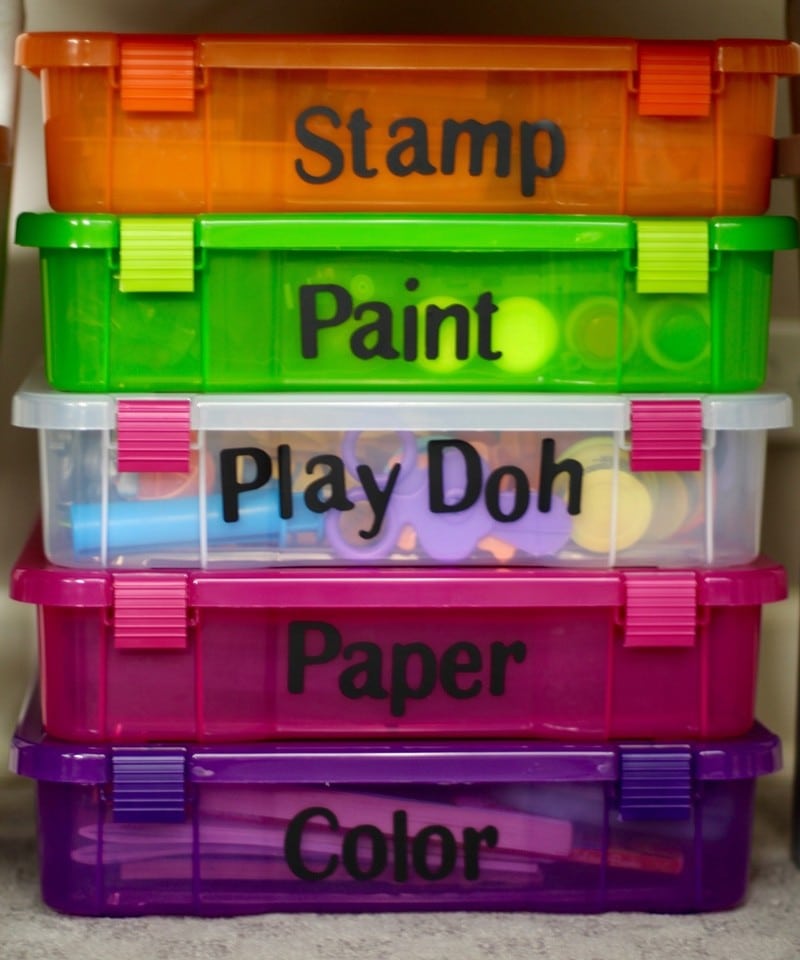
Once I got all the art supplies sorted, I went to work on putting all the supplies into the bins I purchased from Costco.
There were five colorful bins that I am using. These five bins fit perfectly under our craft table when they are stacked on top of one another.
This makes for easy clean-up and storage.
As I started putting the supplies into the bins, I would check to see if they were still in good condition.
I checked all the watercolor paint we had, and found that some of the paint trays were broken or missing some colors.
I tossed the trays that had seen better days. And I checked all the paint brushes to see if they were clean and in good condition.
Tested out stamp pads and made sure all the stamps were secured together.
And I checked every single tub of Play Doh to see if it was dried out or still squishy.

With the five bins, we have a bin for paper, paint, coloring books, stamps, and Play Doh.
Using my Silhouette Cameo, I cut out vinyl letters to label each of the five bins.
I knew what was in each bin. But if someone else was watching the kids, I didn’t want them to have to take out every single bin to find the paper!
Plus, I love to label everything.
So my original plan was to store the utensils in each bin. But I didn’t feel that the kids would be able to use them as easily as just having them on the table.
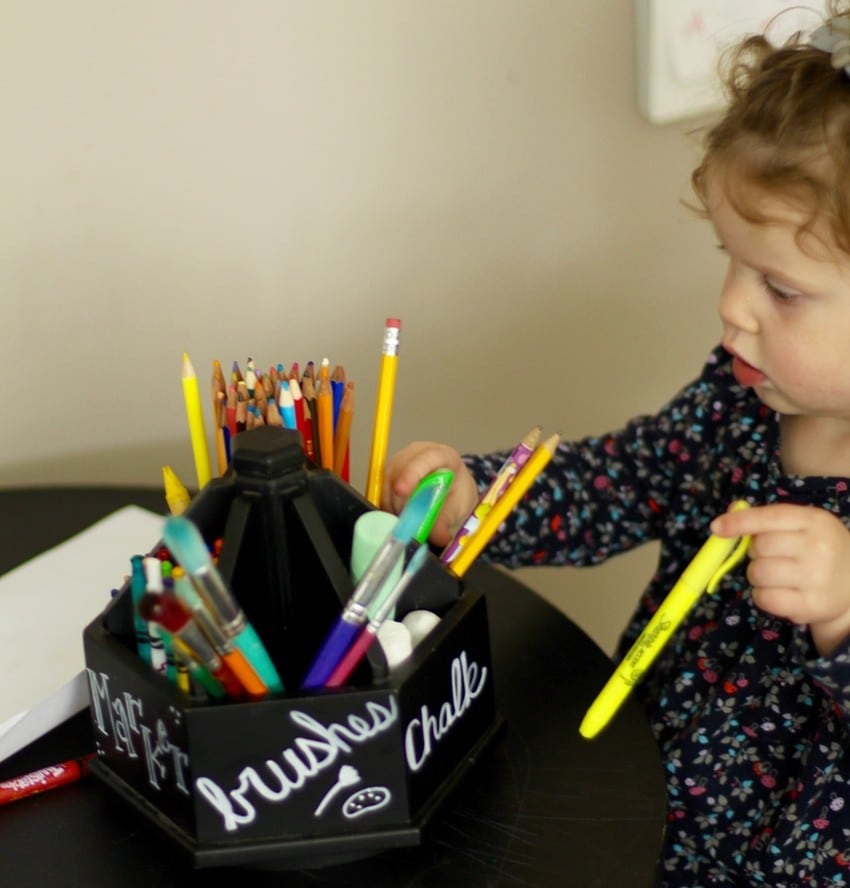
I started looking all over the house for some sort of coloring caddie, when I found a pencil desk organizer that spins.
My husband was going to use it at his office, but never ended up remembering to bring it to work.
The pencil desk organizer would be the perfect. It could easily store all the coloring utensils that we had.
So when I found it in the back seat of his car, I knew that would make the perfect addition to the table.

I sorted all the coloring utensils into groups.
Then, using a white Sharpie, I labeled each section.
Some of the sections have more things than others. But as the kids get older, I know they will fill them with more coloring utensils.
Now, I keep some paper on the table, along with the coloring caddie, so the kids can get crafty throughout the day.
I also love that I can get some work done while they are coloring and crafting up some wonderful pictures. We did this because their craft area is in my office.
Organize Your Craft Supplies With These 6 Hacks


