Our playroom has certainly gone through some major transformation over the years. It started where our current living room is. Then moved into the sun room, which got a giant face-lift after our kitchen renovation. The one piece of furniture that has made the trek to each space is the toy organizer IKEA bench I made years ago!
The benches have grown with our family as our toy situation has changed throughout the years. I have been so happy with how they have held up between the kids jumping off of them, banging them with play pots and pans, and just being in all-around high use!
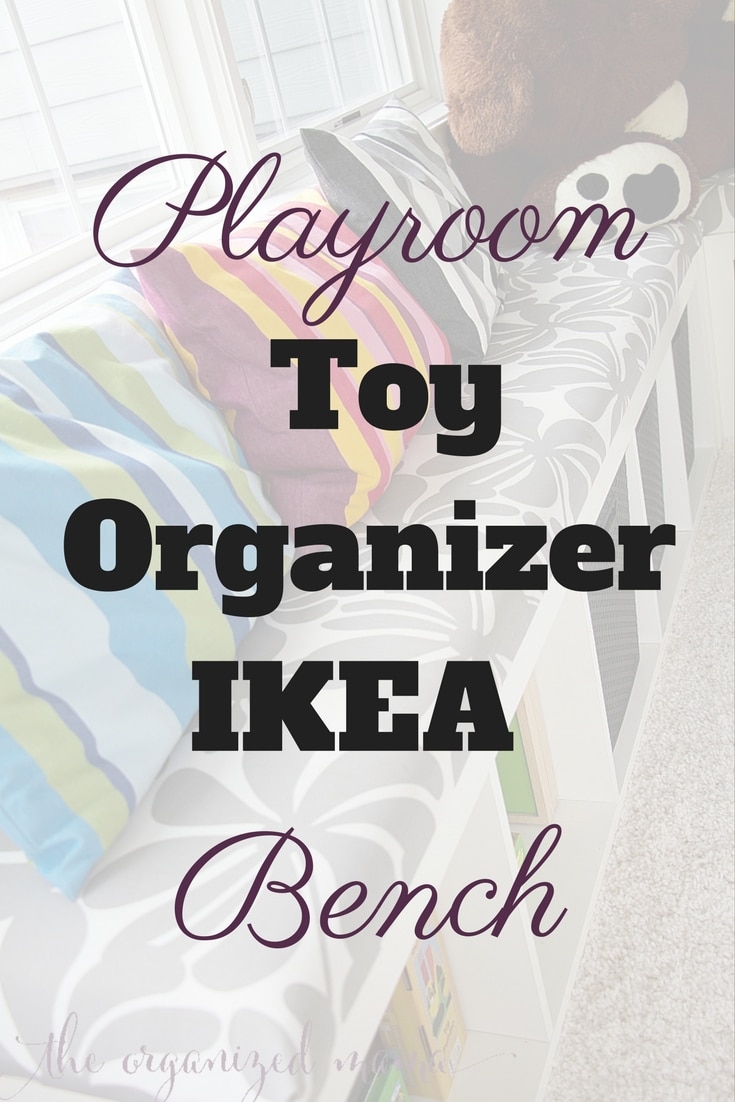
We have changed up the bins a few times to fit our family’s needs. We are currently using these bins that fit perfectly, without any extra space. This is perfect because my kiddos have a ton of cars and trucks, so I needed large bins to hold it all.
I am asked all the time how to create my toy organizer IKEA benches and I am excited to share with you how to construct them! They are very easy once you get all the materials to make them.

How To Make Toy Organizer IKEA Benches
We started creating these toy organizer IKEA benches by purchasing 2 Kallax shelves. Once put together, we laid the shelves on their side to act as a bench. We also purchased a single Kallax to go in the corner.
I set the toy organizer IKEA benches in an L-shape against two walls. Next up it’s time to add some cushions to the benches.

Buy the Wood
I measured the two benches, and went to Home Depot to purchase wood to use as the base of the cushions. One bench was longer due to the single Kallex in the corner.
Once the wood was brought home, I laid them over the Kallax benches to make sure they fit.
Add Some Foam
When I knew they were a fit, I was able to cut some foam mattress material I bought at Target. I bought one queen-size foam mattress cover and one twin foam mattress cover. After doing the math, this was by far the cheapest option!
I cut the foam with a sharp scissors. If you need to get your scissors sharp before you cut, just cut the scissors through aluminum foil. It totally makes them sharp again!
Upholster the Wood
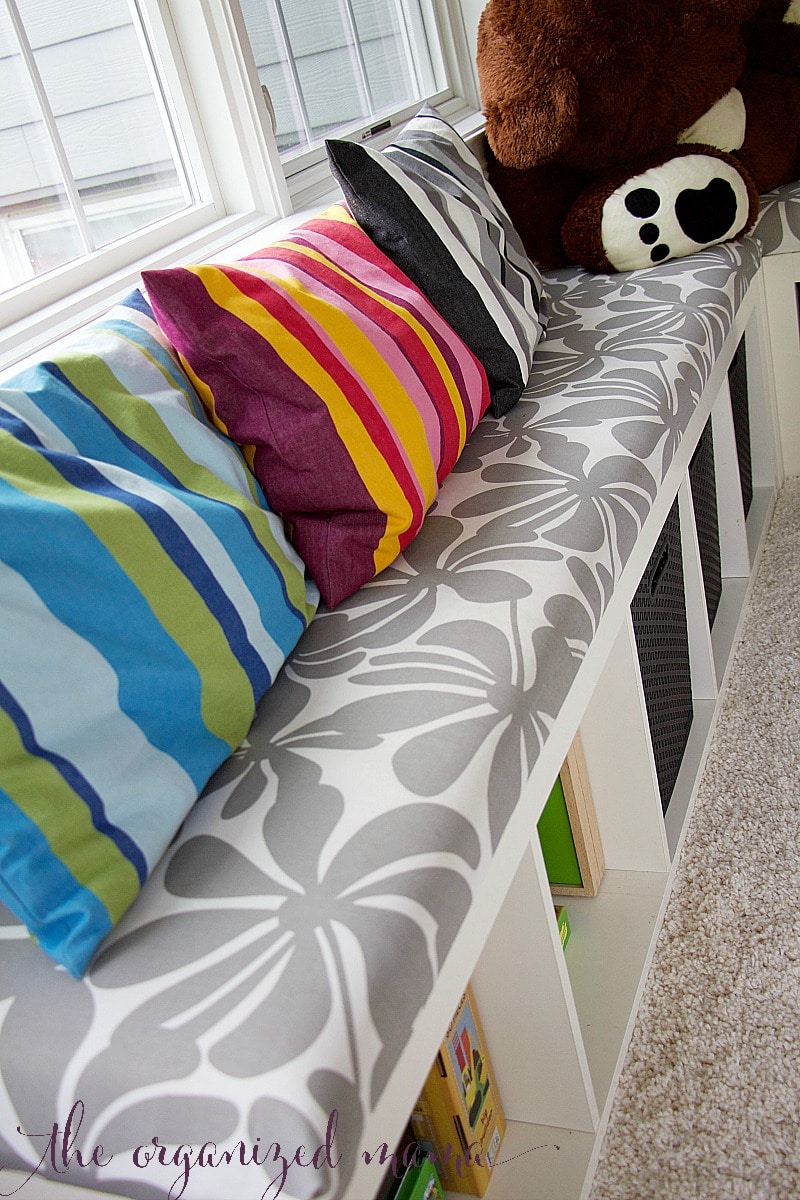
I covered each bench cushion with batting and fabric. Indoor/outdoor fabric works best for high traffic areas like this. I found this pattern at JoAnn Fabrics and fell in love. Plus, the grey is the perfect neutral for any space we have moved the benches.
Then I upholstered the fabric to the wood. I followed these steps to staple the fabric to the wood!
Pro Tip:
T o prevent the cushions from slipping, add velcro 3M stickers to the wood and adhere them to the IKEA Kallax shelves.
Enjoy Your Work
I am so happy with how these toy organizer IKEA benches turned out! They really make a statement in our play room. And they are the best toy storage for our family!
If you are looking for more toy organizing tips, check out The Organized Mama TV below where I share my tips for organizing toys!












Comments are closed.