

Over the years, I have tested out different DIY projects that, at the time, seemed rather intimidating. I always like to start small, just in case it doesn’t go as planned.
I usually try out some new DIY on an old piece of furniture or something that is broken. That way, I never feel bad if I mess up and don’t feel the pressure to get it perfect the first time.
One project was upholstering furniture. The very first time I upholstered a piece of furniture, I made sure it was small, just in case I messed up.
I actually upholstered a picture frame to use as a jewelry hang. I wanted a place I could hang my necklaces. So I used corkboard and fabric to upholster the backing of the picture frame. Then I attached the picture frame onto the backing. I hung it on my wall to display my necklaces.
I felt really good about that project, so I decided to tackle a few more. All the projects were small, but as I got more confident, I started to try bigger projects that involve upholstering.
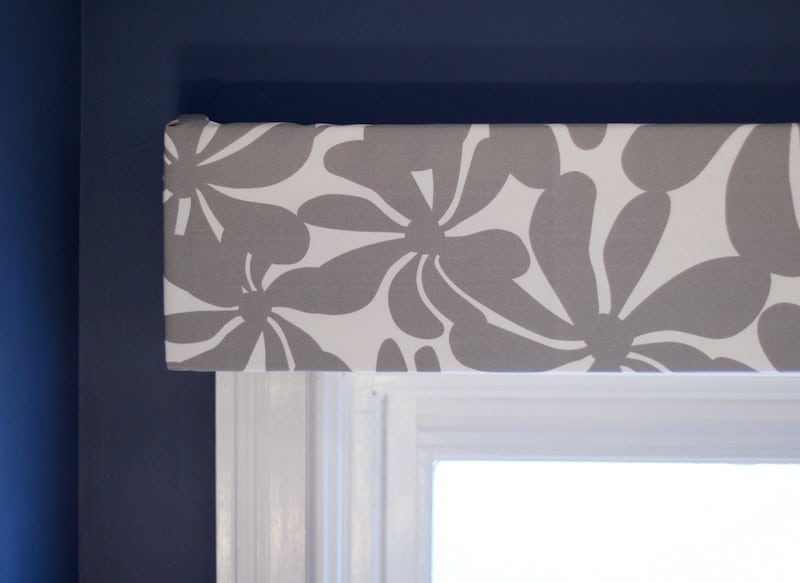
I have upholstered some smaller things like picture frames. And I have upholstered some larger things such as window valance boxes, a few benches, and I am in the process of upholstering some chairs.
With all of this upholstering, I thought I would share some of my tricks that I have learned from the countless projects I have done!

Materials:
- Staple Gun
- Staples
- Fabric (I like using indoor/outdoor for its durability)
- Iron
- Batting, if needed
- Foam, if needed
Tutorial:
- Measure item you are planning on upholstering.
- Remeasure to ensure accurate measurements.
- Purchase fabric a few inches longer and wider than dimensions of item to upholster. I like indoor/outdoor for most projects due to its durability.
- Iron the fabric.
Some projects call for foam. Some projects, you can salvage the existing foam. And some other projects don’t need any foam at all.
You be the judge on if your project needs foam or not! If you do, then you can either purchase foam at the fabric store, or you can use foam mattress pads and cut them to the size you need. The latter is a cheaper option, since fabric store foam can get pretty pricey.
If you are using new or existing foam, continue reading. If no foam is needed, jump ahead.
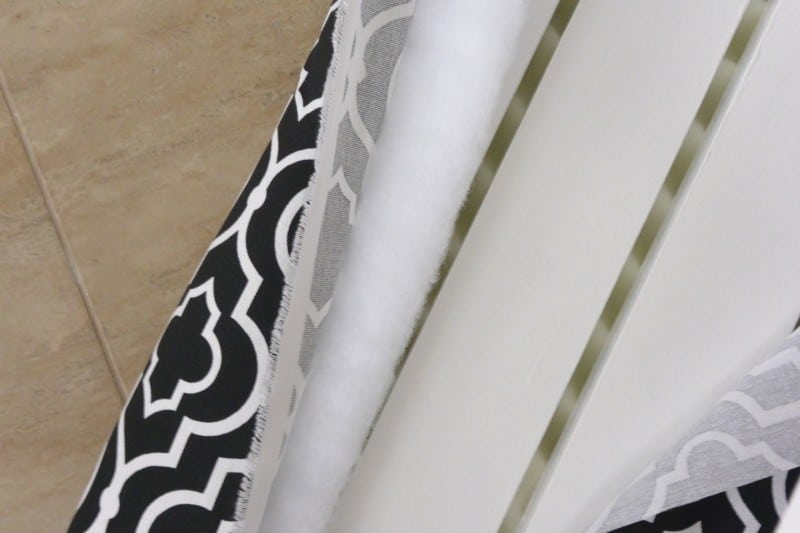
Adding Foam + Batting
- If using foam, cut your foam to the size of the item you are upholstering.
- Wrap batting around foam.
- Staple the batting to the bottom of the item you are upholstering by starting with the middle and working your way to the corners.
- Fold the corners over like you are wrapping a present.
- Staple.
- Cut off excess batting.
If you are just using fabric to upholster your item, continue reading here.
Upholstering The Fabric:
- Lay fabric face down on a smooth, clean surface.
- Place item to be upholstered on top of fabric, face down.
- Smooth out fabric.
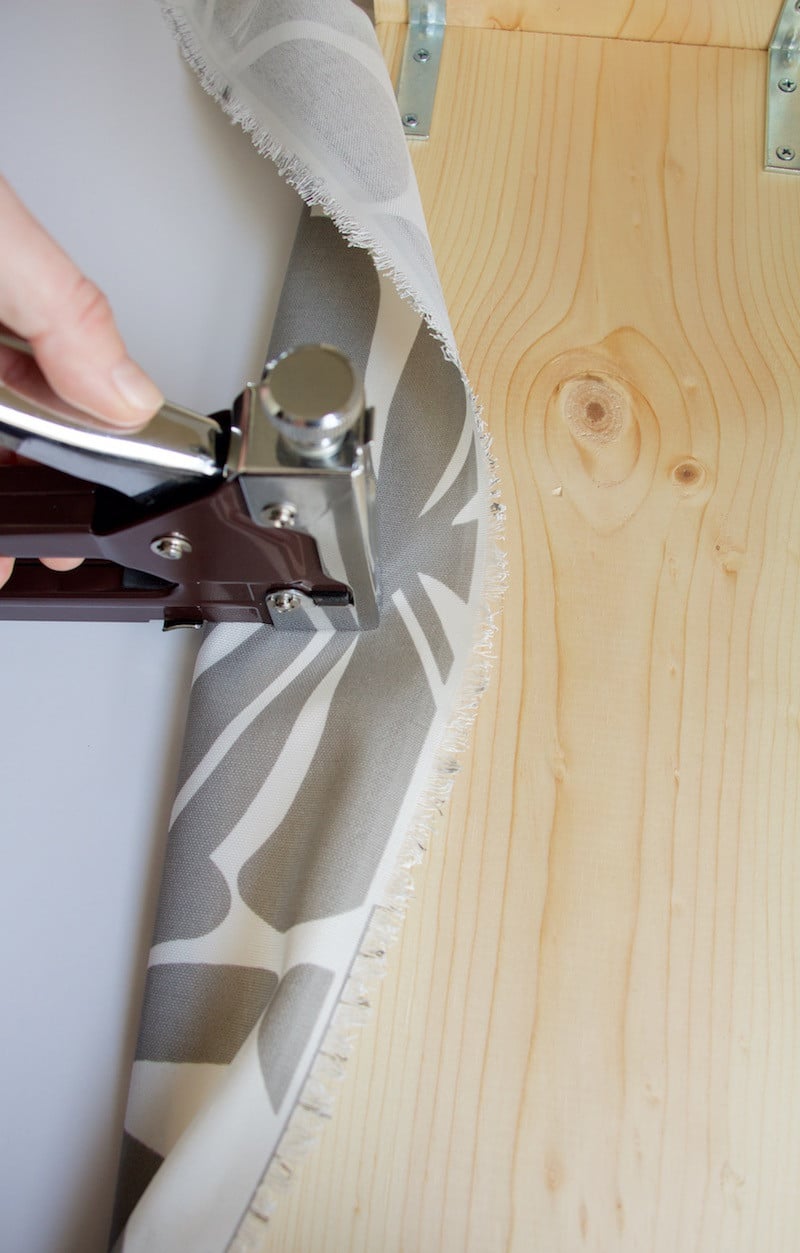
- Starting in the middle, staple fabric to item that you are upholstering. Fold a small part of fabric over itself before stapling, to ensure the fabric won’t full and snag.
If there are bumps in the fabric, remove staples and start over. That’s the beauty of upholstering. You can remove and try again.
- Once one side is complete, flip over to smooth out any bumps, and pull fabric tight.
- Continue to staple all sides, saving the corners for last. Make sure to flip over after stapling each side to ensure smooth, flat fabric.
- Taking one corner, fold as if you were folding a present. Make a triangle. Tuck excess fabric under. Fold triangle over. Staple.
- Repeat for all corners.
- Cut off excess fabric.
- Turn over and smooth out surface.
- Check everything and add in staples to make sure the upholstered item is to your liking.

Tricks To Upholster:
My biggest tricks I learned when upholstering anything is to make sure you iron out the fabric before hand. It will save a ton of time smoothing out your fabric to make sure that the surface is smooth.
Always double-check your measurements to make sure they are actually accurate! Double folding the fabric before you staple will help keep the fabric from slipping and pulling through normal wear and tear.
And, tons of practice folding the corners to make sure the look perfect. By creating a triangle, folding it over itself, pushing the excess fabric underneath, and smoothing out the surface before you staple the fabric has been an incredibly useful tip when creating upholstered corners.
And my advice to you, is to just go ahead and try to upholster something! Don’t be intimidated by the process.
Start small, like taking an old picture frame. Find some fun fabric and a staple gun, and create something using the fabric and the gun on that picture frame. If it doesn’t turn out how you were expecting, it is okay, because you can always try again.
Read more articles on upholstery and decor below:
The Best Way To DIY Upholster Benches

")


Great tips (especially ironing it out before hand) that I had to learn the hard way!
Happy day friend!
karianne
Me too! Totally sucks when you see a big, giant crease in the middle of a project you worked so hard on!
Great instructions, however I am looking forward to using “fabric on fabric” glue project. Do u have instructions on a “how 2”
Hey! I haven’t found long term success with fabric on fabric glue in high traffic areas. But Beacon Adhesive has fabric glue that works really well!
Very useful tips!
Thank you!!
I am considering re-doing already existing valances. I want to extend the length of the fabric and change the style from scalloped to a straight line with one pleat in each side. Will I need to add on to the valance board or just let the fabric extend over the board?
Hi Pamela, For this project I just extended the fabric over the board. I think what you want to do may need more fabric than what I used. I think that will help you achieve what you have envisioned!
Trying to reupholster old lawn swing. Any suggestions