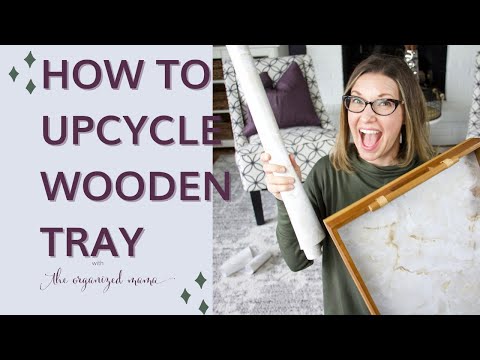
We Tried the Scandinavian Sleep Method—Here’s What Happened
Here’s a crazy thought, what if each individual in a bed has their own blanket that was just for them. No sharing with their partner. No tugging or tossing during…
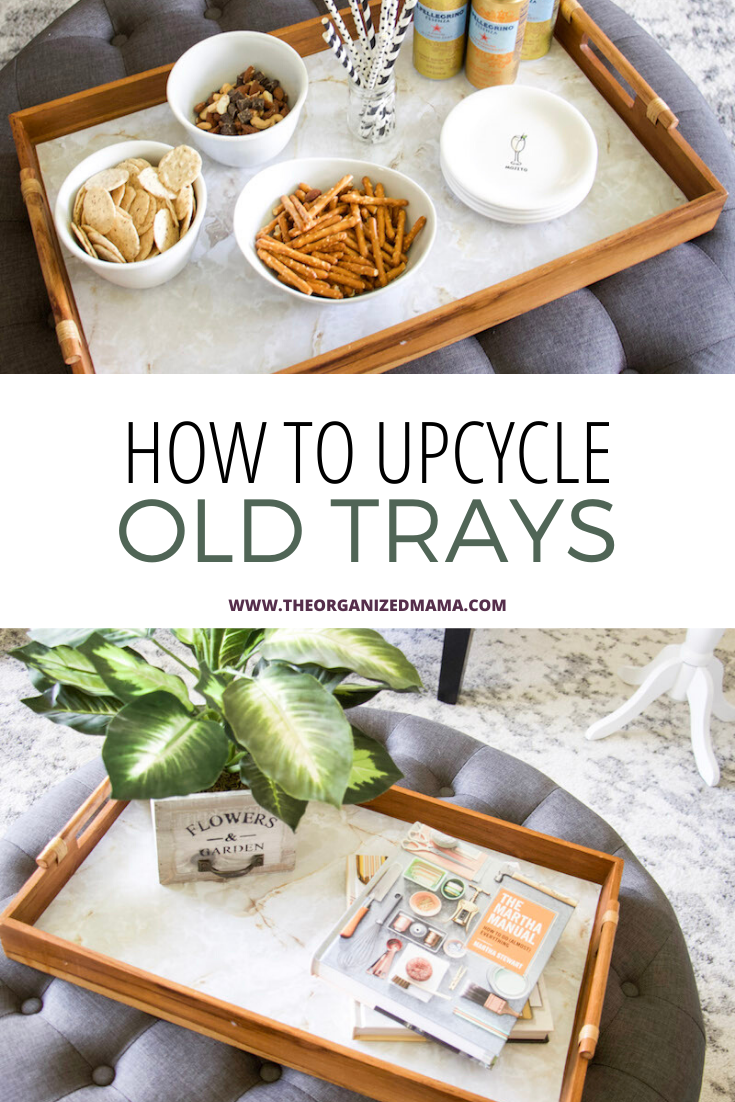
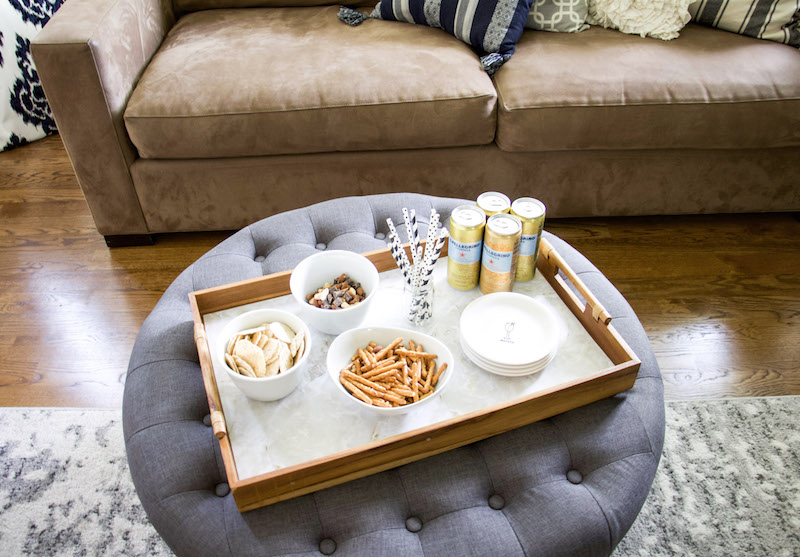
We have this old tray lying around in our basement. It really isn’t anything special. Just a cheap tray I found at our local HomeGoods. I loved it because it was so oversized and could hold a lot of snacks and drinks. We use it whenever we have a movie night and bring food down […]
We have this old tray lying around in our basement. It really isn’t anything special. Just a cheap tray I found at our local HomeGoods. I loved it because it was so oversized and could hold a lot of snacks and drinks.
We use it whenever we have a movie night and bring food down to the basement. Plus it is perfect when my husband has his friends over to watch sports.
But with all the wear and tear the tray was getting from cold drinks, spills, and just food use, I wanted a way to upcycle wooden trays to make them last longer.
And I found the best trick that helps keep them looking good and protects them from spills!
This post is sponsored by ShurTech. All thoughts and opinions are my own. Some links may contain affiliates. See disclaimer here.
My cheap trick is also incredibly easy to replicate, which is why I have been transforming all of my wooden trays using this same method!
I will be sharing two different ways to recreate this. The first is the “exact-o” method. This method involves measuring.
The second way is the “eye ball” method, which involves folding. This method isn’t as accurate, but just as effective! In my video, I demonstrated the “eye ball” method in this video.
Step One
Measure the inside of the tray. Measure both the length and width using the measuring tape. You can totally use the yard stick, but if you are going for total accuracy, then use the measuring tape to get up into the sides.
Step Two
Lay out the EasyLiner flat on the floor with the pattern side facing down. I use books on either side to hold it in place.
Step Three
Mark the length and width on the backside of the EasyLiner. I try to get them as close to the already marked lines as possible.
Step Four
Using your yard stick, cut the markings to get those straight lines. I like to add a book to either side of the yard stick to make sure it doesn’t move while I am cutting.

Step Five
Once the EasyLiner is cut to size, lay it flat inside the wooden tray. If there is anything you need to recut, do it now.
Step Six
Once you are happy with the fit of the EasyLiner inside the wooden tray, adhere the EasyLiner to the tray. I suggest doing this by removing the backing from one side, which I will call the top for this tutorial. Remove the top, corner to corner, about 1/8 down. Stick the top to the edge of the tray and smooth. Slowly pull back some of the liner and smooth. Continue to do this until the entire tray is covered with the EasyLiner.
Step Seven
Smooth the entire tray covering one more time to make sure the upcycle wooden tray is ready for action! Then add your favorite beverages or snacks without worrying about things spilling, since EasyLiner is so easy to wipe up!
Step One
Lay the EasyLiner inside the tray, making sure EasyLiner sides are up against one of the sides of the tray. I like to start this by going the long way, meaning that I will lay the EasyLiner on the side that is the longest first.
Step Two
Fold the EasyLiner over on this one side only. This fold is going to be your marking for where to cut.
Step Three
Cut on the fold you made. Check to make sure the EasyLiner fits snug in the wooden tray. If not, the trim until it fits.
Step Four
Repeat this process for the shorter side of the tray by laying the EasyLiner inside the tray and folding the liner over itself. Cut the liner on the fold. Then make sure it fits inside the tray.

Step Five
Remove the top portion of one side of the EasyLiner. Keep some of the backing still on the EasyLiner.
Step Six
Line up the top side of the EasyLiner to the side of the tray and smooth down. Slowly unroll small portions of the EasyLiner and smooth onto tray until the entire backing of the EasyLiner is removed.
Step Seven
Smooth the entire surface of the tray and cut off any parts of the EasyLiner that aren’t flat on the wooden tray. Now you don’t have to worry about spills because the EasyLiner will protect the tray bottom from the drinks!
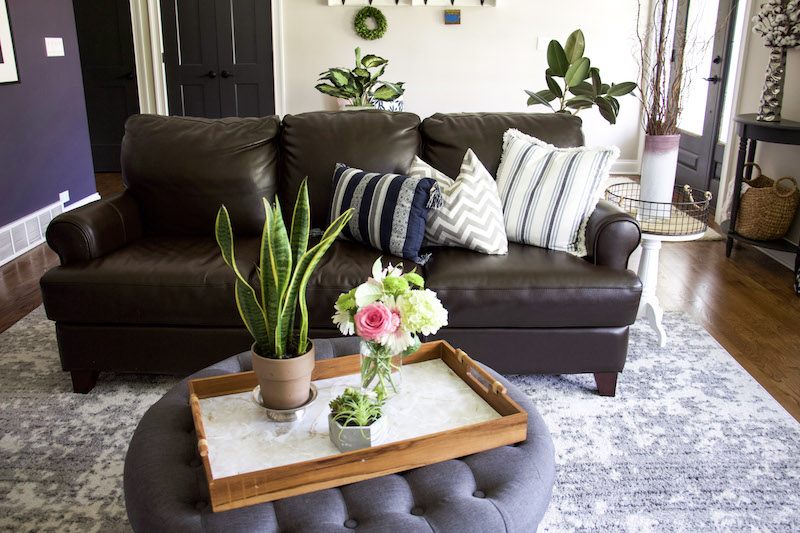
Either way you decide to upcycle wooden trays, this method is perfect, easy, and CHEAP!!
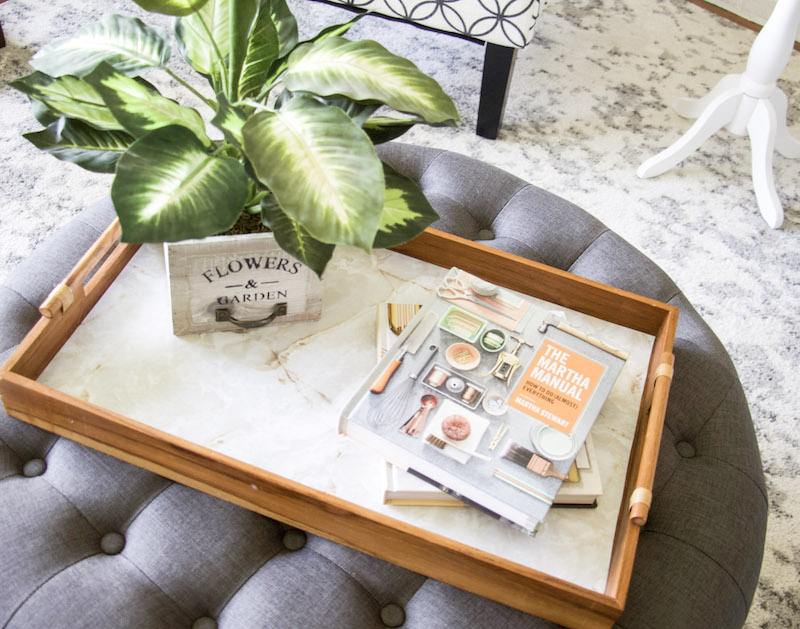
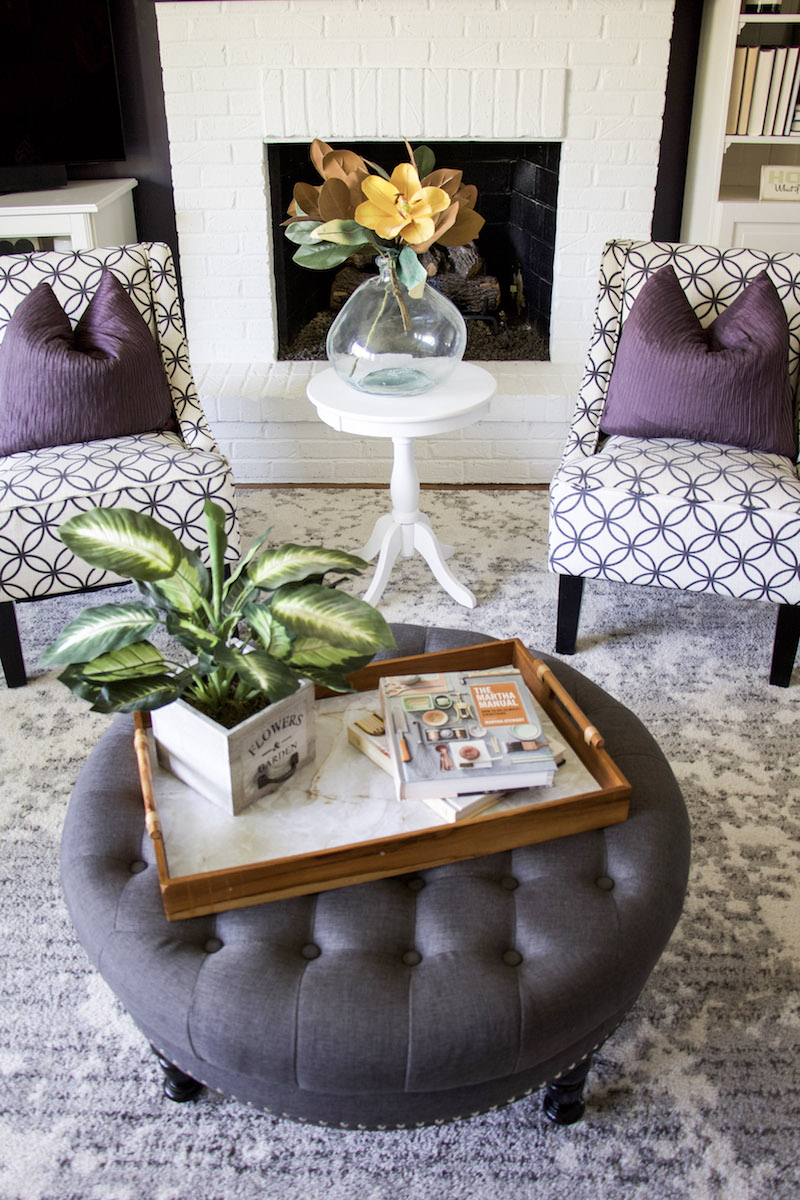
There are a variety of patterns you can choose from, I just like the look of the marble on the wood. Makes the upcycled tray look really fancy.
Plus, if you get bored with one print, you can easily remove the EasyLiner because it is removable!!
Then you can change out the pattern for a different one, giving the tray a totally different feel.