
We Tried the Scandinavian Sleep Method—Here’s What Happened
Here’s a crazy thought, what if each individual in a bed has their own blanket that was just for them. No sharing with their partner. No tugging or tossing during…
A project board is a great way to display all your projects. I’m talking about what they are, why you may need one, how to make them, and how to use them.
Today I’m talking all about project boards: what they are, why you may need one, how to make them, and how to use them.
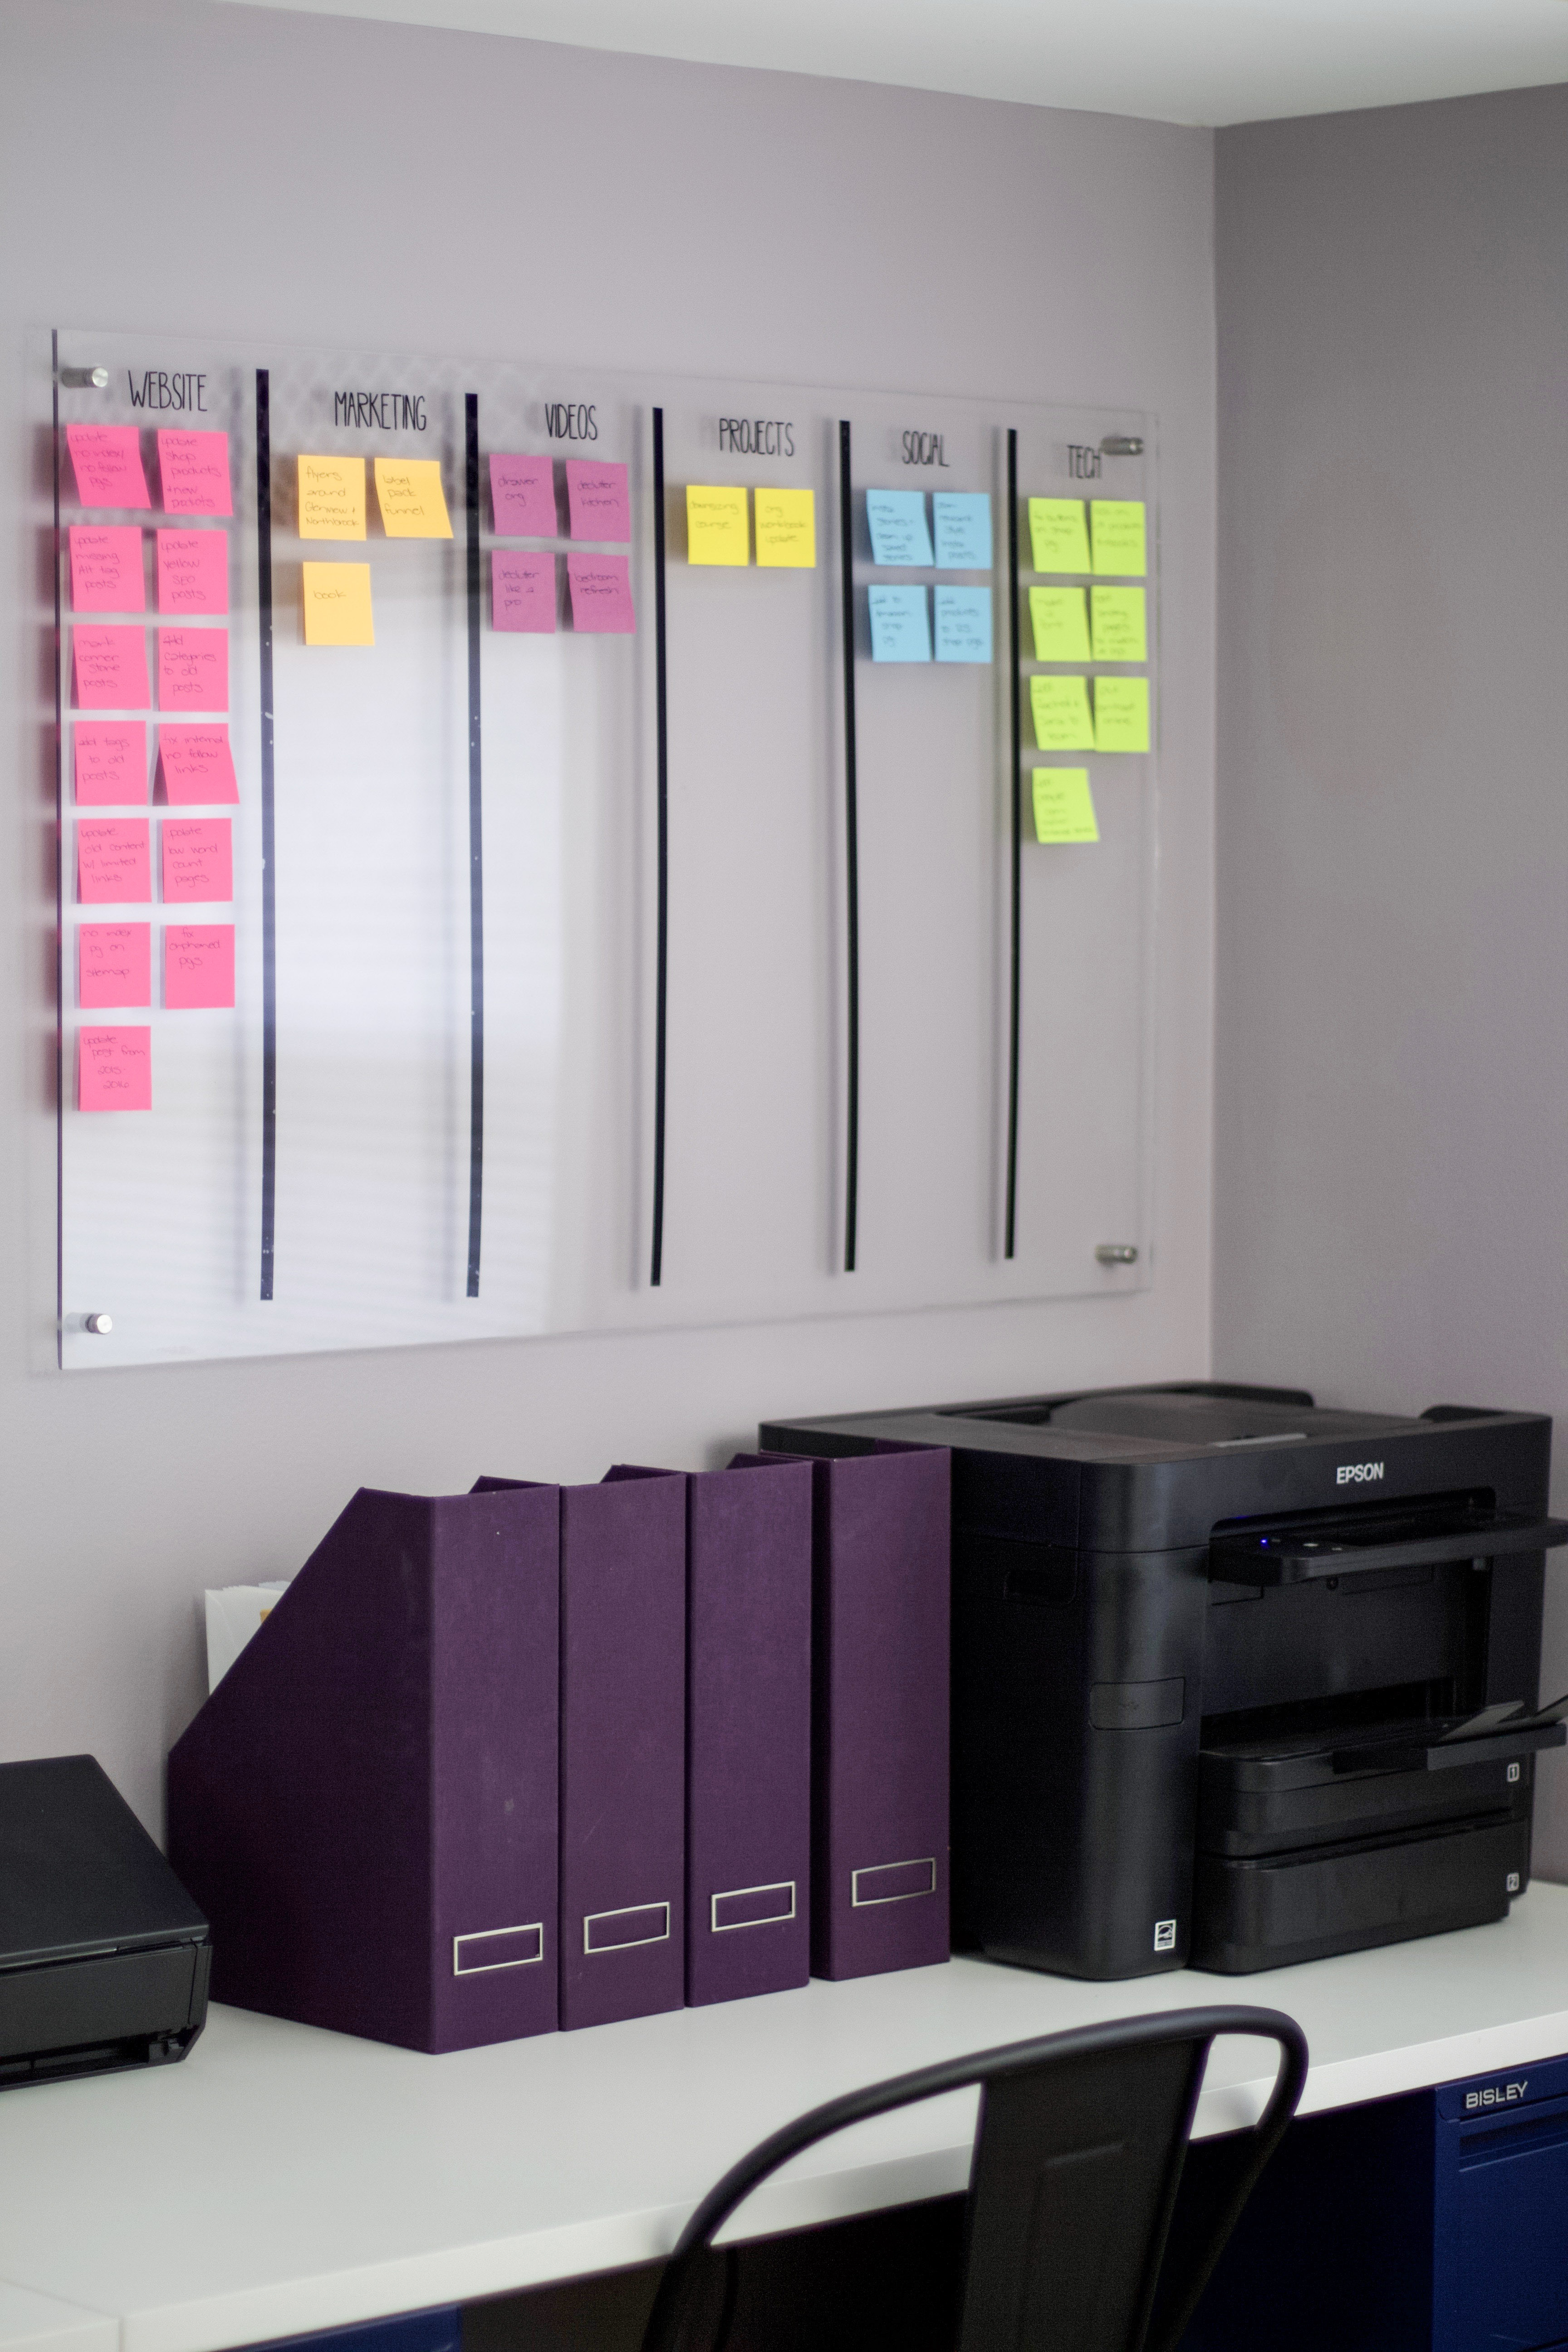
A project board is a place to display all your projects in a systematic way.
Way back, I used tagboard and Post-it notes.
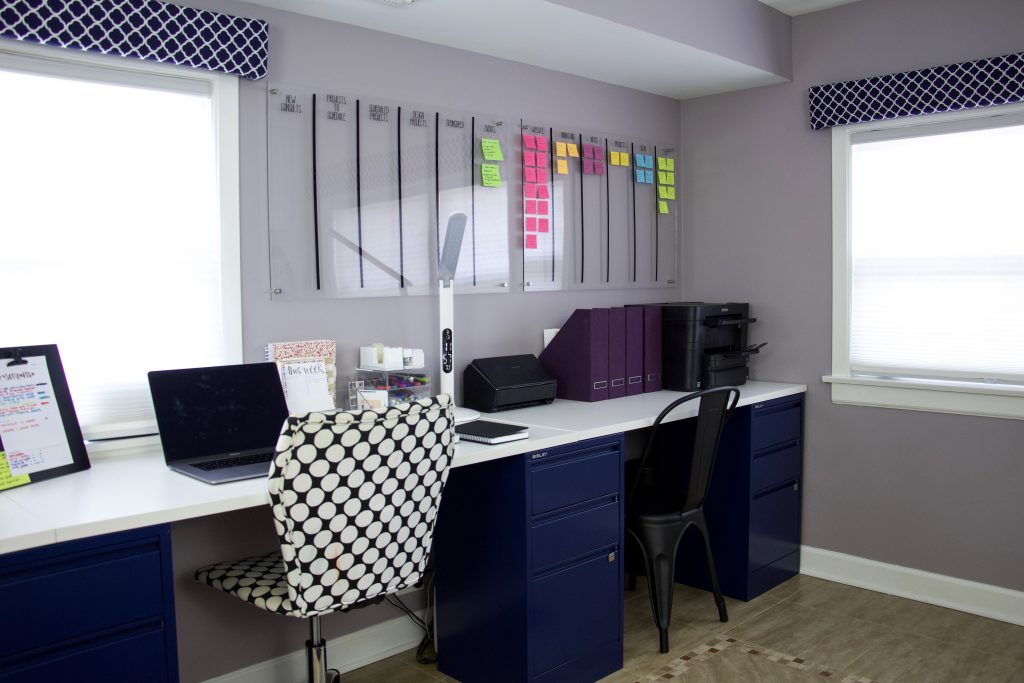
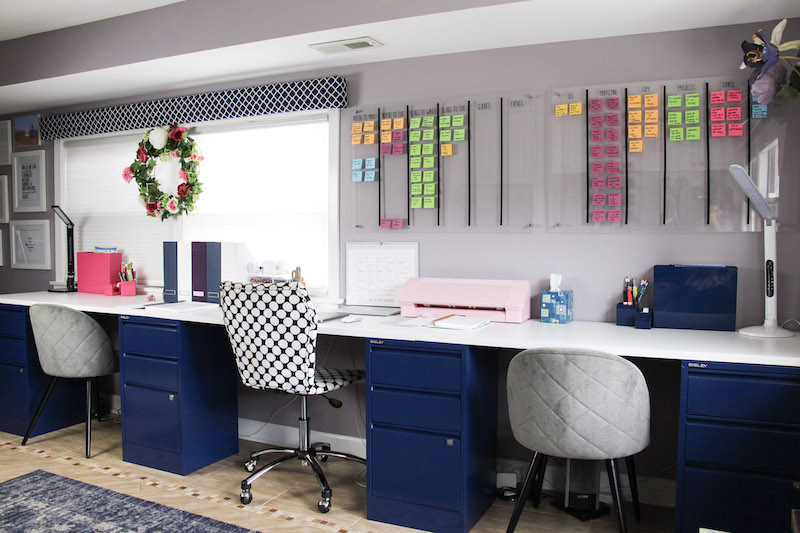
Now I use an acrylic board with Post-it notes.
The point is to give you a visual representation of what you’re working on—plus your workflows from start to finish—so nothing gets lost in your brain or buried in a notebook.
Yes, there are online boards like Asana and Trello, but personally, I need a physical project board to see the big picture. I need to walk past it every day and know, at a glance, what’s in the works.
Project boards aren’t just for work or home renovations—they’re also incredible for managing your household. Here’s how:

To create mine, we went to our local hardware store and had plexiglass cut to size. Most places like Lowe’s, Home Depot, and Ace Hardware will do at least two cuts for free—so measure before you go.
You’ll also need:
Pro tip: It’s a two-person job to mount it. Hold it in place, mark where you want it, then secure it with the screws.
The great thing about plexiglass is it’s reusable—you can wipe it down, rearrange sections, or repurpose it for another project entirely.
Think about your process first. Start with the main categories or steps you want to track, and place those at the top of each column.
When I first started as a professional organizer, my board had:
Now, I have two boards:
Your setup can be as simple or detailed as you want—the magic is that you can see everything in one place, and everyone in the house knows what’s going on.
Take the mental load off of your plate with the Manage Your Home With Planning Boards eBook. These plans use visual systems that work for families.
Those looking for command center style project boards, the ADHD Home Command Center eBook walks you through setting up project boards to work with your brain!
Business planning boards are the best for keeping things organized with your business.


