
We Tried the Scandinavian Sleep Method—Here’s What Happened
Here’s a crazy thought, what if each individual in a bed has their own blanket that was just for them. No sharing with their partner. No tugging or tossing during…

One challenge I see when organizing anything is deciding what items should go together. In a close second, where to put those items. So I’ve put together a simple guide for how to group pantry items, so you don’t have to overthink about where things go. We’ll start by chatting about why we group items […]
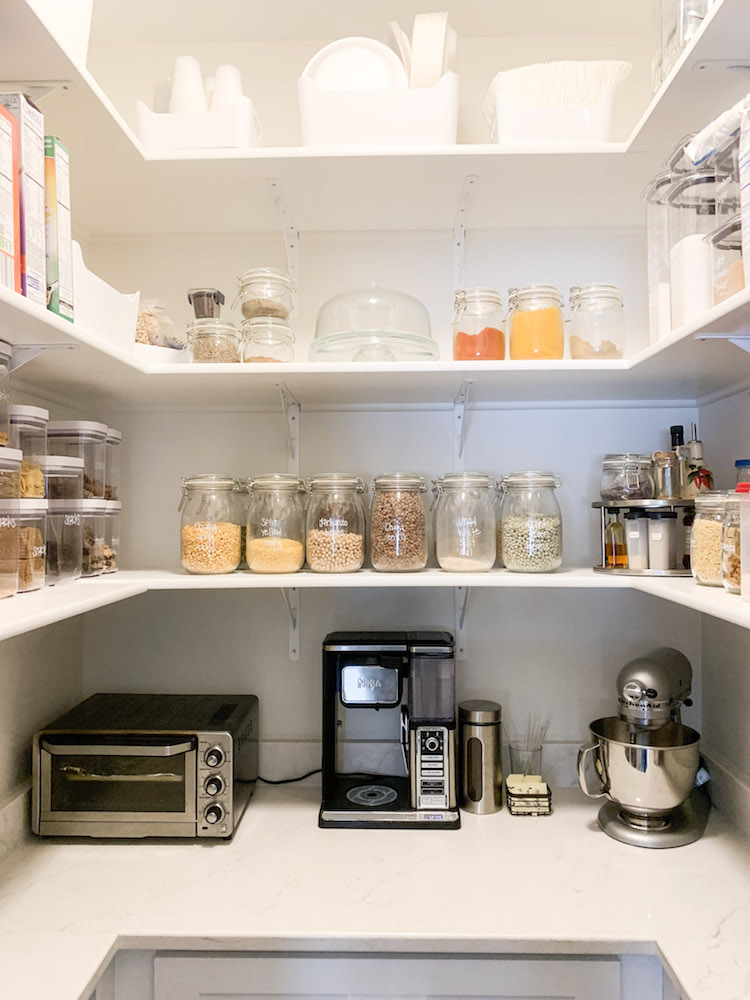
One challenge I see when organizing anything is deciding what items should go together. In a close second, where to put those items.
So I’ve put together a simple guide for how to group pantry items, so you don’t have to overthink about where things go.
We’ll start by chatting about why we group items together, break down some category ideas, and then I’ll share logical storage spots for each.
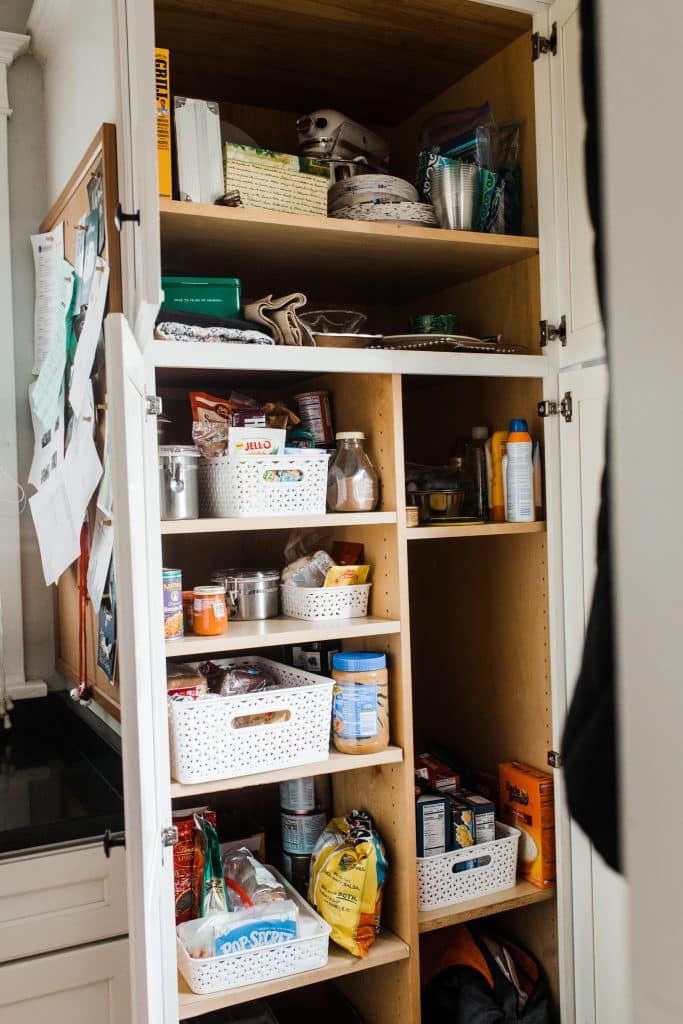
Grouping is the secret sauce of an organized pantry. When you decide on categories that make sense for how you cook and snack, you:
How To Organize Wire Pantry Shelves
10 Step Process For Creating Pantry Organization That Will Last
Organizing A Kitchen With ADHD- Full Category List And Where To Store

When grouping pantry items, think about how you use them in your day-to-day cooking and snacking. Below are some of my favorite “like with like” categories:
Meal Prep Staples
Breakfast Favorites
Baking Essentials
Spices & Seasonings
Snacks & Treats
Condiments & Sauces
Kids’ Corner
Overstock & Extras
Once you’ve got your categories, let’s give each group a cozy home:
Monthly pantry check: Spend 5 minutes spotting empties or expirations so your system stays fresh.
Pick your grouping style (by meal type, snack frequency, or who eats what).
List your categories—aim for 8–10 so it stays simple.
Assign each category a spot using the storage ideas above.
Label if it helps! A quick label-maker session goes a long way.


