One challenge I see when organizing anything is deciding what items should go together. In a close second, where to store office supplies. So I’ve put together a simple guide for how to group office items, so you don’t have to overthink about where things go. We’ll start by chatting about why we group items […]
One challenge I see when organizing anything is deciding what items should go together. In a close second, where to store office supplies.
So I’ve put together a simple guide for how to group office items, so you don’t have to overthink about where things go.
We’ll start by chatting about why we group items together, break down some category ideas, and then I’ll share logical storage spots for each.
Why We Group Items Together
Grouping is the secret sauce of an organized workspace. When you decide on categories that make sense for how you work, you:
Save time: No more hunting for that one pen or sticky note.
Boost productivity: Everything feels intentional, so you can focus on the task—not the clutter.
Keep it tidy: Once the categories are set, it’s easy to return things to their “homes.”
Office Item Categories You May Have
Every office is unique, so lean into how you use your space. Below are some of my favorite go-to categories for grouping like with like:
Choose your grouping style (by function, frequency of use, or even color—hey, it’s your desk!).
List your categories—aim for 8–10 so it stays simple.
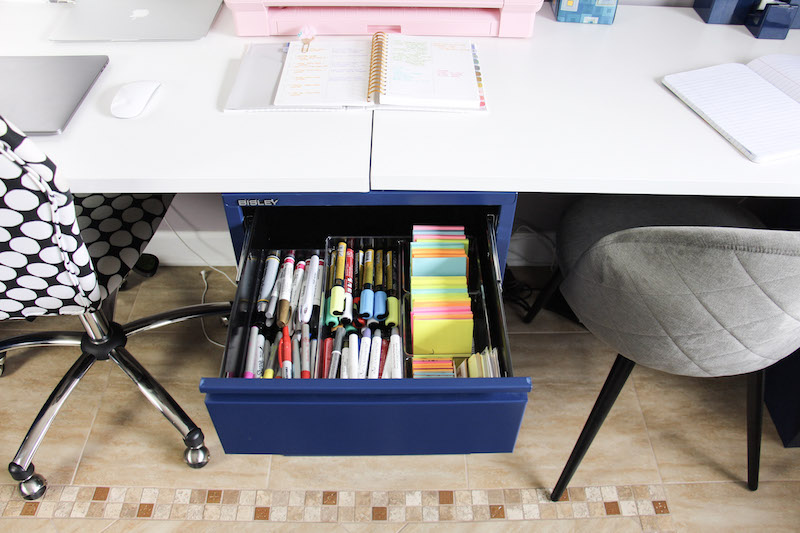
Assign each category a spot in your drawers, on your shelves, or on your desktop.
Label if it helps! Even a piece of washi tape with “Pens” on it works wonders.
Quick weekly reset: Spend 2 minutes at week’s end returning stray items to their homes.
Hey, I’m Jessica! Welcome to The Organized Mama—where organizing is made ADHD-friendly, doable, and totally overwhelm-free. As a former in-home organizer (and mom!), I’m here to help you simplify your home with easy-to-follow systems that actually work with your brain, not against it. Whether you're organizing with kids, figuring out where to start, or just feeling buried in stuff, you'll find real-life tips and support right here.
Here’s a crazy thought, what if each individual in a bed has their own blanket that was just for them. No sharing with their partner. No tugging or tossing during…
People often ask how I manage to keep things organized with two kids running around. The truth? It’s not about being perfect or constantly cleaning — it’s about having systems…