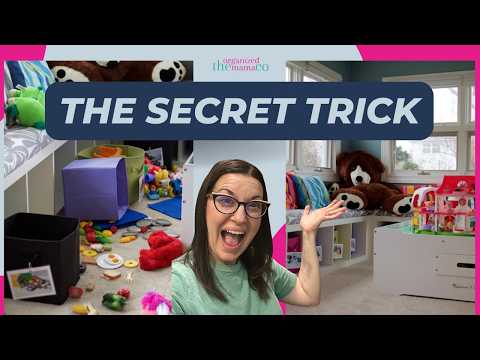
How To Get Kids To Organize
Back when I was teaching, I feel like half my class could keep their desks and cubbies organized. And the other half couldn’t. So I had to teach them some…
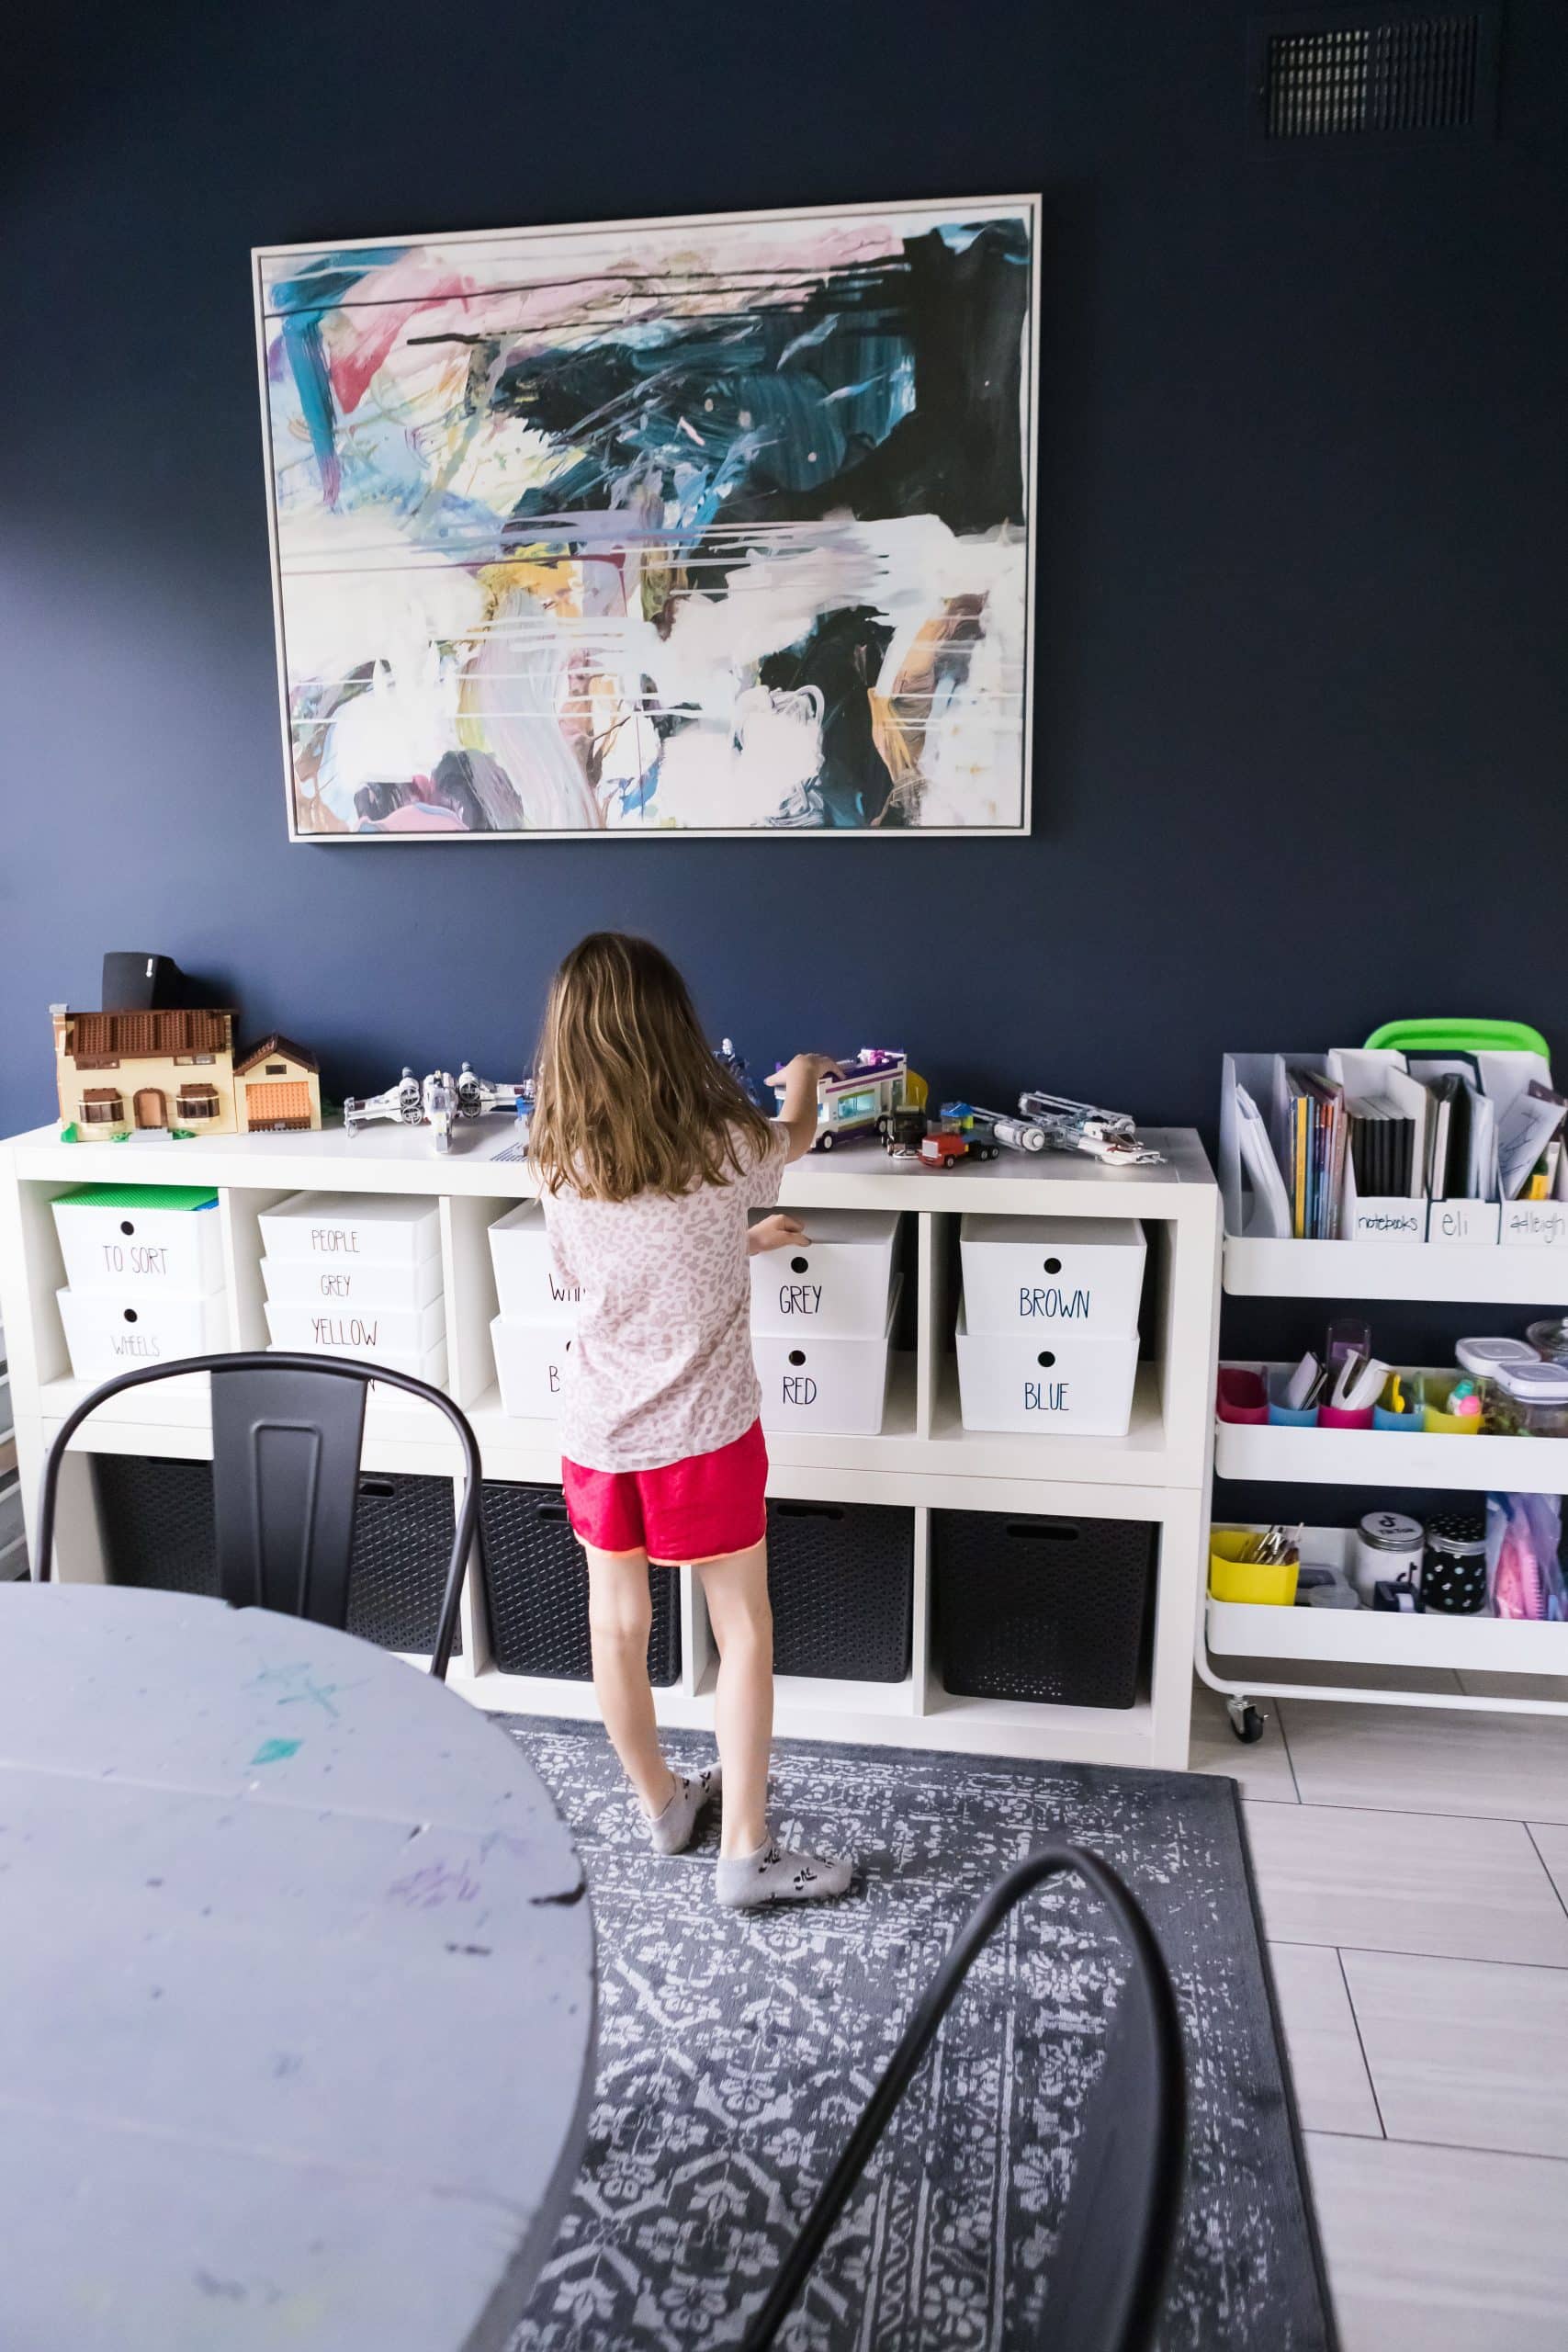
If you’ve ever struggled to get your kids to clean up, picture labels might just be your new best friend. I absolutely love using them when it comes to organizing kids’ spaces, and here’s why. Picture labels give kids a visual guide for where everything belongs. Instead of relying on verbal instructions alone—which can feel […]
If you’ve ever struggled to get your kids to clean up, picture labels might just be your new best friend. I absolutely love using them when it comes to organizing kids’ spaces, and here’s why.
Picture labels give kids a visual guide for where everything belongs.
Instead of relying on verbal instructions alone—which can feel overwhelming, especially for young or neurodivergent kids—picture labels show them exactly where each item goes.
And when you combine words with pictures, it’s the perfect setup: kids see the image, read the label (if they can), and immediately know what to do.
Here’s a scenario: you want your child to clean up the toy trucks. Instead of saying, “Clean up!” and leaving them guessing, you can point to a picture label showing where the trucks belong.
Even if they aren’t fully done playing or the transition is tough (maybe it’s dinner time or nap time), the visual cue guides them through the process without multiple verbal reminders.
From my experience teaching preschool, including lots of neurodivergent kiddos, transitions were often the hardest part of the day.
Kids would get upset when it was time to stop an activity, but picture labels made a huge difference.
They could visually organize themselves—putting trucks in the bin, lining up toy food—without constant verbal prompts.
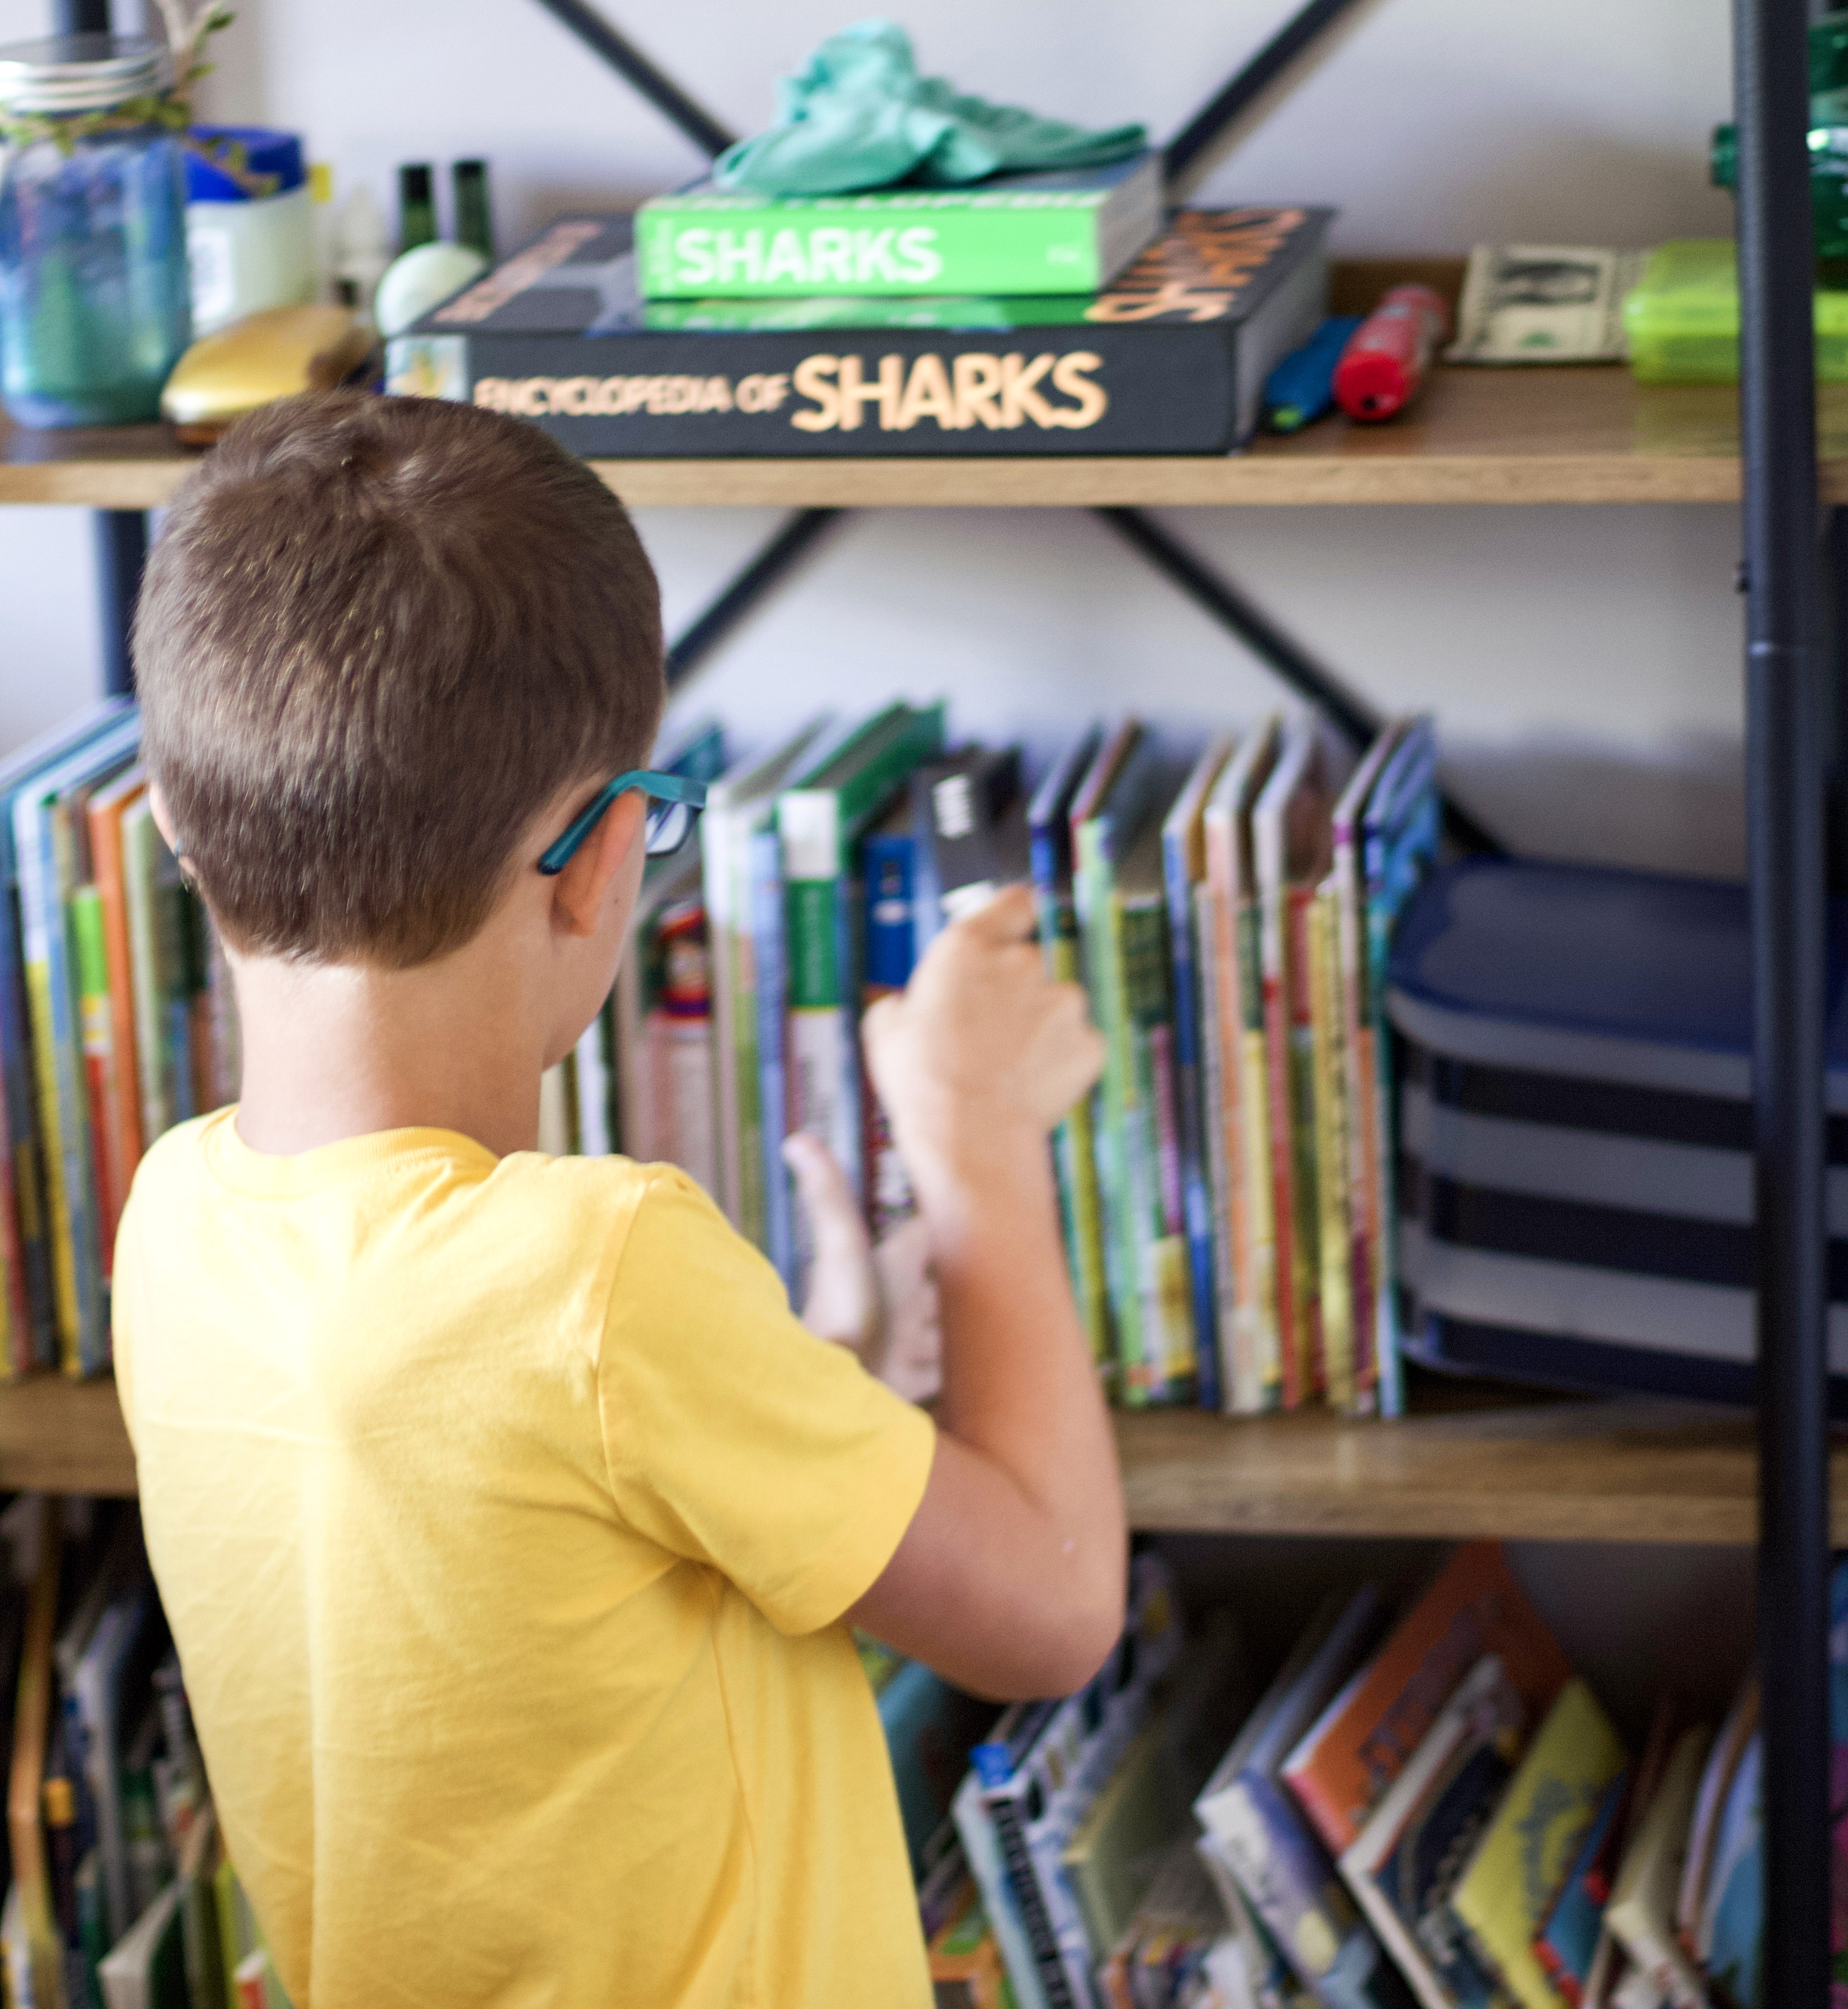
Even if your kids aren’t neurodivergent, this method works amazingly well, especially for toddlers.
My own kids had picture labels all over every bin, and it made clean-up time so much smoother.
They even enjoyed following the pictures as a guide to taking toys out and putting them away.
Professional Organizers Tricks For Organizing Play Rooms
The One Secret Everyone Should Steal From These Playroom Ideas
10 Executive Functioning Activities To Teach Your Kids

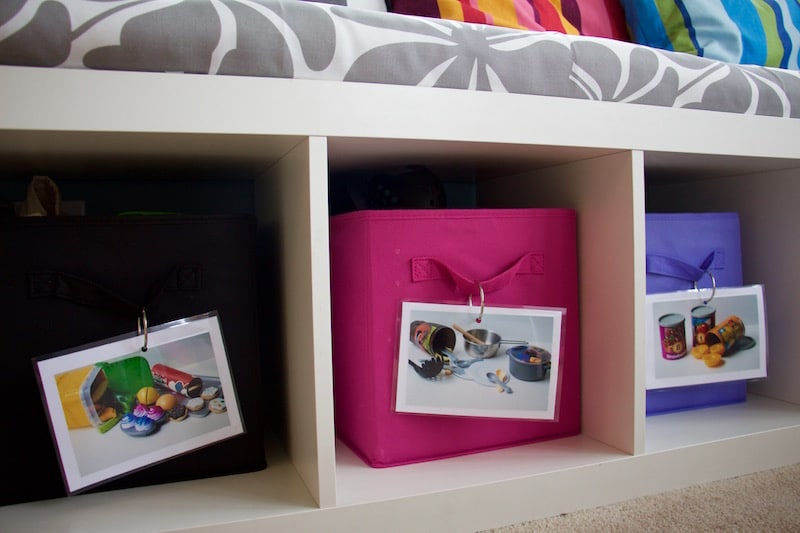
Here’s my go-to method for creating picture labels that are practical, durable, and easy for kids to use:

Once your photos are printed, there are a few ways to make them sturdy:
Other options include Velcro dots, which are great for drawers or shelves if you want to swap labels easily. Just be aware: some kids might peel them off if they’re upset, so keep extras handy.

One of the best parts of picture labels? You can involve your kids in the process.
When my kids were toddlers or preschool-aged, they loved helping:
This gives them a sense of ownership, making them more likely to use and follow the labels.
Plus, if you ever switch out toys or get new ones, creating updated labels becomes a fun, simple activity for them too.
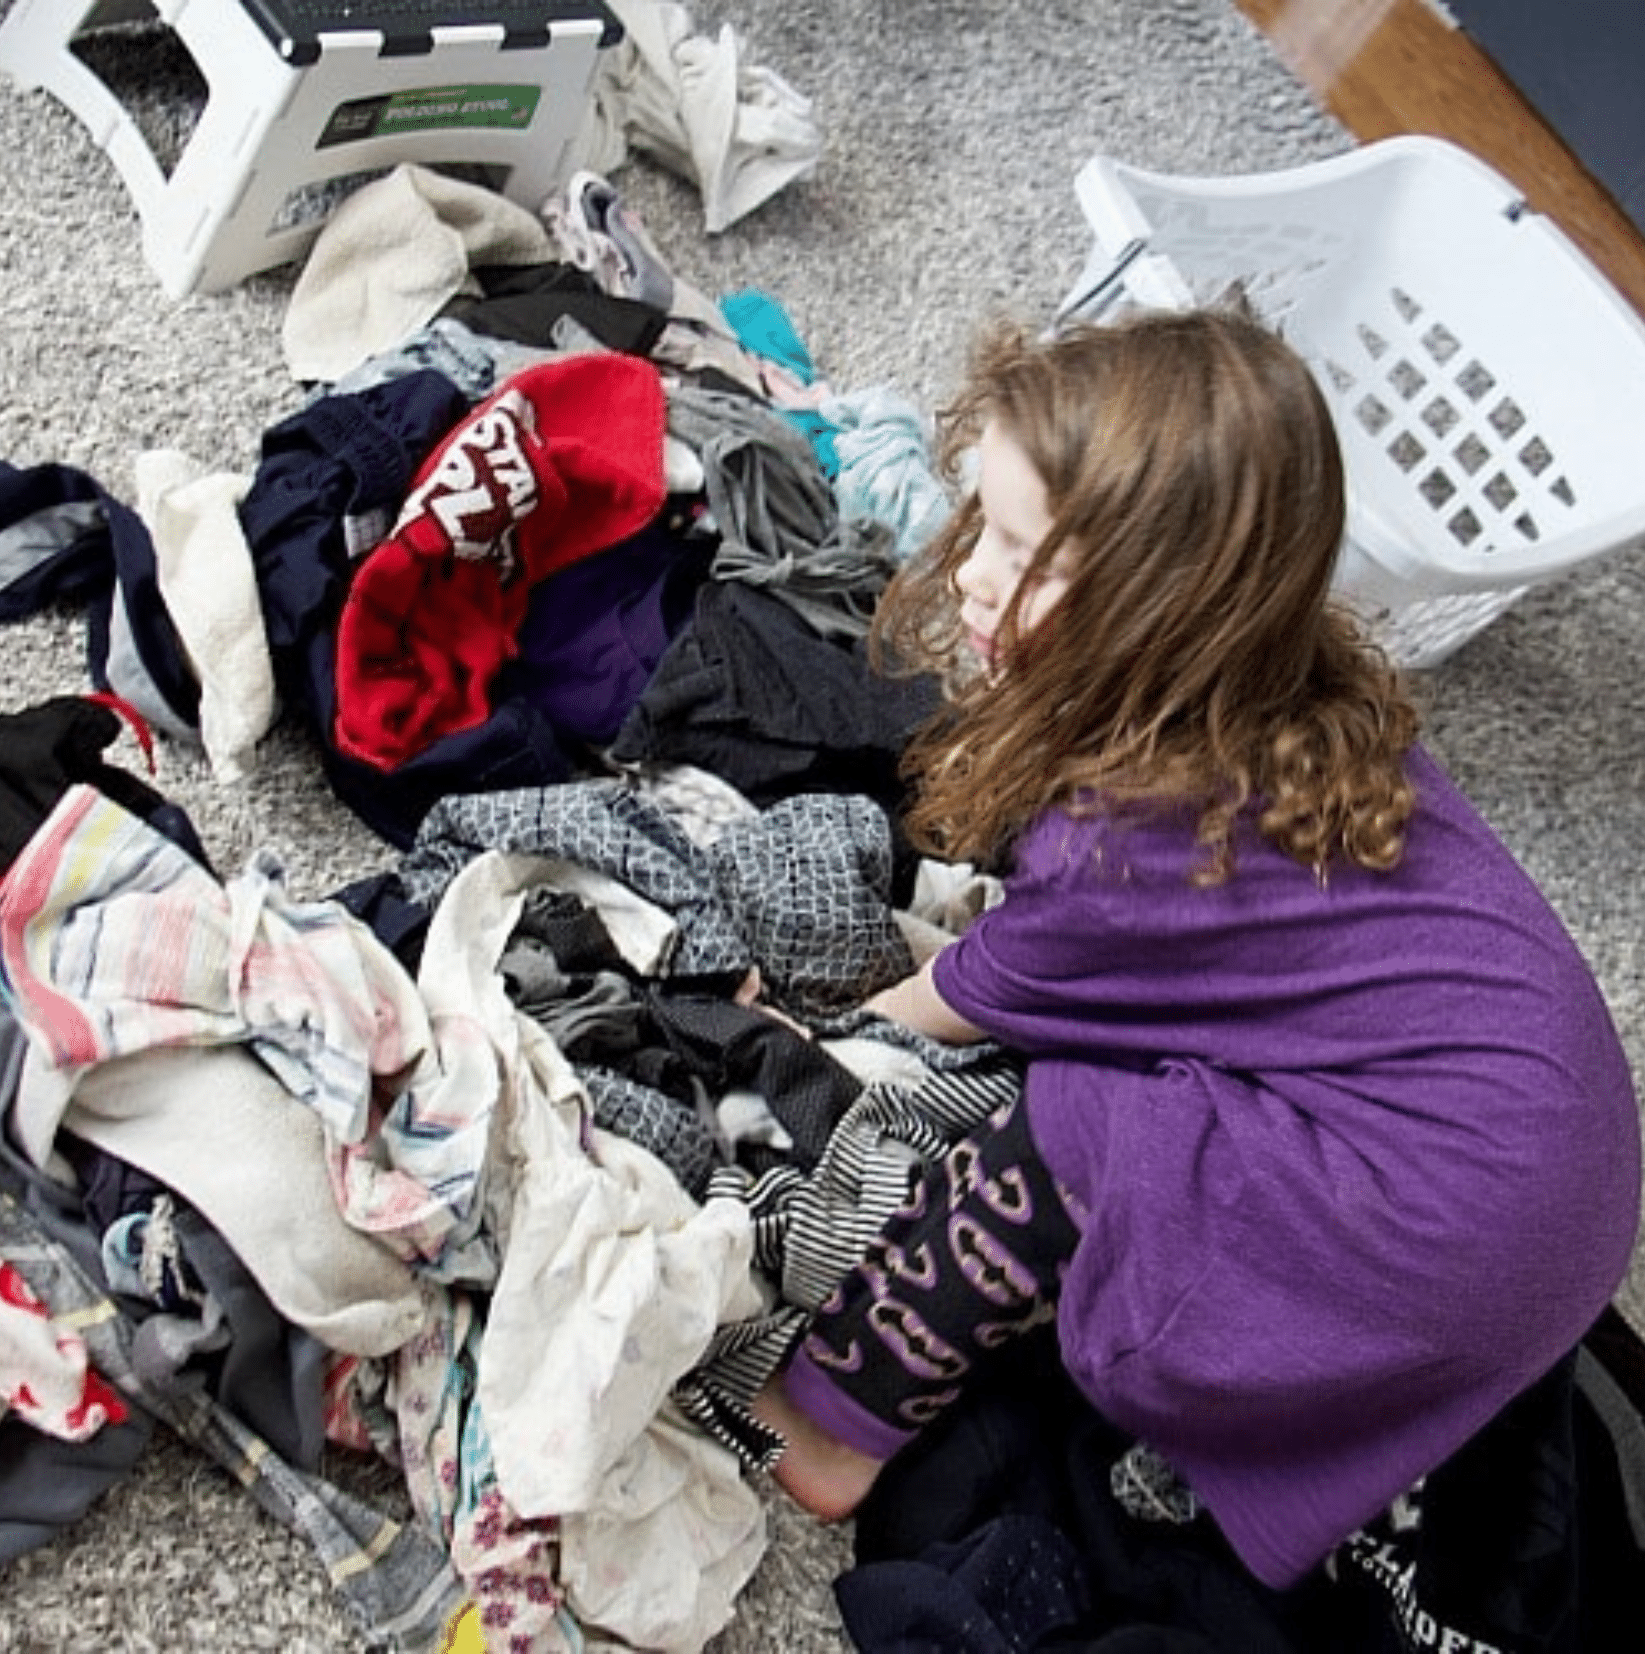
Picture labels are a game-changer.
They reduce questions, minimize meltdowns, and help kids visually understand where everything belongs.
Whether you’re organizing bins of toys, drawers, or even clothes, these simple visual cues make clean-up easier for everyone.