

Are you familiar with the KonMari Method? It was created by a women named Marie Kondo. The premise of this method of organizing is to only keep “items you love”.
The KonMari Method is based on the book The Life-Changing Magic Of Tidying Up by Marie Kondo. This book shares one way of organizing by looking at items to decide if they “spark joy”.
The KonMari Method follows a sequence of items you are supposed to declutter and organize to get your entire house in order.
There are specific ways you are to fold items. And you must thank an item for serving you before discarding it.
While this seems rather intense, the KonMari Method has helped people feel confident in the items that are stored in their homes and the items that are leaving their homes.
This method of organizing has helped people part with unwanted items in a way that makes sense. So I am breaking down the KonMari Method for you.

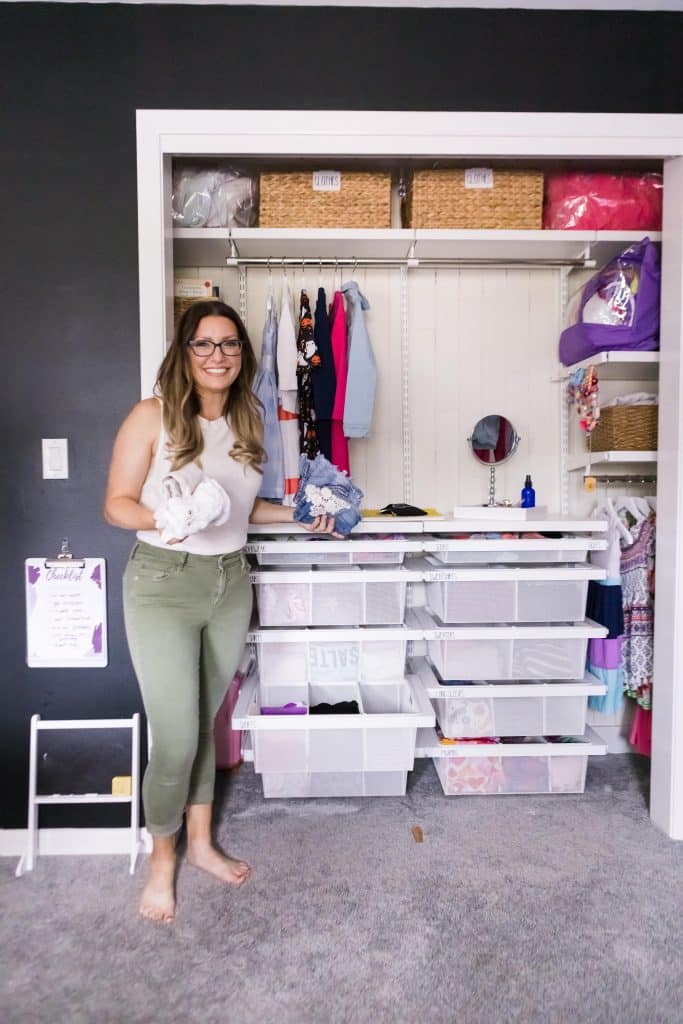
Clothing
The KonMari Method starts with your clothing. I believe it is because you can easily see everything as to how it fits you since we wear it!
Step One
Collect every single piece of clothing you own. Like everything! That shirt hiding in the trunk of your car? Grab it and add it to the pile.
Have laundry in the dryer? Grab it and add it to the pile. Have clothing stored under your bed/attic/storage closet? Collect it all!
When you actually see your pile of clothing sitting in front of you, you have nothing left to do but confront them. Any item that is not in this pile will end up directly in the donate/sell pile when I’m involved. End of story. So make sure you grab everything!
Pro Tip: The best approach is to complete all the laundry prior to sorting. The clothing doesn’t have to be folded, or even put away. Leave them in the laundry basket. Starting off with clean clothing just makes the whole process easier–and smell better!

Step Two
Now that you have your (most-likely) giant pile of clothing, it’s time to get your sorting process started. Getting your clothing organized takes a little up front planning, but once you do it, the process is much easier.
- Get bags and make labels.
- Create a bag for donations.
- Make a bag for selling.
- Designate space for the clothing you want to keep.
Pro Tip: I suggest thinking about where you’d like to donate and/or sell your clothing prior to sorting. This allows you to visualize others enjoying your clothing which makes it easier to part ways with items.

Step Three
Your giant pile of clothing is sitting in front of you and your bags for sorting are set. You know where you will be donating and/or selling your clothing. Now comes the fun part: getting all that clothing organized!
Start with off-season clothing, as you are not likely as attached to these clothes as you are to the clothing you are currently wearing. Then move onto current season clothing.
Inspect each item of clothing. Is there a rip or stain that you can’t fix? Are you totally over that style? Have you worn that item in the past year? Why are you still holding onto this piece of clothing?
Remember that the memories you have are not tied to any particular piece of clothing. Most people feel a connection with items that remind them of their life before children or of a happy event. While it is nice to remember those days, letting go of an item that you don’t wear anymore is a great feeling.
Pro Tip: If you’re attached to a sentimental piece of clothing you no longer wear, consider taking a photo before discarding it. Sounds weird but it works!
Step Four
If you are still undecided about what to do with an article of clothing, try it on.
Look in the mirror. How does that piece of clothing make you feel? That is a huge indicator whether you should keep a piece of clothing, or if you can remove it from your wardrobe.
Be really honest with yourself. There is nothing worse than wearing clothes that you don’t feel good in. So why keep something that you don’t love?
Step Five
Once every piece of clothing is sorted into your organized piles, remove the donate and sell piles from your space.
I suggest doing this so that you have a clear space to organize the clothing that you are going to keep. And so you’re not tempted to pull something out of those bags!

Step Six
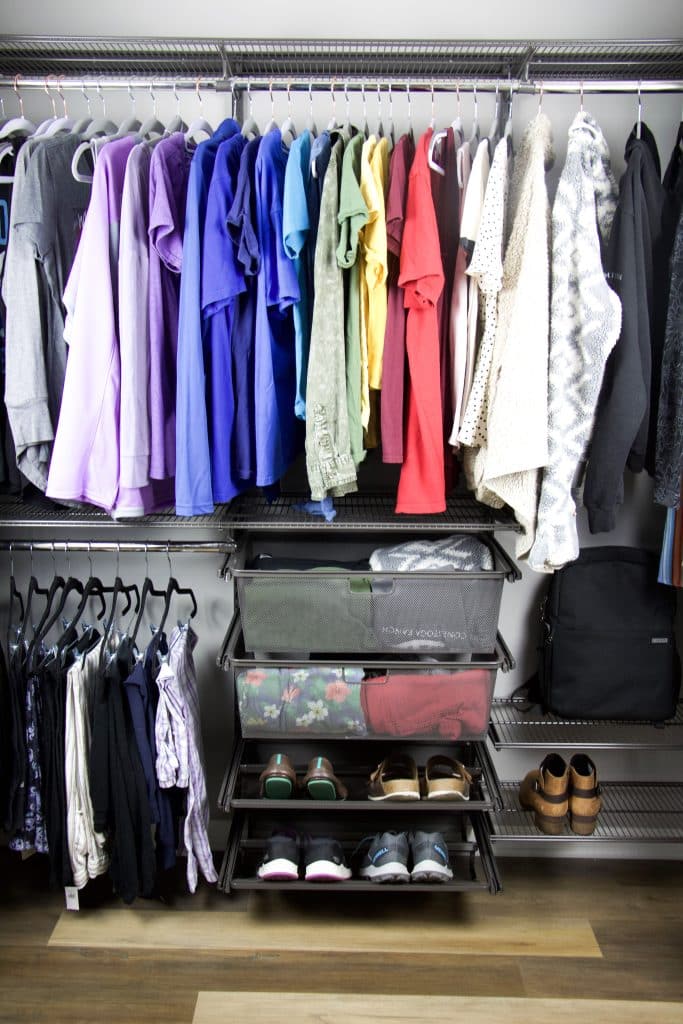
Now it’s time to look at what you’ve kept and put those clothes away. I like to take care of the the hanging items first:
- Start with pants. Specifically jeans. Hang the jeans together. Then the remaining pants together.
- Dresses and skirts are next. Make sure you have the right space to hang long dresses.
- Jackets, hanging sweaters, blouses, and tops are last. Hang them according to category.
- The remaining clothing items should go into drawers.
Pro Tip: I recommend color-coding everything. It just looks pretty, and it’s totally functional for when you need to find a specific colored item.
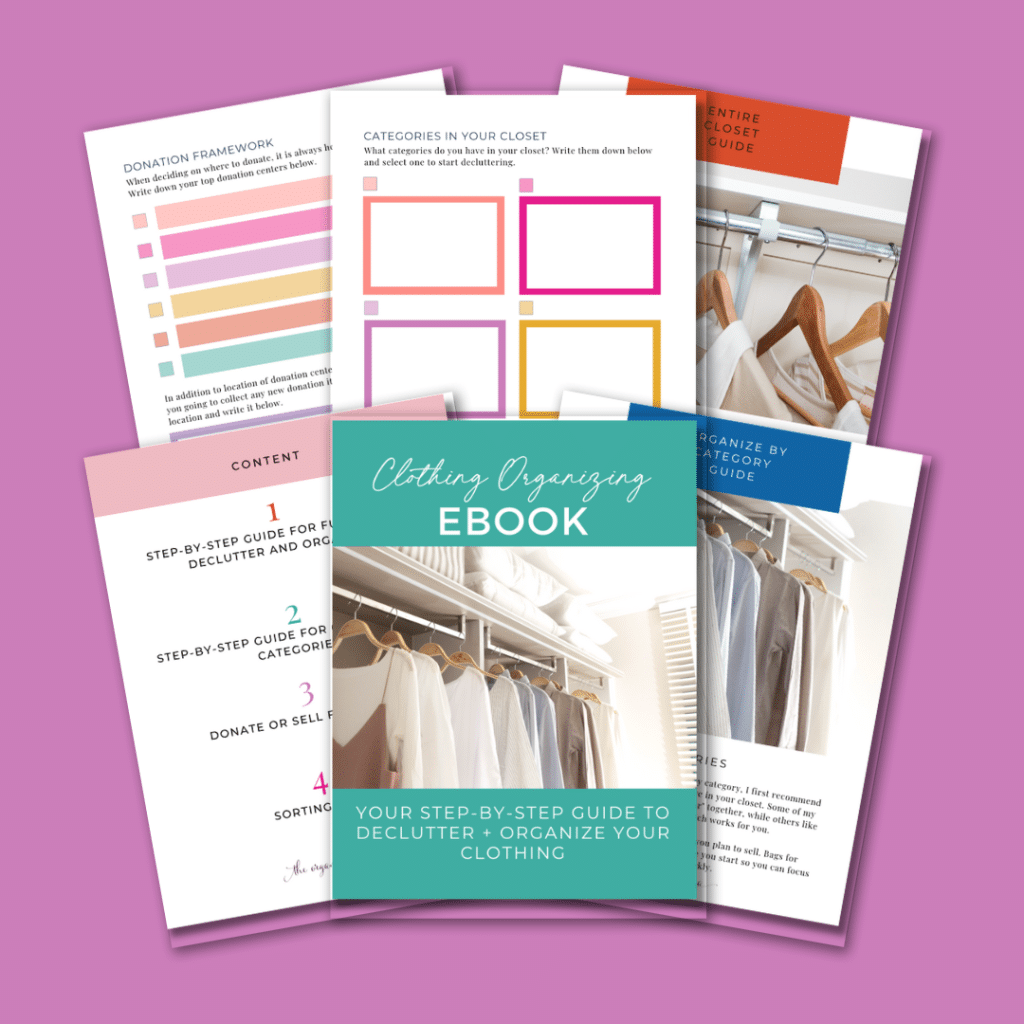
The Clothing Organizing eBook :: Organize Your Space eBook Series
A solid clothing set-up can save you countless hours each morning. On average, most people don’t wear over half of the items in their closets. Instead of letting things pile up, use the step-by-step guide to create a closet set-up that works for you!
The Clothing Organizing eBook is the tool you need to help guide you through effectively organizing your clothing.
Books
The second category in the KonMari Method is books.
Step One
To start this entire process, collect every book from all the areas of our home.
For us, I brought the books to our entryway! It was the most open space in our house without a lot of other things that could get in the way of organizing the books.
Then, create piles of books to keep, donate, and sell.

Step Two
Remove the donate and sell piles of books.
Put those piles into the car or drop off at a donation station immediately. You don’t want those books getting mixed up with the books you want to keep.

Step Three
Store the books on bookshelves.
If you are looking to use the books as display, you may want to color-code the books on the shelves. If you are creating a library feel, alphabetize the books.
For kids, make sure they can easily grab and read the books. An easy way to store kids books (and all books) when you don’t have a bookshelf is to use a large basket with handles.
The handles make it easy for you to carry if you want to move the location for the books. The basket is perfect because all the books can stand straight up so the kids can see them.
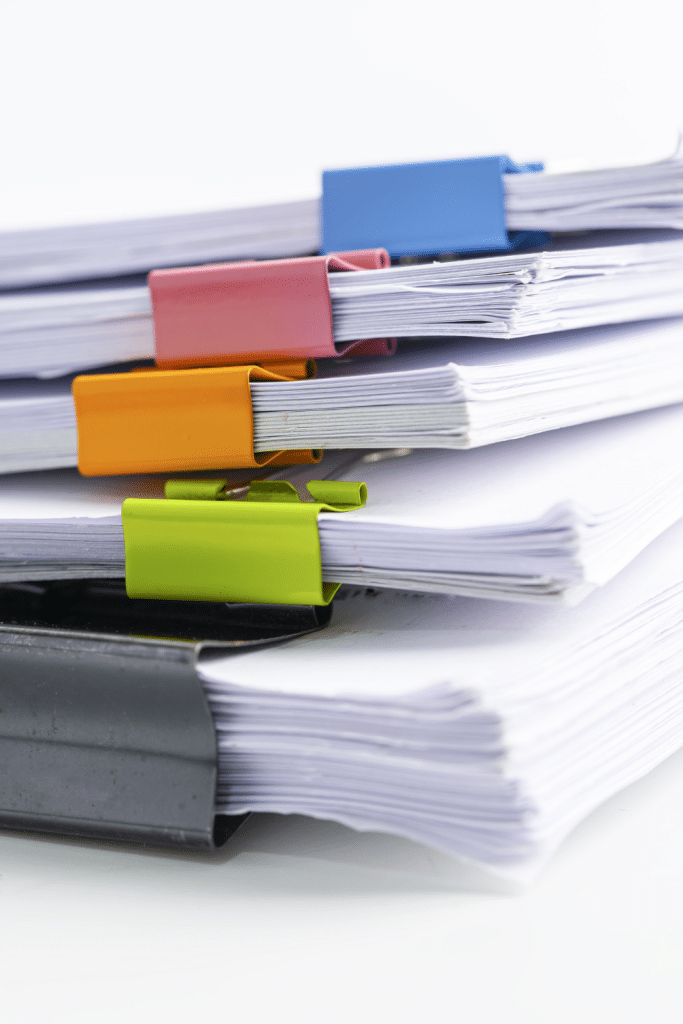
Papers
Papers is the third category you should tidy using the KonMari Method.
Step One
Sort all the piles of paper into categories. You can find all my paper categories in my Foolproof Plan To Dealing With Paper Clutter.
Step Two
Once all your papers are categorized, it is time to find places to store each individual category.
I am not a huge fan of filing cabinets because a lot of things get thrown in there and forgotten. Instead, I like using filing boxes, magazine holders, or wall filing systems to keep things organized.
My recommendation is to always find storage that takes the least amount of steps to follow-through. For example, those filing boxes have those lids. The lid can be an extra step preventing you from filing your papers quickly. If you just remove the lid, you have eliminated an extra step to keep filing easier for yourself!
Find a way to store your papers that makes sense for you and your space. But, before you start throwing all your papers into bins, let’s discuss how to actually store them.
Each category needs its own space to ensure organized papers. For example, store all health papers in one magazine holder. Or store each individual family member’s papers in their own hanging file folder. By giving each category its’ own home, you are able to keep things tidy and organized.
But, not every category needs to be stored. Some things, like bills, can be turned into electronic documents. I suggest getting electronic bills. In your email, create folders to store those emails to keep things organized in your email also!
Don’t forget to unsubscribe from magazines or newsletters you no longer read. Only hold onto magazines for the past month. Once the new one comes in the mail, recycle the previous month. Pull out recipes or decor ideas you like so you aren’t saving an entire magazine. Store momentos in bins for each family member.
Step Three
Once all the categories have designated homes, it is time to create a system for any upcoming paperwork that is making its way into your home. This will help you to continue to organize papers quickly.
Store all kids artwork in one designated location. Turn that artwork into books. My favorite is Chatbooks.
To take good pictures of the artwork, grab a white poster board and lay it on the floor near lots of windows. Lay the artwork on top of the poster board. Stand over the artwork and take a picture. Make sure there are no shadows when taking the picture to ensure the best quality picture!
Open your mail near the recycling can in the area where you have your paper storage. Make sure you deal with paper every night so it doesn’t pile up.
Not sure what to do with paper?? Ask yourself if it fits into one of your designated categories. If not, is it a momento? A recipe? Important document? No to all of those…then ask yourself why are you keeping it??

Step Four
Finally it is time to maintain your new paper clutter system. Each week make sure you:
- go through paper piles and sort into categories
- store necessary papers in storage location
- recycle unwanted mail
- take pictures of kids’ artwork
- add important dates to calendar from school handouts
- deal with bills immediately
So, grab that pile of papers you have piled on your kitchen counter. Sort it into categories. Find a storage option that works for you. Make sure you find the quickest filing system for yourself. Create systems to help keep paper clutter to a minimum. Do weekly maintenance to insure organized papers!
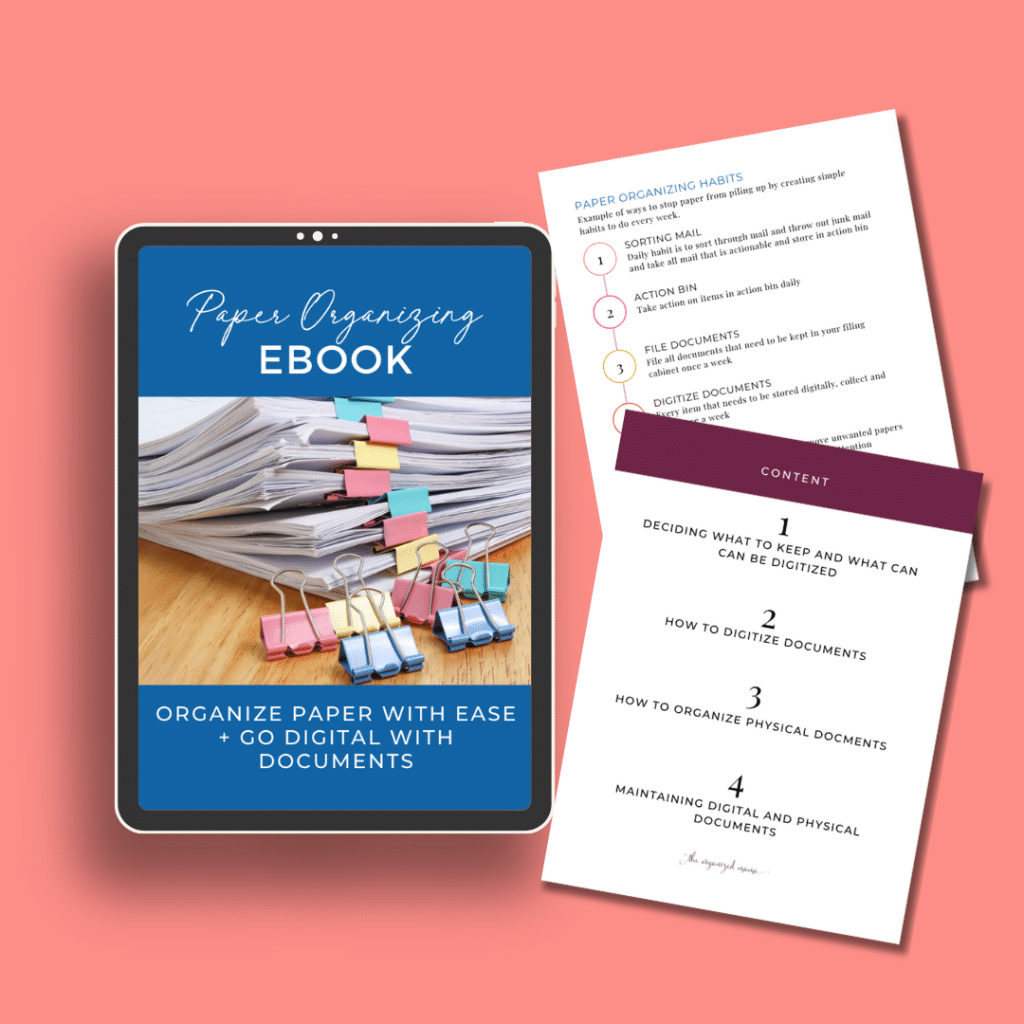
Paper Organizing eBook :: Organize Your Space eBook Series
Paper piling up? Want to go digital but not sure how? Struggling with where to start with paper?
Then you need the paper organizing ebook that the pros use to help clients stop the paper overwhelm for good!
This ebook will walk you through the process to end paper piles for good.
Miscellaneous
The KonMari Method considered everything else to be miscellaneous except for momentos. This includes kitchen, dining, living spaces, toys, you name it.
I found this to be super overwhelming. So I broke things down even further.
I started with the kitchen and dining area. Then I would suggest office supplies, garage, toys, storage spaces.
Step One
Collect all items in that one category. When I say collect, I mean find every last item in that category.
So grab all your office supplies, for example (pencils, pens, notepad). Find every single one. Like those hiding in the kitchen, or your purse!
Step Two
Go through every item you just collected and ask yourself if that item sparks joy.
Check every pen and make sure it still works. Sharpen pencils that need to be sharpened. Throw away any writing utensils that don’t work, or broken paper clips that are just lying around.
Clearing the clutter is a huge part of organizing your miscellaneous items.
Step Three
Now group all the items into subcategories. Put all pencils together. All pens together.
I always recommend doing this so you can visually see what you have, so you can make any additional edits if needed.
Sometimes you might have double or triple one particular item that doesn’t need to be duplicated.
Step Four
When organizing and storing miscellaneous items, I always recommend to store them together.
The reasoning behind this is because you will limit the number of duplicate items you will collect, saving you from excess clutter and money!
For things like tools, I have created a tool station in our basement. My husband puts the tools he needs for projects in his tool bag. When they’re not in use, we put the tools back in the drawers.
Crafting supplies should all be stored together, preferably somewhere the wrapping paper is stored. This way you can use your crafting supplies for embellishments on the gift wrapping.
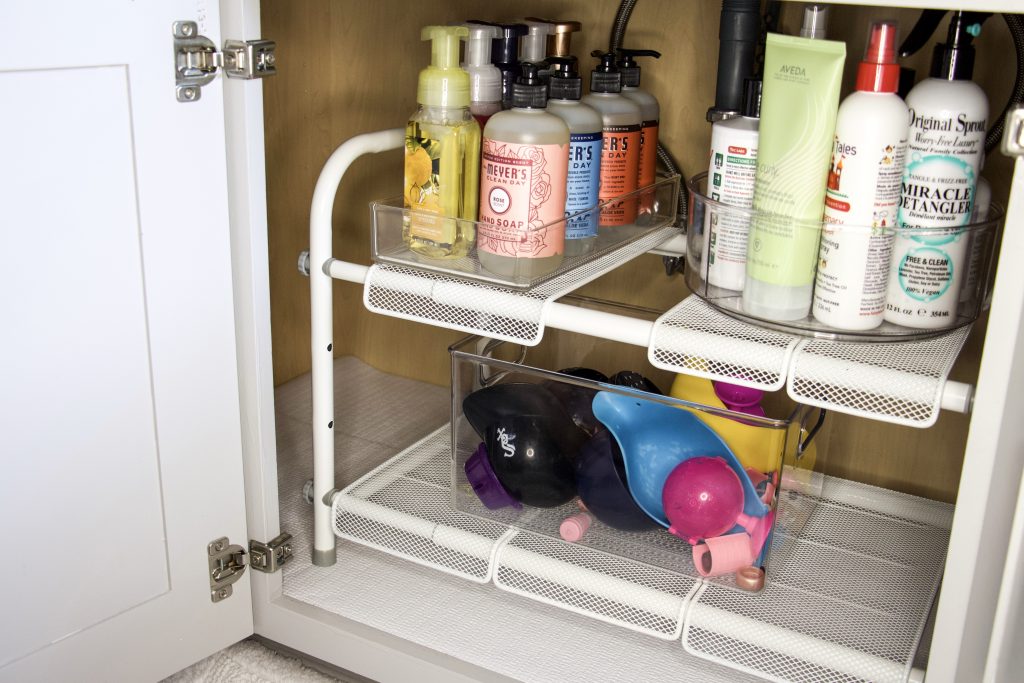
As for kitchen items, store them together in a drawer based on how you cook and prepare your meals.
Step Five
The most important step to keeping your miscellaneous items organized is maintaining your organizational system.
Whenever you use something from one grouping, quickly assess what you have. Is there a vase you never use? Are there broken tools you haven’t gotten around to fixing?
Assess the category and declutter as you go. This way, you will never have to do a major organizational overhaul again!!
Momentos
Step One
Start with your mindset. Your mindset is key when it comes to decluttering and parting with sentimental items. You need to feel confident in your decisions.
By starting with your mindset, it will help you clear the mental clutter that can take over your mind before you start getting things organized.
Plus it puts you in the right state of mind to make choices that actually work for you and your sentimental items.

Step Two
Once you get yourself into a place where your mental clutter is cleared, you can start making decisions about the sentimental items you have in your home right now.
Start by asking yourself questions regarding to that particular item. If it is an heirloom, can you display it to see every day? Is it something you use frequently? Do you enjoy it?
When you ask yourself questions, and give honest answers, you will start to see what items actually need to stay and what items you can part with.
The biggest piece is asking yourself if you need to hold that item in order to appreciate it. That means that some things can be turned into pictures instead of holding onto the physical item.
I had a client who took pictures of family heirlooms and had family members write memories next to it in a scrapbook. That book was way more meaningful than holding onto items individually, with no stories connected to it.

Step Three
As you answer the declutter questions, you have to remove the guilt that comes with parting with sentimental items. There is typically a lot of guilt that goes with these items.
You may feel guilty about getting rid of something that was your great-grandmothers. So you don’t want to part with it, even though it is taking up space in your home.
You need to separate the item from the emotion. And this is hard to do. But you need to think about a memory as a separate entity than the physical item itself. This will help you part with the guilt around getting rid of an item.

Step Four
As you part with sentimental items, hold onto the pieces that speak to you. The things that actually make you happy.
For me, I have my grandmother’s vanity tray. It is really old-looking, but it makes me so happy when I see it every morning.
I also have my great-grandmother’s tea cups. I have one tea cup for each of my great-grandmother’s sets from both sides of the family. And I have them on display. That way I can see them every day when we are eating in our kitchen.
We repurposed a piece of furniture that was my husband’s mothers. Again, it is something we use and see on a daily basis.
You need to keep in mind that the items you keep can tell the story of all the other items you have parted with. Making that one item much more meaningful than just holding onto all the things. When we focus on keeping items that speak to us, we are truly finding the treasures that are actually meaningful.
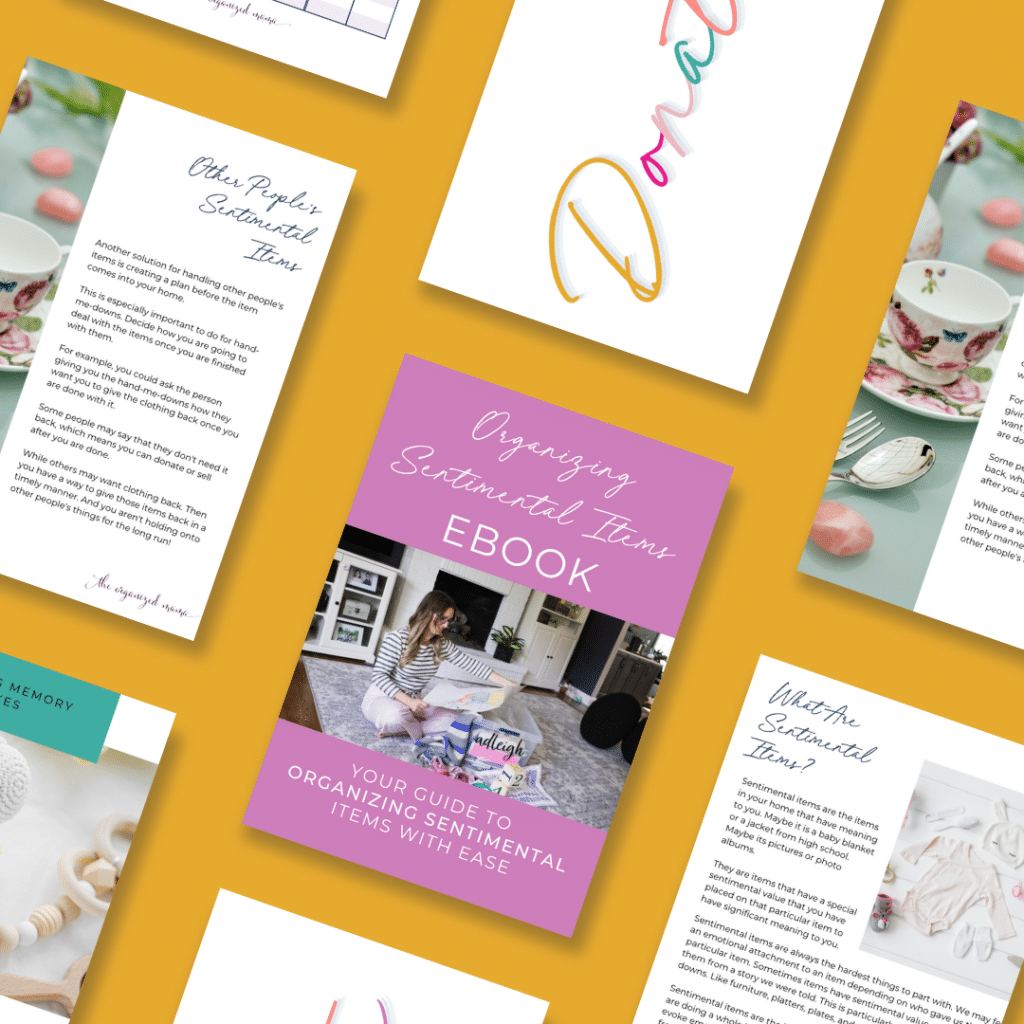
Organizing Sentimental Items eBook :: Organize Your Space eBook Series
Sentimental items are those special items you have in your home. But they might not always be special to you.
Maybe they are special to someone else in your family. Maybe you are holding onto items you know you should part with. Maybe you have too many special items.
So how can you part with items that you don’t find useful? The Organizing Sentimental Items eBook is your resource.
KonMari Method Cheat Sheet
The KonMari Method is a way to declutter and organize your home. It takes back the control of “stuff” in your home. And gets you to focus on whether you find that item joyful.
If these strategies resonate with you, I highly recommend purchasing the Organized Home Workbook.
This workbook walks you through all the steps of the KonMari Method…but more in depth. The miscellaneous category is broken down into more manageable chunks.
The checklists guide you through the process so you never forget a step.
Once you purchase the workbook, download the PDF.
You can print the pages and put them in a binder.
Then follow the steps exactly as listed to ensure you are following the KonMari Method.
Celebrate once you complete each task!
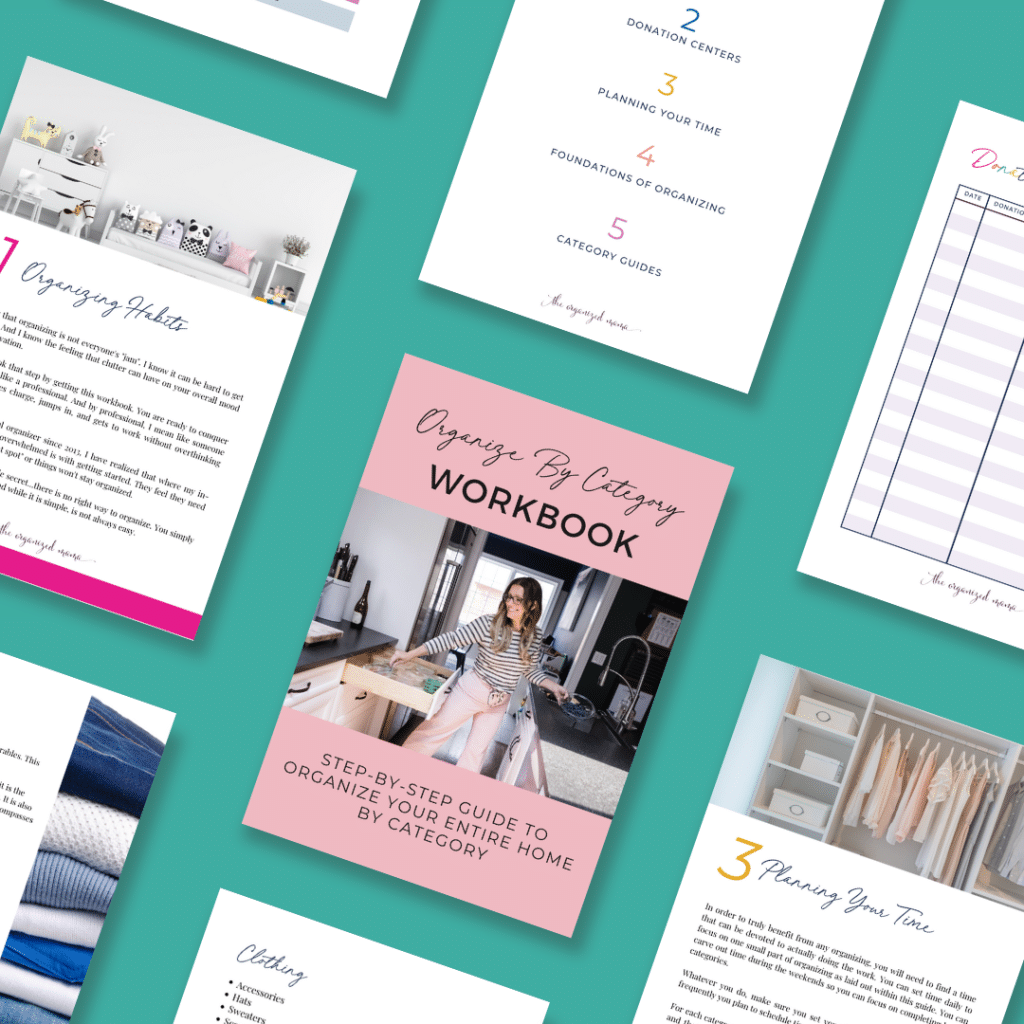
Organizing By Category Workbook
The “Organizing-By-Category Workbook” is your ultimate guide to decluttering and adding order to every space in your home.
It provides step-by-step instructions, category breakdowns, and timelines to get you in the right organizing mindset.
Keep your wardrobe, kitchen gadgets, children’s toys, and even digital files neat and findable. Plus, maintain good habits with our expert tips.
More Posts You Will Love On The KonMari Method
Use the KonMari Method to Declutter Your Home
How To Store Holiday Decorations The KonMari Way
Easiest Way To Set House In Order


")


