We Tried the Scandinavian Sleep Method—Here’s What Happened
Here’s a crazy thought, what if each individual in a bed has their own blanket that was just for them. No sharing with their partner. No tugging or tossing during…
In my cleaning frenzy, I decided that I was sick of looking at a boring laundry room. Since I was always down there washing or drying clothes, I felt the room deserved a make over. When we moved in, the room seemed rather lifeless. It was a yellow-ish color with no storage or shelving. And […]

In my cleaning frenzy, I decided that I was sick of looking at a boring laundry room. Since I was always down there washing or drying clothes, I felt the room deserved a make over. When we moved in, the room seemed rather lifeless. It was a yellow-ish color with no storage or shelving.
And the sink was rather gross… In major need of a good scrub-down.
I decided we needed to paint the entire room. I wanted something cheery and bright so we found this great paint color in a shade of lavender. Ben painted the entire thing in two coats. He then went around the trim with white paint to make everything really stand out.
I scrubbed the sink using some bleach and OxyClean. We had to put a mesh filter over the hose that goes from the washing machine into the sink, which was why the sink got so gross. This should help stop the gunk from building up again.
I washed the floors and baseboards to make sure the entire space was clean. Then, I got to decorate!

I added letters to the wall to spell WASH over the washing machine to add a little art to the room. I found the letters at Michaels Craft Store.
They didn’t have ribbon on them, so I decided to add some. I went with a purple ribbon. I started by making the bows.
Then, I cut the ribbon to the size I wanted. I sewed the bow to the ribbon. Then I super-glued the ribbon to the letters.
I hung the letters onto the wall using 3M double-sided mounting tape. Then, we nailed a nail into the wall to hand the ribbon onto.

Next thing I was in need of was somewhere to hang-dry clothes. We bought a clothes line to hang but since the ceiling is so low, I kept running into it.
So I decided to use 3M hooks to hang hangers for line-drying. We mounted the 3M Hooks to the duct in the ceiling.
Now I have an easy place to let my clothes dry without having to grab our fold-out drying rack. Since the laundry room is so small, the drying rack has to be out in the middle of the basement, which gets really annoying when we are playing down there.

Finally, I needed to add a few details to make the room feel a little more welcoming. I started with adding some frames that I hung to the wall.
I found a laundry “cheat sheet” to help get out stains. And I hung this near my bakers rack, which I use to get out stains and store other items, such as our stain removers and iron. And I made a cute picture using the definition of laundry to add some spunk to the space.


Then I wanted to make something to hold single socks seeing as I can never find the pair for my husbands!
I used an oversize frame with twine and clothes pins to hang socks that are looking for their mate. I started by removing the glass.
Then I cut a sheet of cardboard to the size of the backing of the frame. Then I added white paper over the cardboard.
I cut twine to be droopy and attached it to the cardboard using super glue. Then I put the back on the frame. I added the clothespins and can hang missing socks from the frame!

At Home Goods, I found this glass container for really cheap, so I thought it would make the perfect holder for my Oxi-Clean. I added a label so anyone doing laundry knew what was in the container.

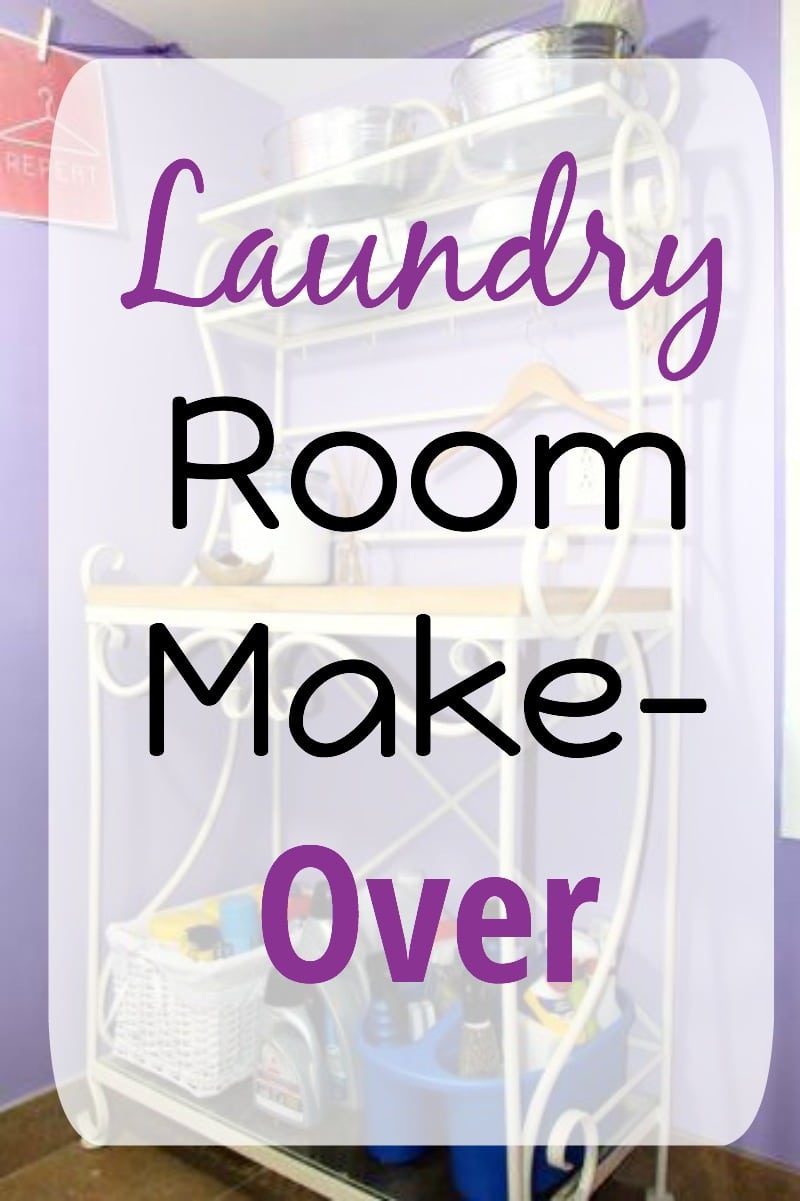
Finally, I put the remaining items on shelves across from the dryer. We had a bakers rack that wasn’t being used, so I decided that it would make the perfect shelving system for the laundry room.
The wood block would make a perfect solution for having space to clean and scrub stains.
The shelves would work to store extra supplies and the iron. I use the bottom to store all the cleaning supplies in a cleaning caddie, along with extra rags.