We Tried the Scandinavian Sleep Method—Here’s What Happened
Here’s a crazy thought, what if each individual in a bed has their own blanket that was just for them. No sharing with their partner. No tugging or tossing during…
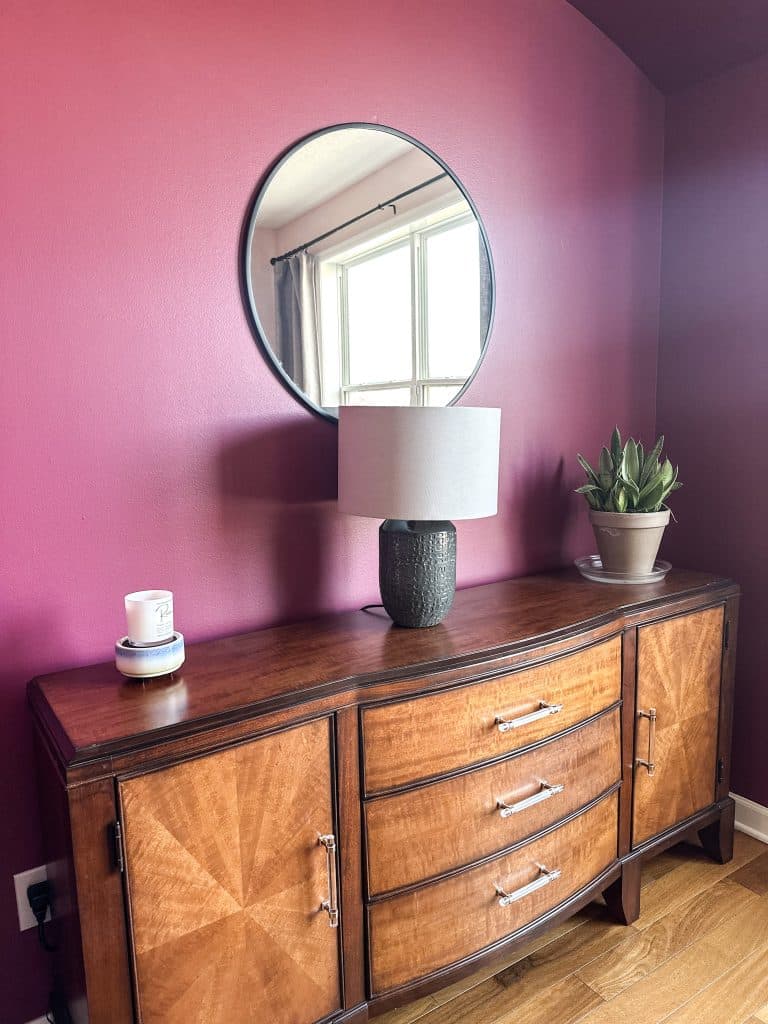
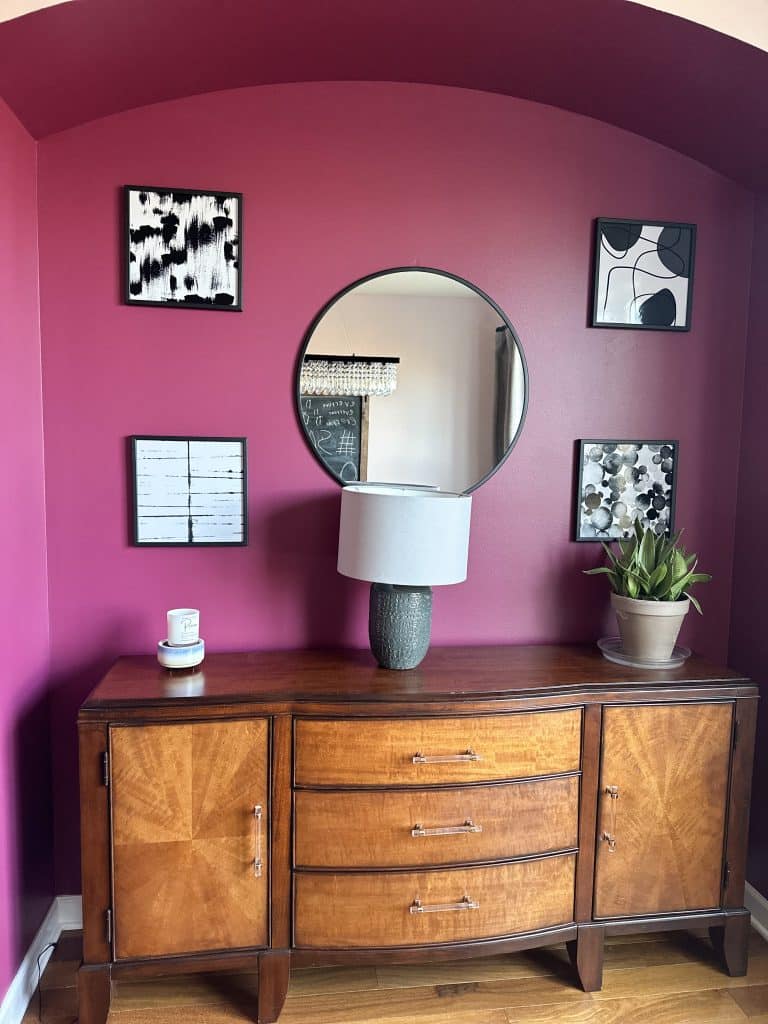
I love a good gallery wall. Showcasing photos, images, and decor to spruce up corners and walls throughout the home. I just feel it makes our home feel cozy. But there are times I don’t want to use nails to hang a picture. So I found a great way to hang pictures without the nail-induced […]

I love a good gallery wall. Showcasing photos, images, and decor to spruce up corners and walls throughout the home. I just feel it makes our home feel cozy. But there are times I don’t want to use nails to hang a picture.
So I found a great way to hang pictures without the nail-induced headaches.
I am breaking down the art of hanging pictures without nails!
This post is sponsored by TilePix. All thoughts and opinions are my own.
Hanging pictures without nails is becoming increasingly popular for several reasons.
Firstly, it allows you to avoid damaging your walls, which is especially important if you’re renting and want to avoid losing your security deposit. Additionally, using alternative methods for hanging pictures gives you the flexibility to easily rearrange and switch up your wall décor without the hassle of filling in holes and repainting.
Whether you’re a homeowner or renter, these methods provide a convenient solution for maintaining your walls’ integrity while still showcasing your favorite artwork and memories.
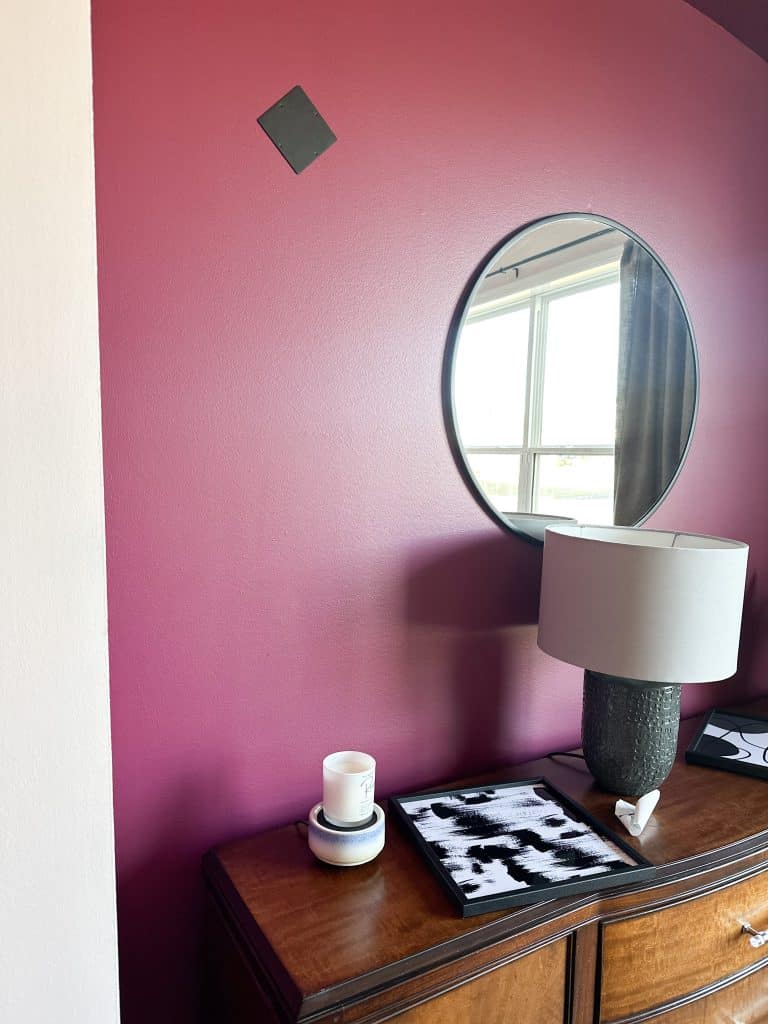
By using a sticky alternative, you won’t have holes in your wall and can easily remove the sticky once you are ready to switch things up or move out.

TilePix is an innovative alternative for hanging pictures without nails, offering a unique and modern way to display your favorite photos.
TilePix allows you to transform your digital images into stunning and durable photo tiles that can be easily stuck to your wall.
To use TilePix, simply upload your desired images to their website, choose the size and layout of your tiles, and place your order.
Once your tiles arrive, remove the protective backing and stick the tiles directly to your wall.
TilePix uses a special adhesive that ensures a secure hold while still allowing for easy removal without damaging your walls.
The best part is that you can easily rearrange and add more tiles to your display as your collection grows. With TilePix, you can create a personalized and eye-catching gallery wall without the need for nails or hangers.
All new customers get 15% off with code WELCOME15.
Installing TilePix is a breeze and can be done in just a few simple steps.
Begin by cleaning the wall surface where you plan to install the tiles. This will ensure a clean and smooth surface for optimal adhesion.
Next, remove the protective backing from the TilePix tiles, exposing the adhesive side.
Carefully align the first tile with your desired placement and press it firmly against the wall, starting from the top and working your way down.
Repeat this process for the remaining tiles, ensuring they are properly aligned and spaced.
Once all the tiles are in place, gently press on each tile to ensure a secure bond. Step back and admire your damage-free photo display!

Achieving the perfect arrangement and spacing of pictures on your wall can be a daunting task. However, with a few simple tips and tricks, you can create a visually appealing and well-balanced display.
1. Plan your layout: Before hanging your pictures, take the time to plan out your desired layout. Arrange the frames on the floor or a large table to get a sense of how they will look on the wall. Experiment with different configurations until you find the one that best suits your style and space.
2. Use a level: To ensure your pictures are straight and aligned, use a level when hanging them. Simply place the level on top of the frame and adjust as necessary until the bubble is centered. This will result in a professional and polished look.
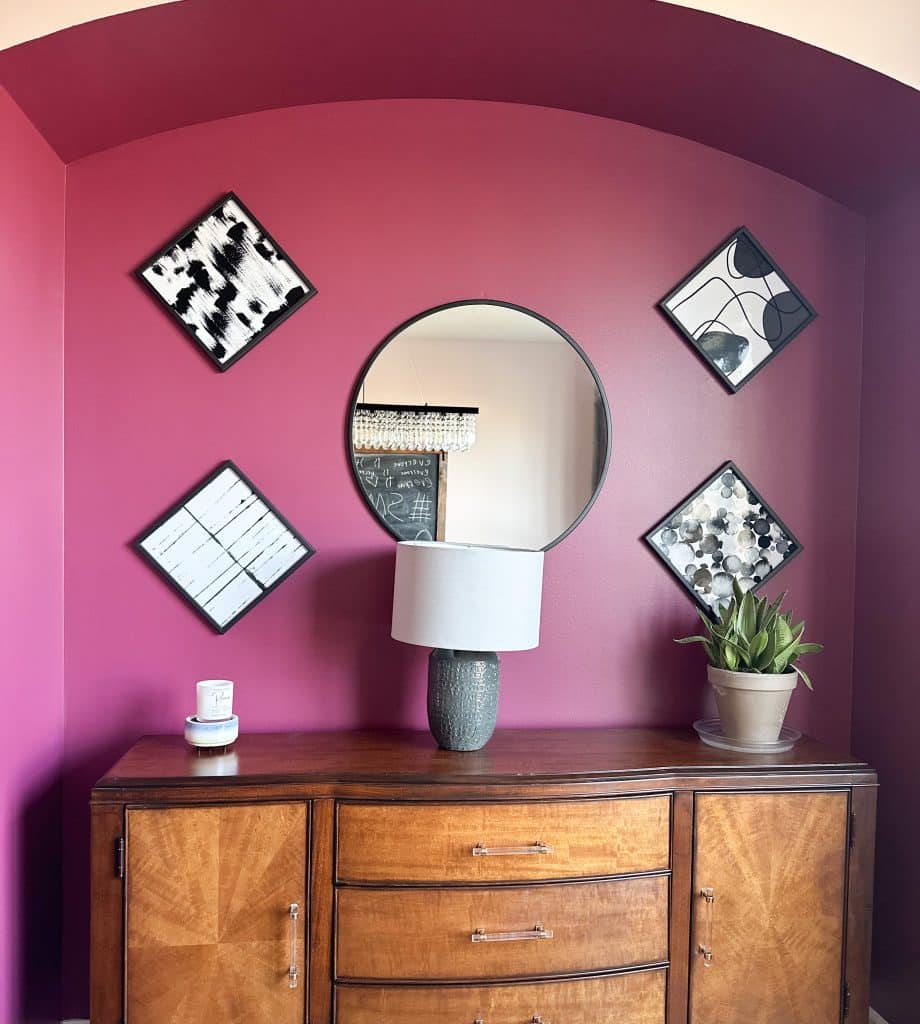
3. Consider the spacing: Pay attention to the spacing between each picture frame. Too much or too little space can disrupt the overall balance of your display. As a general rule, aim for approximately 2-3 inches of space between each frame for a cohesive and visually appealing arrangement.
4. Mix sizes and orientations: To add visual interest and create a dynamic display, mix different sizes and orientations of picture frames. This will create a layered and textured look that draws the eye and adds dimension to your wall.
5. Experiment with asymmetry: Don’t be afraid to break away from traditional symmetrical arrangements. Experiment with asymmetry by placing pictures off-center or at varying heights. This will create a more organic and eclectic look that is visually captivating.
6. From now until Valentine’s Day, get 40% off glass photo tiles in every small and large size with code VDAY40.
Hanging pictures without nails is not only a practical and convenient solution but also a way to showcase your personal style and creativity.
With the use of adhesive and magnetic innovative alternatives like TilePix, you can achieve a damage-free and visually stunning wall display.
By following the step-by-step instructions and implementing the tips and tricks provided in this article, you can confidently hang your pictures without the headache of nail-induced damage.
So go ahead, unleash your inner artist, and transform your walls into galleries of memories and inspiration.
How To Decorate Your Home Without Creating Clutter
Beautify Your Living Room With Mid Century Modern Decor
Why You Need To Shop Your Home When Decorating
How to Make a Room Divider: DIY Ideas to Transform Your Space on a Budget