Actually getting a space organized is the biggest hurdle I see a lot of clients face when it comes to starting any organizing project. Have you ever been there? You have an incredibly long list of things you want to organize, but don’t know where to start?
I get that a lot. My clients are so frustrated by the fact that they do not know where to start because they have a lot they want to tackle. I always say to start with your clothing, then move into your food. Specifically your fridge and freezer.
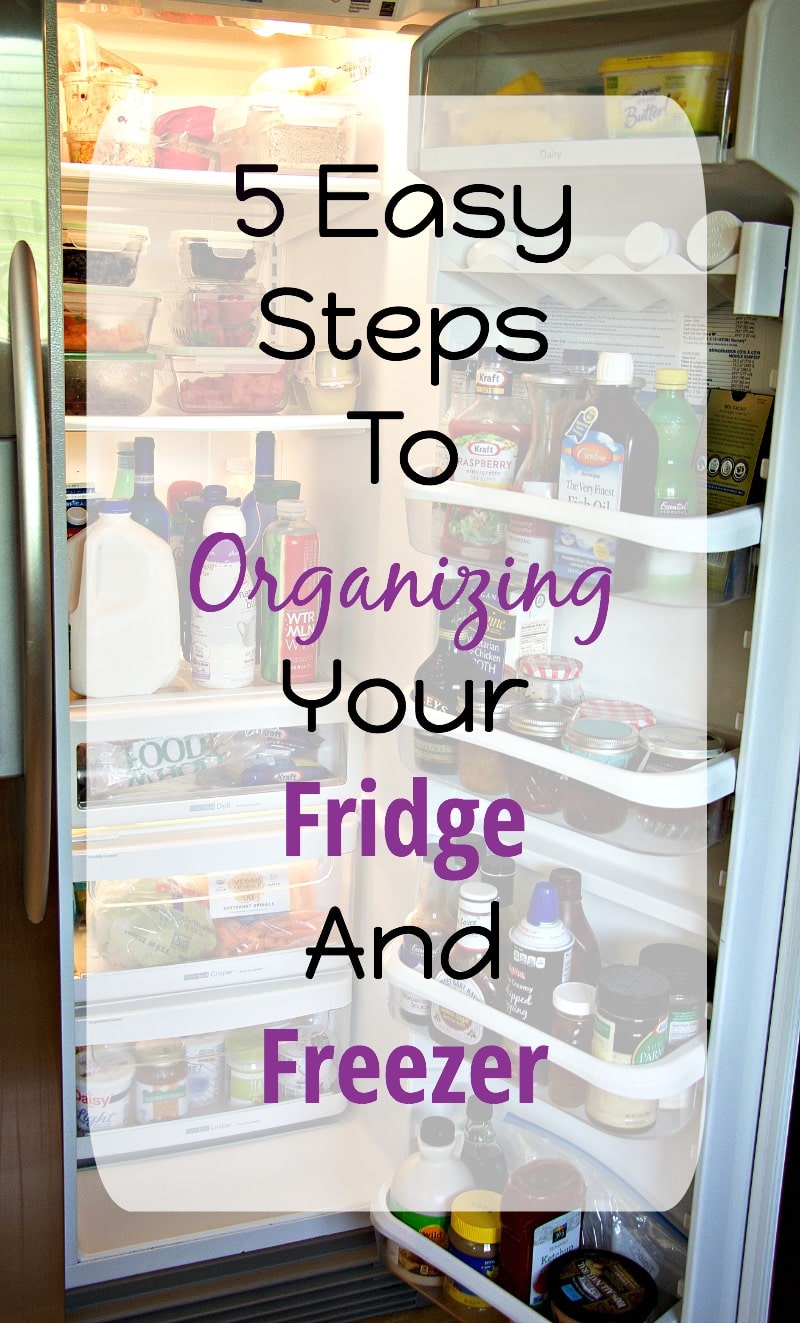
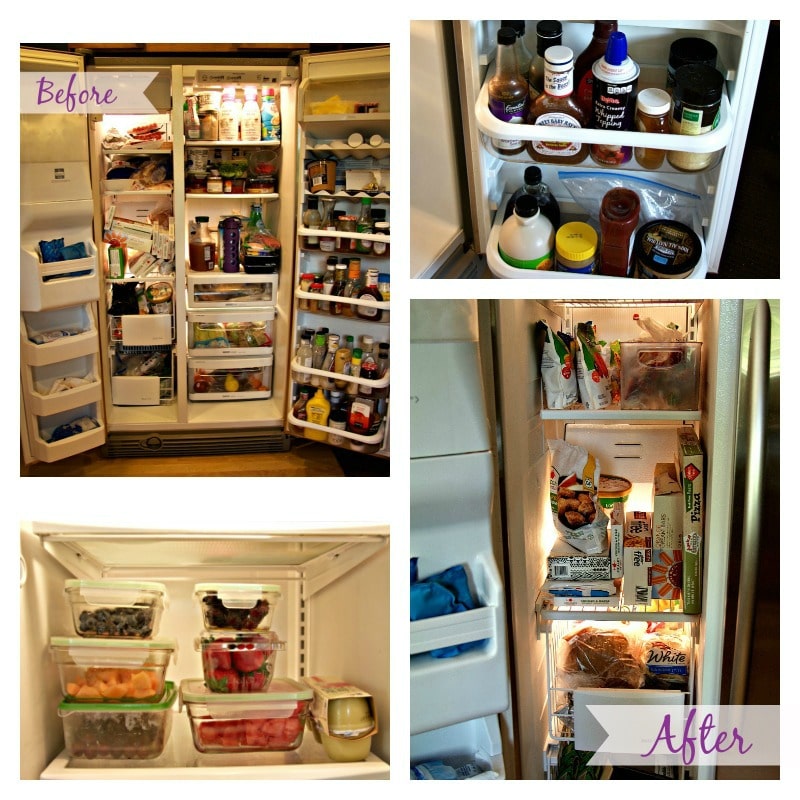
Keeping an organized refrigerator can be done in 5 easy steps! Just remember you have to put in the time to get your space organized, then you can use all those fun Pinterest hacks to make it easy to maintain!
1. Clear Out
After you have gone through organizing all your clothes, it’s time to focus on your food. I always like to start with the fridge because it has the most impact on people’s daily routines. Once the fridge is organized, follow the same method for organizing the freezer.
Start by clearing everything out. Take everything off the doors, out of the baskets, and the shelves.
Wipe down all the shelves, door holders, and baskets. It always feels nice to start with a totally clean fridge!
2. Check Products
Your fridge is clean, so now it is time to focus on the products that are lining your kitchen counters. I typically do steps 2 and 3 together when working with clients, but if you are overwhelmed by the amount of stuff you have hiding in your fridge or freezer, break these down into two separate steps. I will check the products and categorize together. This does eliminate some time when actually organizing, so if you are up for it, try to check and categorize together!
Check the expiration dates to find any products that might be past their prime. Also look for mold on any remaining items that you have in your fridge. Check for excessive freezer burn when looking in your freezer.
And check to make sure you still like that particular product. One client was holding onto salad dressing she didn’t like using because she felt bad that she purchased it. If you aren’t going to use it, throw it away. Unless it is a new purchase. Some stores do have a really good return policy on disliked foods. I have been told that it actually helps them know what types of products to keep on hand!
3. Categorize
As I said before, I do steps 2 and 3 together when working with clients. Since I typically do hour-long sessions, this allows us to get through both the fridge and freezer in one session.
All of your products have been checked and the only remaining ones are products you love, and use. Now we sort them into categories. I typically recommend categorizing the products in your fridge by:
- Condiments
- Dressing
- Drinks
- Dairy
- Meats/Deli
- Fruits
- Veggies
- Breads
- Left Overs
- Miscellaneous
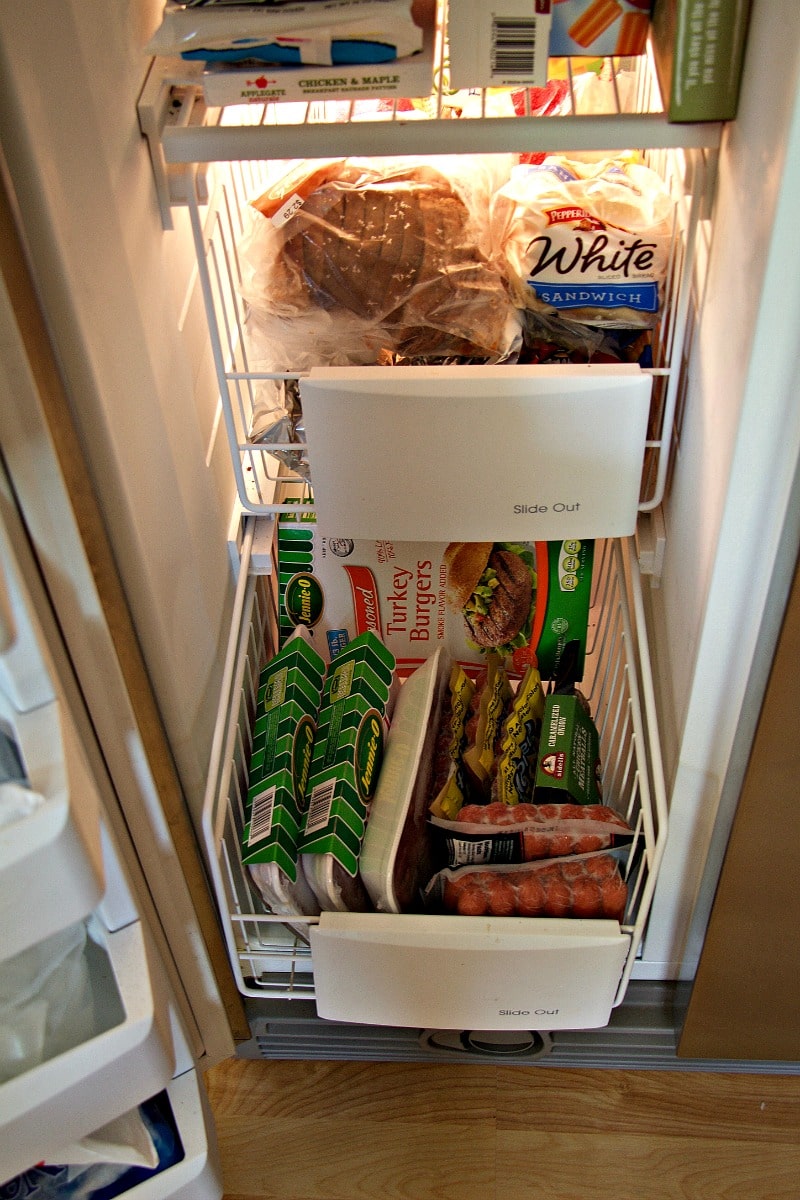
And categorize your items in your freezer by:
- Meats
- You can even sub-categorize by types of meat if your shelf and drawer space is limited
- Fruits
- Veggies
- Breads
- Desserts
- Miscellaneous
4. Adjust Shelves
After all the products have been categorized, look at the sizes of what is left. Would you love to keep your drinks on a lower shelf, but they just won’t fit? Well, adjust the shelves! This is an incredibly easy trick for making sure that all of your food and products will fit perfectly into your fridge and freezer.
You want the space to work for you, so take those shelves out and move them around so you can create an organizational system that works for you and your needs.
One of my client’s is short, so we needed to adjust the shelves to allow her to reach things on the top shelf of her fridge. The only things we kept at the top of the fridge were items that either came in a container, such as salad. Or we put items in a container that she could easily pull out, such as some of her jams and spreads.
I also love using plastic place mats on the shelves to help prevent sticky spills from getting all over the shelves. If something starts to spill over, all you have to do is take out the place mat, wash it and put it back. This makes clean-up so much easier!
5. Put Away
Finally, you can put everything back into the fridge and freezer. I recommend putting drinks on a sturdy shelf. The sturdy shelves usually have a basket under them, or are the non-adjustable shelves. This way, you can ensure that your heavy items won’t break the fridge!
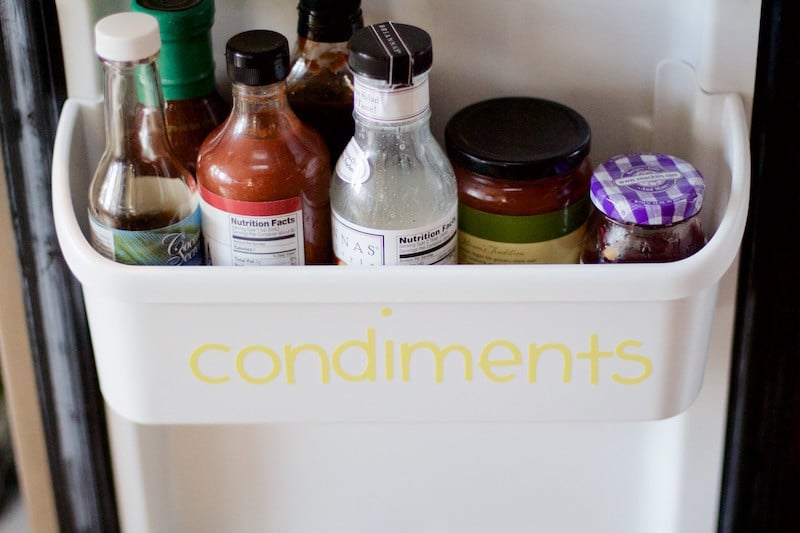
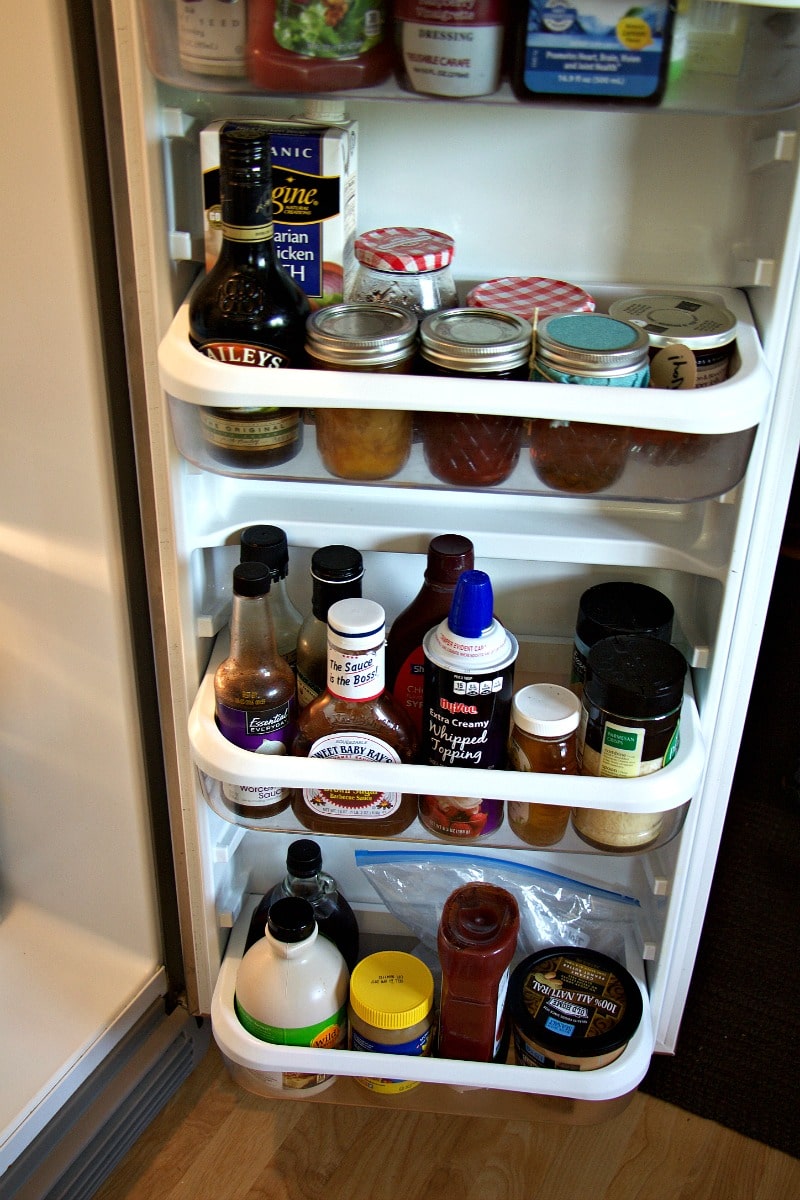
I love using the doors to store things like salad dressings and condiments. Besides the fact that it makes them easy to see, your condiments won’t get lost in the back of the fridge when they are on the door. Condiments and dressings are usually the first thing we have to throw away because when clients don’t see it, they forget about it.
I have also used the door to store fruits. By keeping them low, kids can grab things like oranges and apples for a quick and healthy snack. Just don’t use the door if you have toddlers though… If they are anything like mine, they will take one or two bites and put it back!
Tupperware containers without the lids can make great storage options. I recommend using them to all my clients. I even put them in the drawers to help things from moving around too much! I will put in butter, cheeses, deli meats, you name it!
Now it is your turn to get your fridge and freezer organized! Start by emptying the entire fridge. Once your fridge is organized, move onto the freezer. Then, check and categorize all your items. Adjust the shelves to allow for ample space to create an organizational system that is perfect for your needs. Then, put everything away.
Once the entire process is complete, make it a habit that every time you go to the store you will check your products in your fridge and freezer. This will eliminate another big clean-out! And it will help with your meal planning because you will always know what is in your fridge and freezer.
Finally, try to prep as much food as you can either the night before of as soon as you bring your groceries home from the store. I know it can seem overwhelming, but I have found that by prepping early in the week, you are more likely to follow-through with your meal planning you created!
And, if you need any extra help with any of these steps, or for any area of your home, shoot me an email and we can discuss how I can virtually walk you through the organization process with a virtual organization coaching experience!












Great tips! I do agree….it’s best to take everything out and then sort through it!
I do the same thing for my pantry, too!
Happy day!
karianne