We Tried the Scandinavian Sleep Method—Here’s What Happened
Here’s a crazy thought, what if each individual in a bed has their own blanket that was just for them. No sharing with their partner. No tugging or tossing during…
You know that one blank wall in your house that’s just taunting you? Yeah — that was our living room for months. The space clearly needed something large-scale, but I couldn’t bring myself to commit to one oversized piece of art. It felt too serious for our home and too risky for my indecisive brain. […]

You know that one blank wall in your house that’s just taunting you?
Yeah — that was our living room for months.
The space clearly needed something large-scale, but I couldn’t bring myself to commit to one oversized piece of art. It felt too serious for our home and too risky for my indecisive brain.
So instead, I did what every DIY-loving mom does when she can’t decide — I waited it out.
And when inspiration finally hit, it came in the form of a gallery wall that completely transformed our space.
Here’s the before:

I first shared this project years ago when I was just figuring out how to hang a gallery wall. I recently updated it with new photos, better tips, and the IKEA frame hack that made our living room look totally custom!
The wall already had picture lights, which meant it wanted to showcase something special.
I loved the idea of displaying family photos that could change with the seasons instead of being stuck with one statement piece forever.
A gallery wall felt more personal and flexible — plus, I could finally use all the photos hiding on my phone.
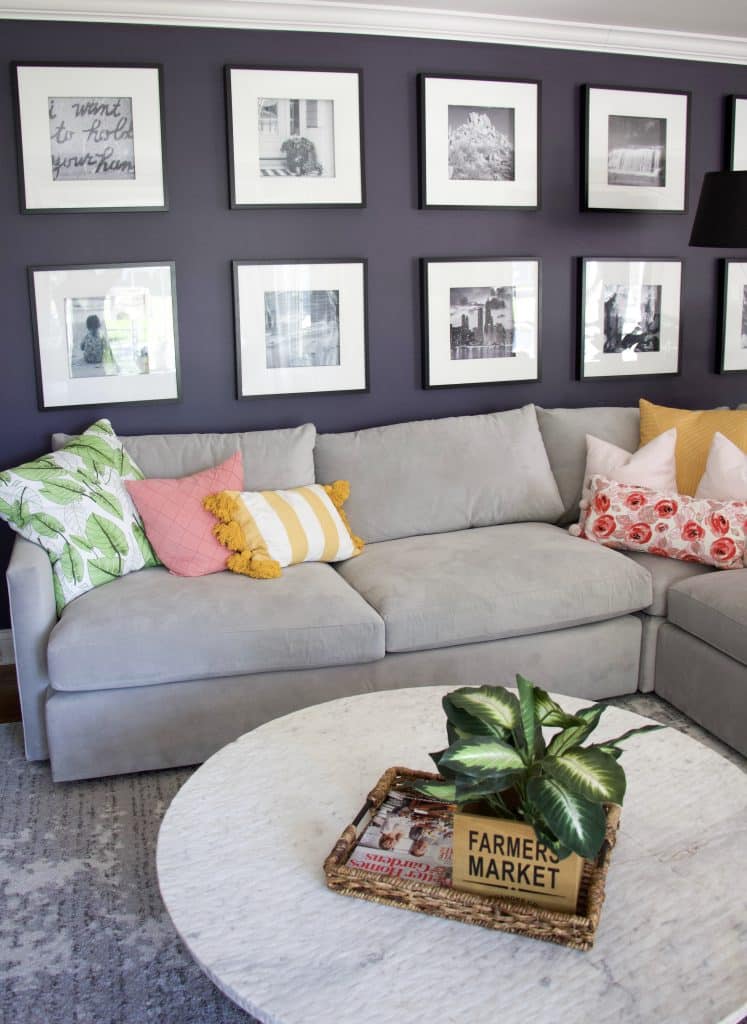
We made a trip to IKEA (because, of course) and grabbed six identical frames to create two rows of three.
I measured the wall before we went, so I knew exactly what would fit.
Here’s the setup that worked best:
IKEA’s Ribba and Hovsta frames are my go-tos — they’re affordable, have clean lines, and come with removable spacers that create a subtle 3D look.
That little detail instantly makes them feel more high-end.
When I was putting the frames together, I realized the removable insert (that thin piece between the mat and backing) could be flipped to create depth — giving the illusion of a floating photo.
It adds shadow, texture, and that “gallery” feel without spending hundreds on custom framing.
Here’s how to do it:
Instant upgrade! The frames now look like they were professionally matted — even though they’re straight from IKEA.
This was the tricky part — and where we learned a few lessons.
We started by taping off the wall with painter’s tape to visualize the layout.
I highly recommend the Hang & Level Picture Frame Tool from Home Depot — it made centering the nails so much easier.
Pro tip: stick with IKEA’s own hanging hardware. We tried to swap them for different hooks, but they made the frames bend slightly. Once we switched back to the IKEA pieces, everything hung flat and even.
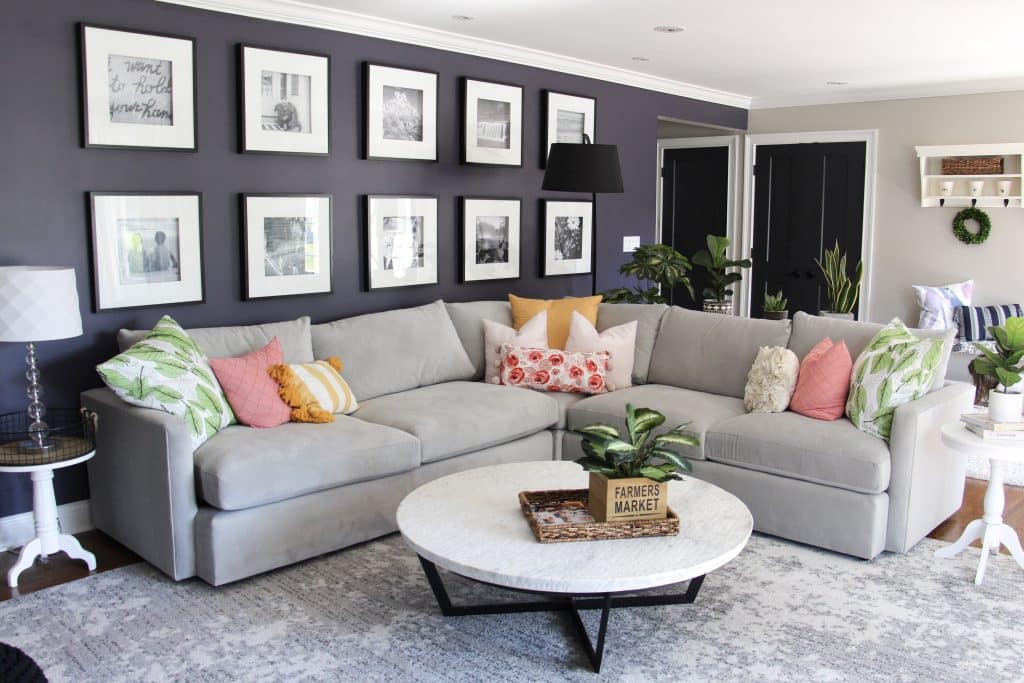
Once that last picture was up (after more measuring, re-measuring, and maybe a few deep breaths), the wall instantly felt finished.
The lights above the frames added the perfect touch — highlighting each photo and making the entire space look custom.
What I love most is how easy it’ll be to swap photos in and out as our family changes.
One day it’s black-and-white travel photos, the next it’s bright summer snapshots — the frames can handle it all.

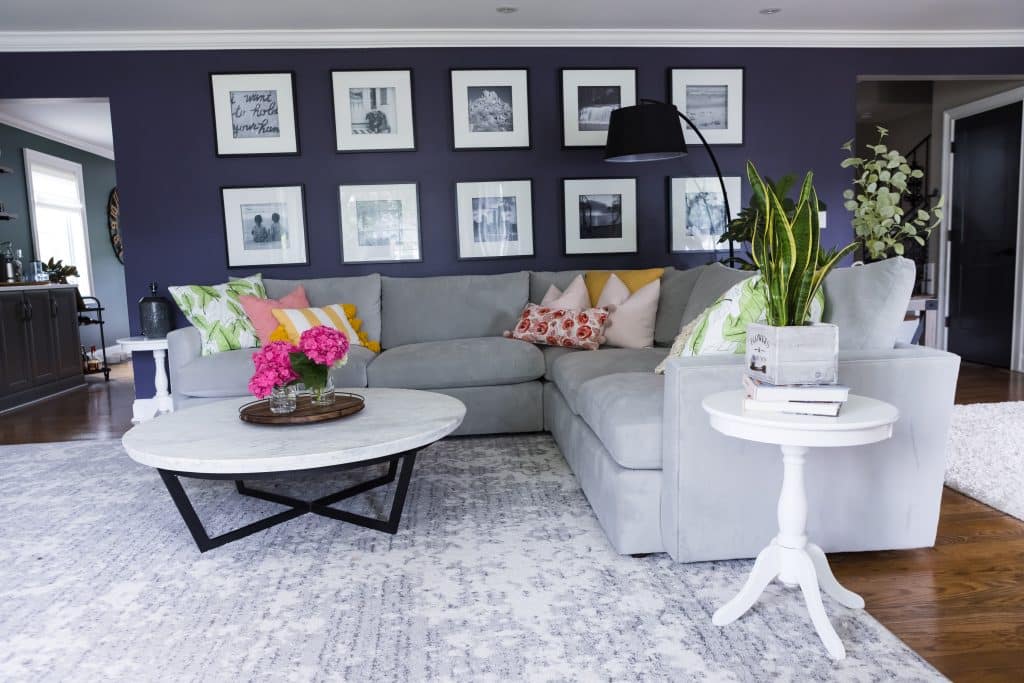
If you’ve been staring at a blank wall, waiting for the right idea — this is your sign.
A gallery wall made from IKEA frames is budget-friendly, customizable, and so satisfying to look at.
That simple spacer flip is the secret hack that takes your wall from “DIY” to “designer.”
So grab your frames, print your photos, and start hanging — your high-end gallery wall is waiting.
More Posts You Will Love:
How to Hang a Picture with Two Hooks (Step-by-Step Guide)
The Art Of Hanging Pictures Without Nails
10 Creative Picture Hanging Ideas You Will Love