

I have been wanting a simple extra-large chalkboard for our dining room since we finished our kitchen almost 2 years ago!! But every tutorial I found wasn’t the exact chalkboard I had envisioned. I wanted something more industrial, yet super easy to create.
All that led to this simple extra-large chalkboard tutorial! There are a lot of steps, but I broke down everything so even the most beginner DIY-er can recreate this amazing piece of artwork that doubles as a chalkboard!!
Plus, this is a great weekend project because there is some wait time…you know, as the paint dries!! So you can paint in the morning, and party by the pool in the afternoon!!
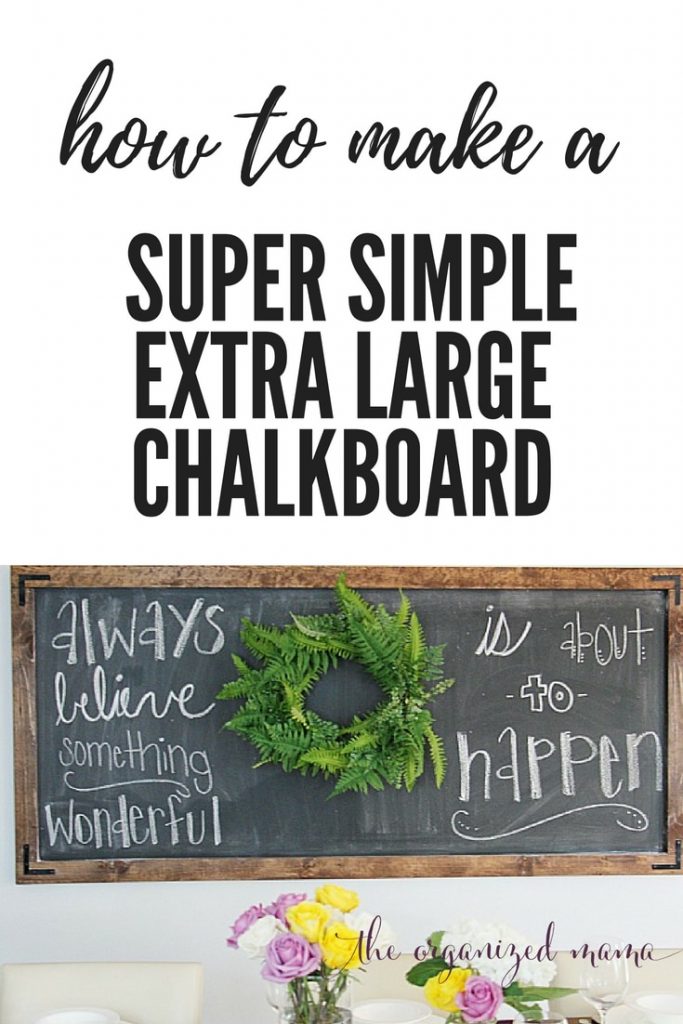
How To Make A Super Simple Extra Large Chalkboard
This post was completed in partnership with Lowe’s Home Improvement. For more, please read my terms and conditions.
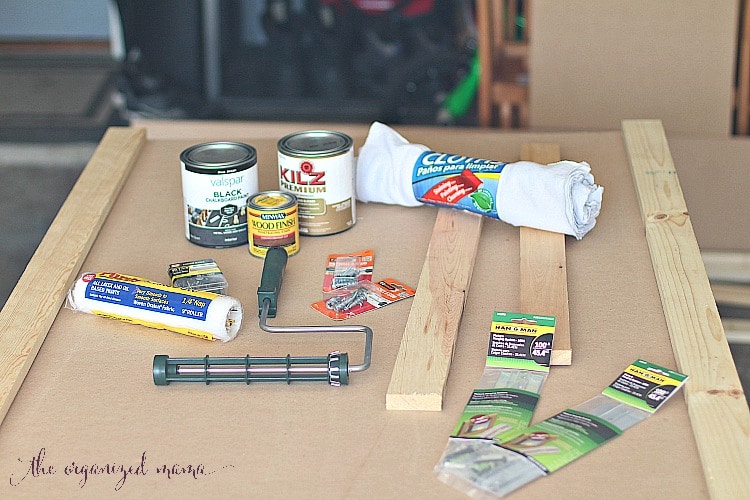
Materials
- 2 pieces of .75″ x 2.5″ x 8′ wood (a Lowe’s specialists was able to cut wood into appropriate sizing. We got two 78″ long)
- 1 piece of .75″ x 2.5″ x 6′ wood (cut into two 31″ long pieces of wood)
- Wood Stain (ours is English Chestnut)
- 1 paintbrush
- Lint Free Cloths
- 1 piece of .5″ MDF board cut to size (ours is 78″ x 36″)
- KILZ Premium Primer
- Chalkboard paint (1 quart)
- 1 paint roller with 1/4″ nap
- L-Shape brackets
- Black spray paint
- Wood glue
- Sand Paper
- Finishing Nails
- Hangman 6″ Picture Hanging System
- Chalk
Tutorial
Step One
First, layout all the cut wood. Sand the edges of each piece of wood, and smooth out all surfaces using the sand paper.
Wipe off any excess sawdust from the wood.
Step Two
Prime the MDF with a good quality primer like KILZ Premium. Let dry for about an hour.
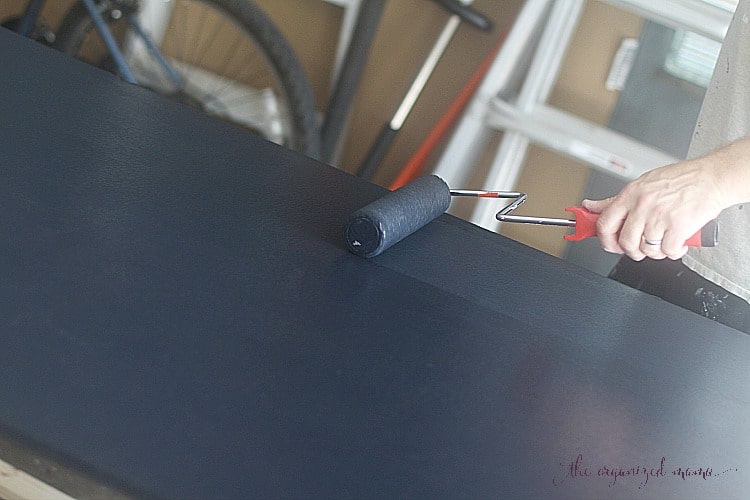
Step Three
Next, paint the primed MDF wood with your chalkboard paint. Use a roller cover with the lowest nap to create the smoothest possible surface surface; it makes for a better chalkboard!
Step Four
While the paint is drying, stain the 2.5″ wood. Use the paintbrush to apply the stain. Then wipe off using the rag. For a darker look, leave stain on longer. For a lighter look, wipe off stain quickly. We left ours on for only about 3-4 minutes before wiping!
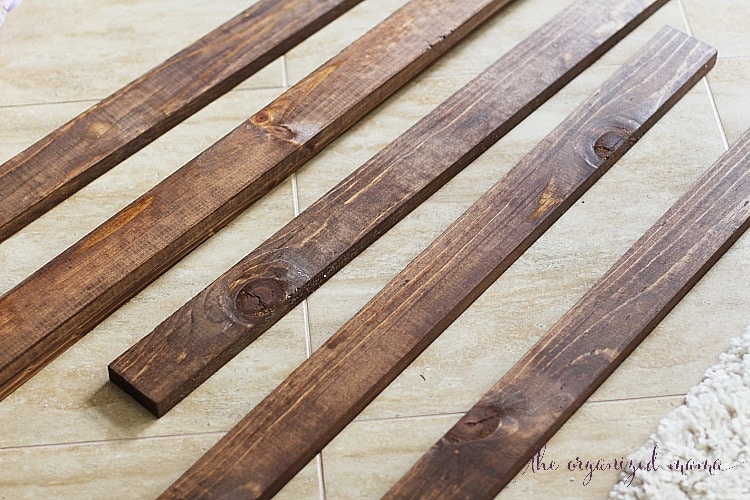
Step Four
Once MDF is dry, add another coat of chalkboard paint.
Step Five
Now, lay out the L-shape bracket and nails. Spray paint all the brackets and nails so they are black. For the nails, stick into a piece of styrofoam. This helps keep the nails standing upright, and makes it easy to paint.

Step Six
Apply another coat of chalkboard paint to the MDF. The more coats the better when it comes to chalkboard paint. To create this simple extra large chalkboard, we did three coats of paint that were applied rather liberally.
Step Seven
Let all of the wood sit overnight to ensure everything is totally dry.
Step Eight
Lay out the pieces of stained wood over the MDF board. Make sure all the pieces fit snuggly around the board.
Step Nine
Apply the wood glue in thin wavy lines (like HGTV!) and adhere one piece of wood to the top of the MDF board. We started with the long piece of wood. Make sure that you hold the stained wood to the MDF board for a few minutes. This helps it adhere together without moving.
Step Ten
Next, using the finishing nails, hammer in two nails to the end of the stained wood. Repeat for the opposite side. Then, add two more nails to the middle. We added two nails in between the edges and middle nails to ensure everything was secure.
We found that when you hold the two pieces of wood steady by having one person hold the wood and the other nail the finishing nails in, that it made nailing into the ends easier!
Step Eleven
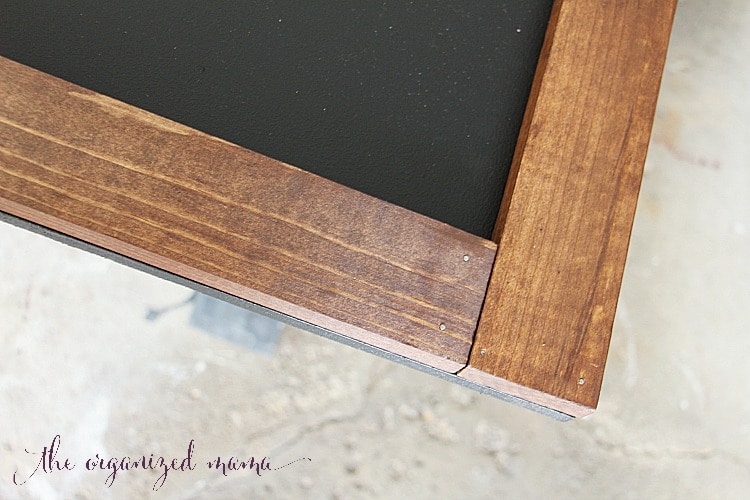
Add wood glue to the back of one of the stained side pieces. Adhere the piece to the edge of the MDF board, flush with the long piece you just installed.
Step Twelve
Hammer in the finishing nails to the stained wood. We did two nails to each end and two in the middle.
Step Thirteen
Then, repeat steps eleven and twelve for the other side of the MDF board using the other small stained piece of wood.
Step Fourteen
Add wood glue to the back of the long piece of wood. Adhere to the MDF board and make sure everything is pushed together.
Step Fifteen
Use the finishing nails to the edges of the stained wood. Add to the middle. Then add two nails in between the edges and middle nails.
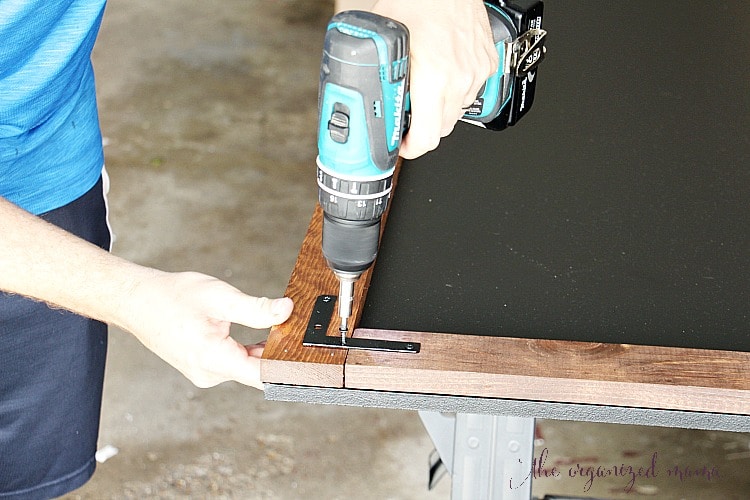
Step Sixteen
Lay the L-shaped brackets on the corners of the simple extra large chalkboard. Drill the nails into the stained wood.
Step Seventeen
Flip over the chalkboard. Lay the Hangman brackets on the back near the top of the chalkboard. Drill brackets into the back of the chalkboard.
Step Eighteen
Carry the chalkboard to the location you want to hang it. Measure out where the chalkboard is going to be placed. Drill brackets into the wall using wall anchors. Pro Tip: Invest in a laser level! It will save you A LOT of time (and frustration) when making sure the brackets are straight. Plus, you can use it on all of your other hanging projects!
Step Nineteen
Finally, hang chalkboard. You will need two people to get this chalkboard up on the wall.
Step Twenty
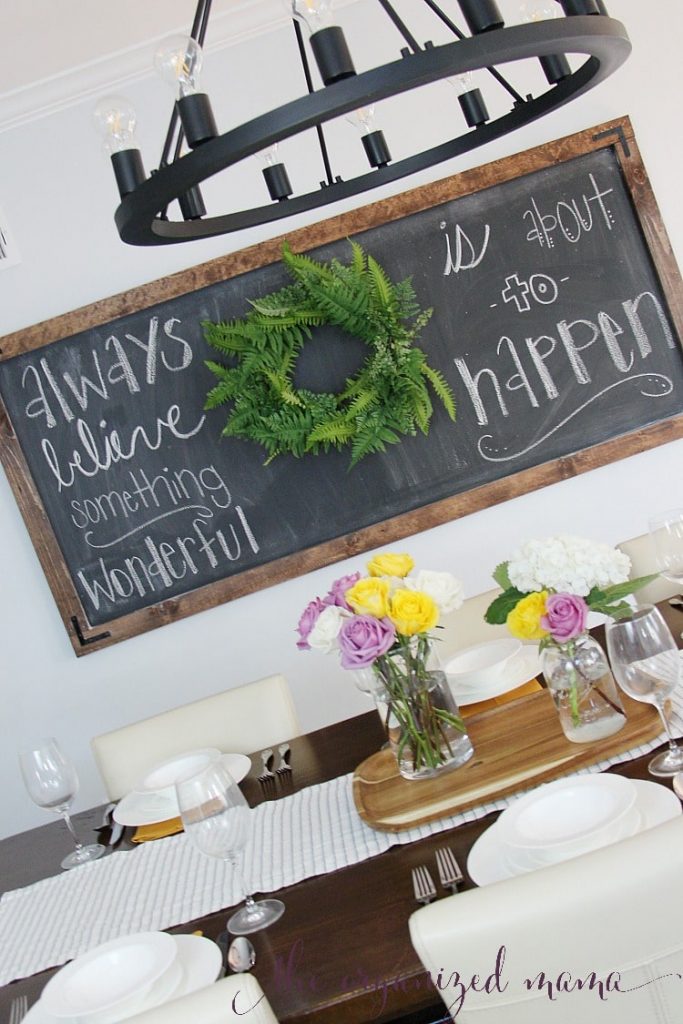
This is important: score chalkboard before you use it!! This means running the side of the chalk up and down the board so it is completely covered. Then wipe off with a lint-free rag. This helps ensure that the lettering, decorating, or whatever doesn’t get “stuck” on the chalkboard.
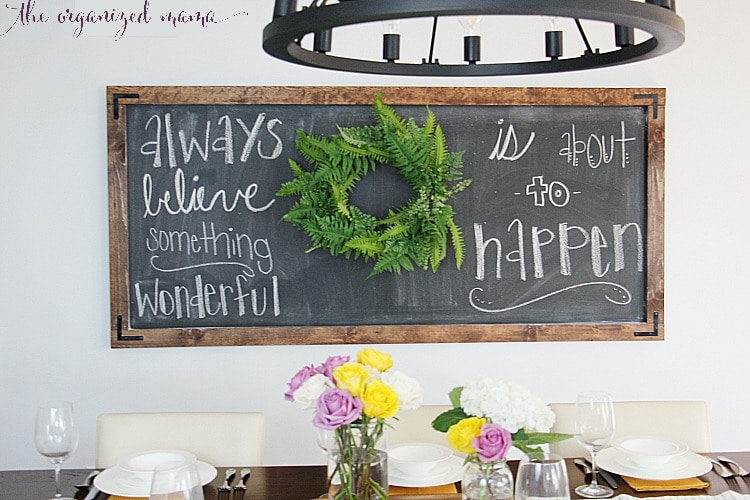
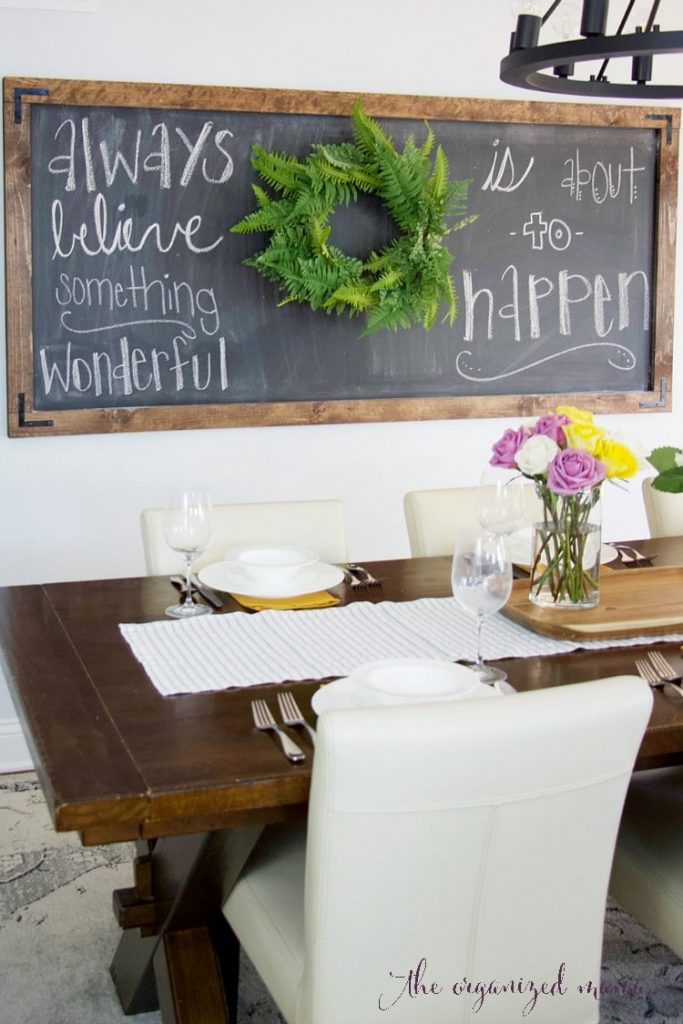
Since I wanted the chalkboard to be more of a piece of artwork, I wanted to add a wreath to the middle. I used a Command Brand hook I found at Lowe’s to hang my faux green leaf wreath.
Then I added a quote to the chalkboard. The quote will change, as I will totally use the simple extra-large chalkboard for all our parties by adding the menu to the board.
Want more decorating inspiration?? Check out these posts:

")


Comments are closed.