
We Tried the Scandinavian Sleep Method—Here’s What Happened
Here’s a crazy thought, what if each individual in a bed has their own blanket that was just for them. No sharing with their partner. No tugging or tossing during…
The easiest way to install a drawer liner is broken down into steps you can follow along with ways to make any space more beautiful with drawer liner.
I love drawer liners.
Not only does it actually protect your drawer from getting gross.
It also gives your drawers a design element that makes opening them more interesting.
But I get the question for lots of people as to why you truly should line your drawers.
So hear me out on this one.
There is research out there that suggests if you describe your home as cluttered, you are more likely to feel unhappy.
But when you view your home as tidy, you are more likely to feel a sense of happiness.
And one way to have a space appear uncluttered is when it is decorated beautifully.
That means that things have a space and you have a design aesthetic that you feel meets your needs.
But this doesn’t mean that your home is a museum where nothing is touched. It simply means you are able to see all your items or know where they are.
In some cases, homeowners who feel like their home is tidy actually have more items within their homes than homeowners who feel their homes are cluttered.
This same mindset is true for drawer organization.
When you have a drawer that is organized as well as look pretty, you are more likely going to keep up with that because of the emotion you feel when you open that drawer.
Which is why I love drawer liners. You can find your aesthetic and stick it in a drawer!
Whenever you open it you are able to feel that sense of happiness you would find with an uncluttered home.

Now, when it comes to lining drawers, most people struggle on the most effective way to install drawer liner.
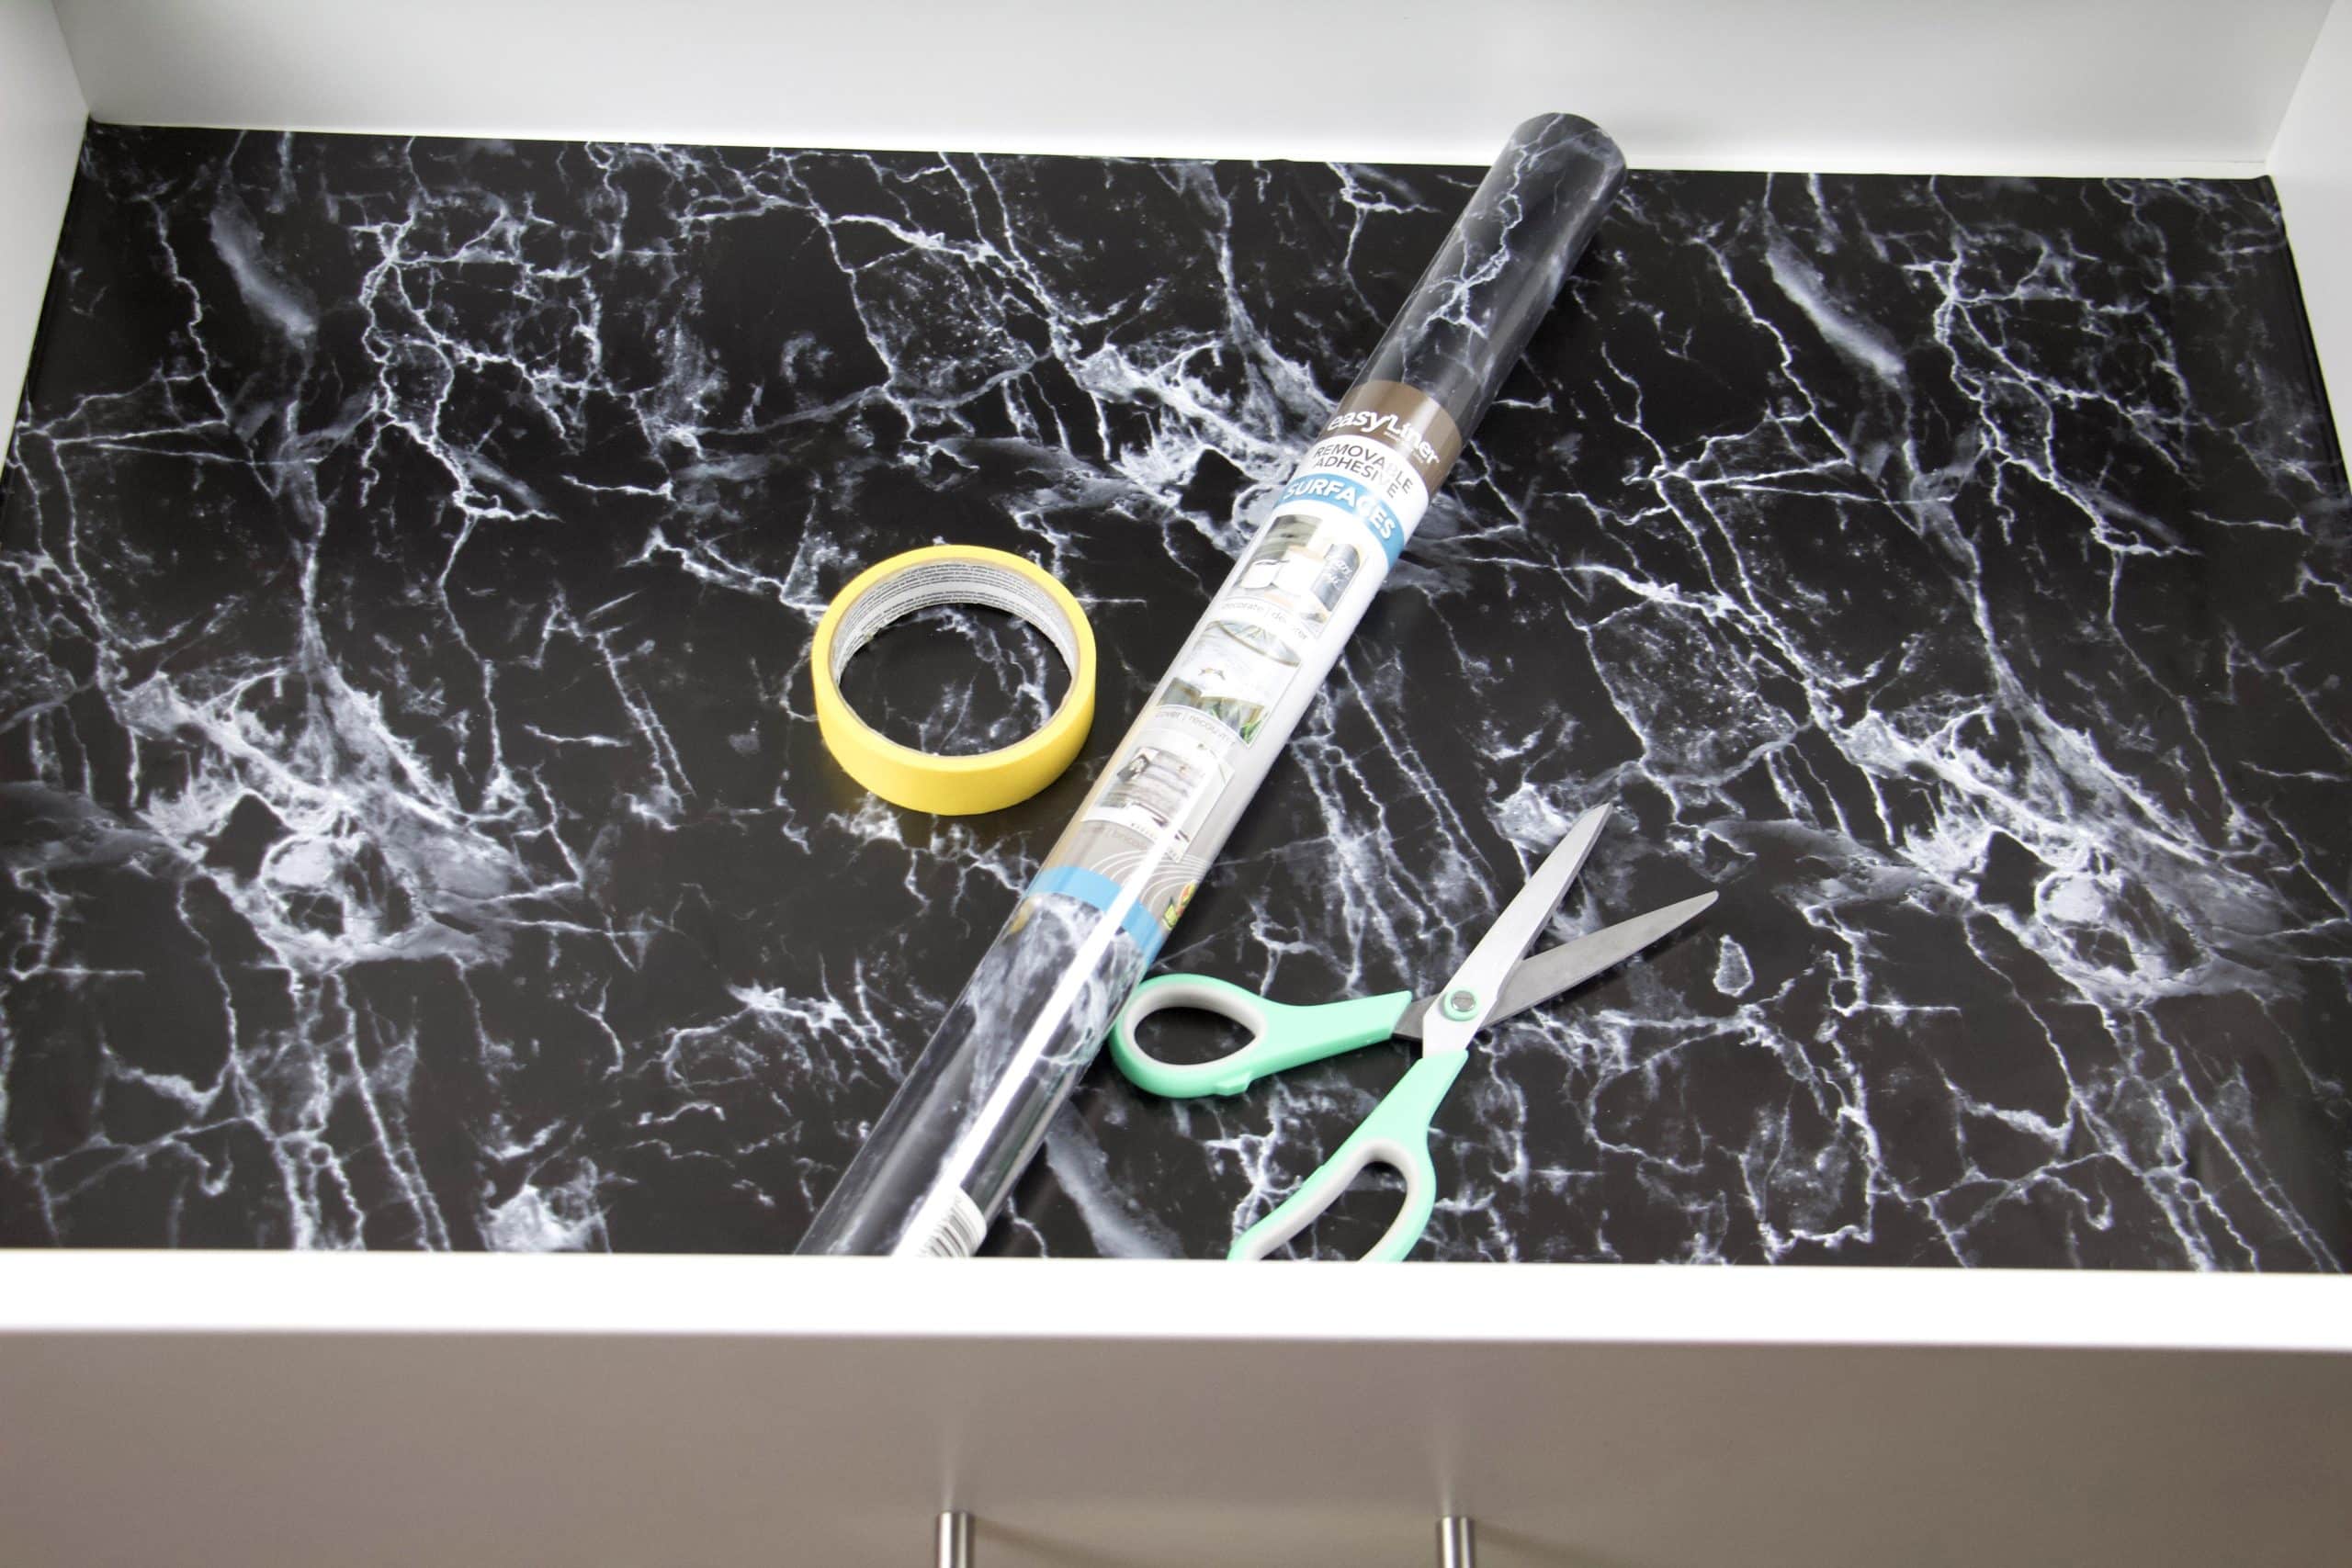
So I partnered with The Duck Brand to show you how to install drawer liner the easy way using EasyLiner.
The very first thing you need to do when installing drawer liner is to find the best drawer liner for you! Check out all the different designs here at The Duck Brand.
For this project, I am using the Black Marble Adhesive EasyLiner.
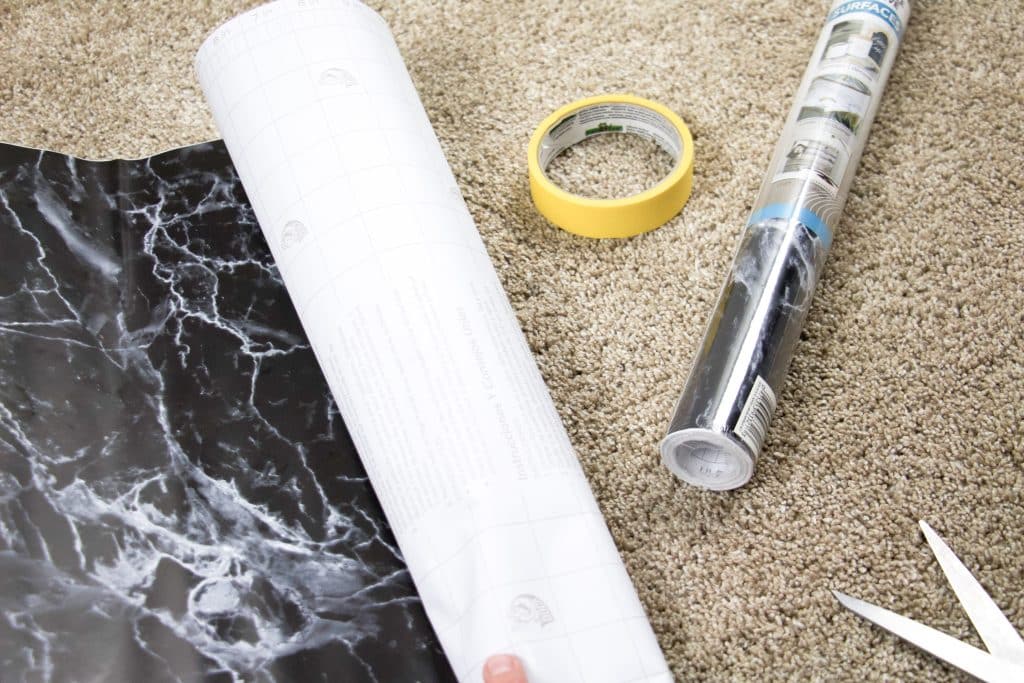
Then unroll the liner in the opposite direction of how it was initially folded.
You want to do this so that you don’t have to worry about the liner rolling back up when you are trying to adhere it to the drawer.

If you can, remove the drawer. Now I know this isn’t always an option, but if it is, do it!
The reason why is that you can leave the drawer on a level surface while you install the drawer liners.
Most drawers that come out won’t stay level, making it tricky to put in the drawer liner.
Regardless if the drawer is removed or not, clean the entire drawer.
Wipe and vacuum the drawer before you install the drawer liner.
This way you know the liner will stick because the surface is clean.
Make sure you wait until the drawer is dry to the touch before moving on.
Now measure your drawer.
There are two ways to measure and it just depends on your style to do projects.
The first way is to measure using a tape measure.
The second way is to eyeball it. I typically eyeball it because I can get a good idea of how large something needs to be.
But my husband has to measure when he is installing drawer liner. He wants it to be precise.
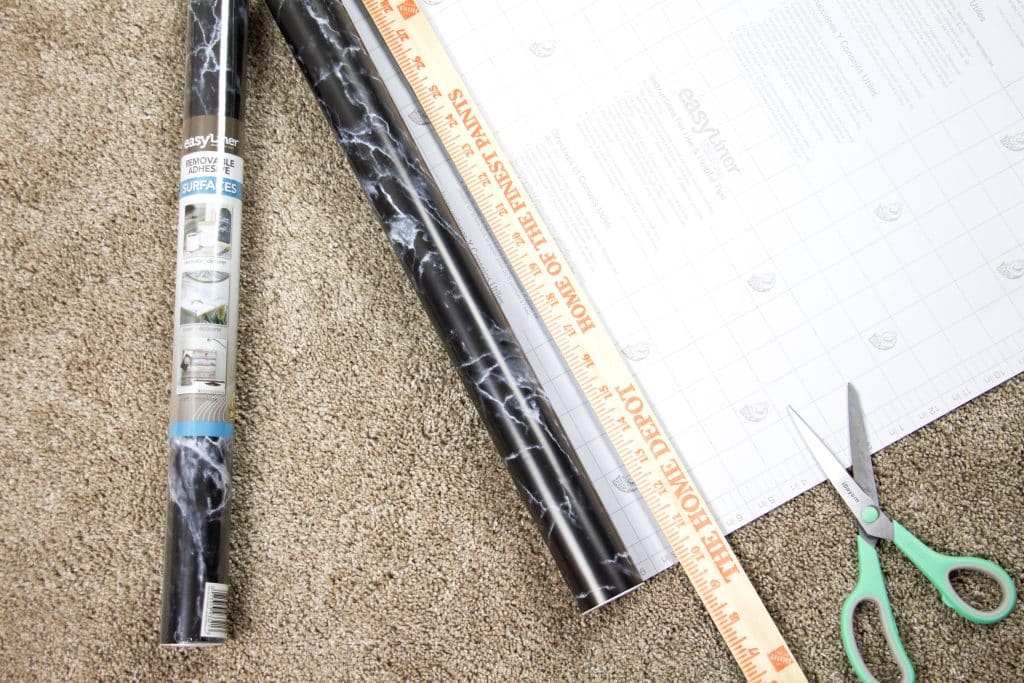
Once you measure, you can cut the drawer liner to size.
Now there are a few ways you can cut and get a perfectly straight line. I cover the 3 hacks to cutting your drawer liner here.
For this project I used the option of cutting using a yard stick and the lines on the back of the drawer liner to get a straight line. T
ake the yard stick and lay it flat on the drawer liner. Then cut along the edge of the yard stick to ensure a straight cut.
Once you cut the drawer liner, place it inside the drawer to ensure you cut it to the right size.
The most annoying thing would be installing the drawer liner only to find out it was a bit too short for the drawer!
When you know it fits, add a piece of Frog Tape to one end to ensure that the drawer liner is straight in the drawer.
I like using Frog Tape because it doesn’t pull at the drawer liner or leave any residue on the drawer liner when you pull the tape off.

Then you can remove the backing of the end that isn’t taped down.
Slowly adhere the drawer liner to the drawer. I like to remove a little bit of the backing at a time so that I can make sure there are no bumps or lumps in the drawer liner.
Once you get an idea that the drawer liner is straight, you can remove the tape.
This way you know you are adhering the liner straight but still able to remove the backing easily.

Once you stick the liner in the drawer, go through and make sure all the liner is truly sticking to the drawer.
I make sure to press really hard so that the drawer liner really sticks to the surface.
When the drawer liner is installed, you can add your items into the drawer.
Now your drawer can be tidy and decorative, which makes you want to keep it organized!

Now drawer liner is great for your dresser drawers, but what about adding drawer liner to other things like trays or end tables?
I have a few projects you are going to want to try to make your home beautiful with The Duck Brand EasyLiner.
Easy Ways To Enhance Kids’ Dressers With Drawer Liners
The Cheapest Way To Upcycle Wooden Trays
7 Effective Tricks The Pros Use When Organizing Linen Closets


